Survival Prepping: Weapons

If you’re in a survival situation, lost in the wilderness, you’ll need survival weapons of some sort to get you through.


Firearms


Firearms are often the first and most obvious choice for many people when selecting a survival tool. Guns are widely available, relatively easily procured, and easily used and carried. They also provide a level of security against dangerous animals and would-be human assailants that is hard to beat.


They are able to be quickly deployed and, in the case of handguns, can effectively be used with one hand if necessary. For those of us who conceal carry, carrying a handgun is a part of daily existence. You’ll have to decide which caliber and which style of handgun you prefer–revolver or semi-automatic–based on a number of considerations.


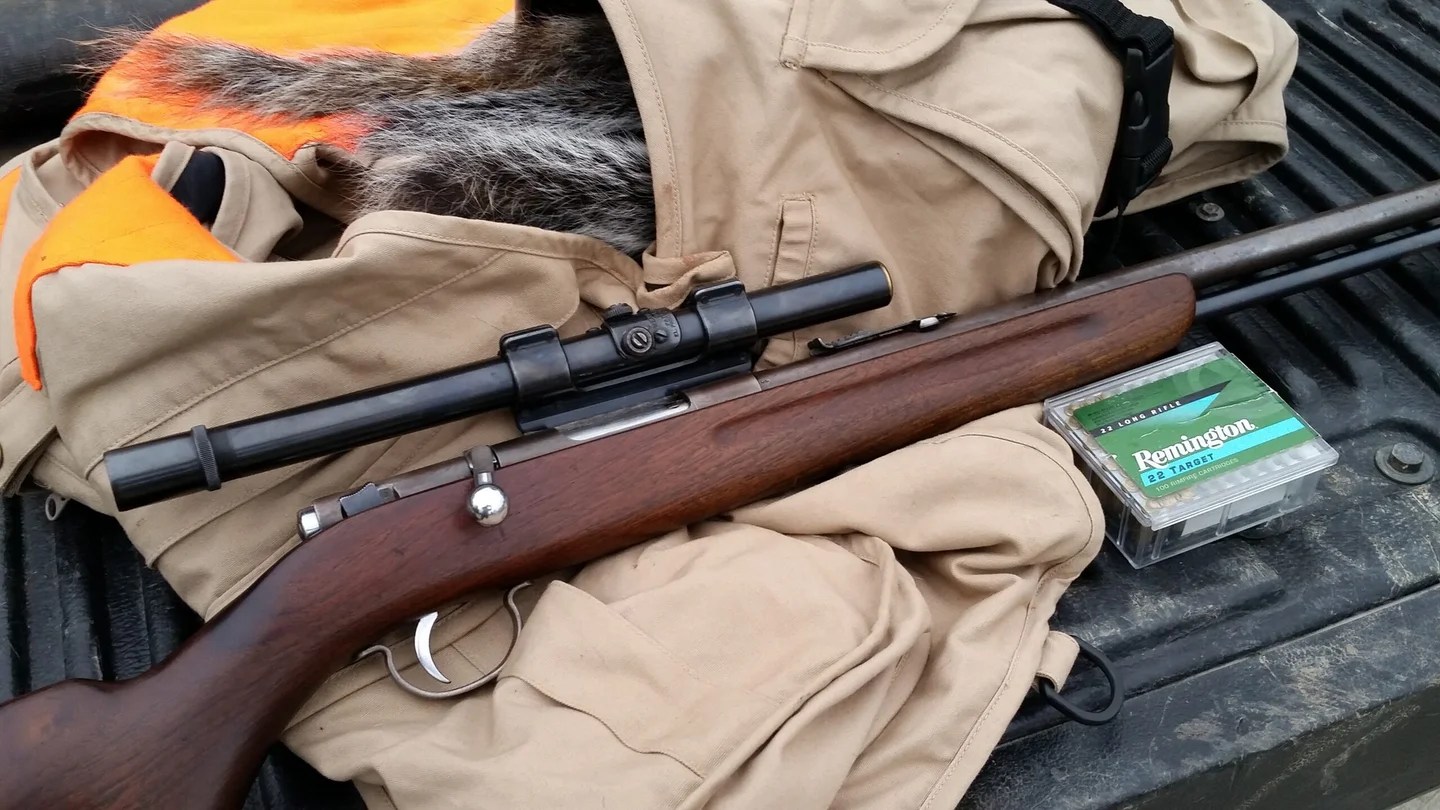
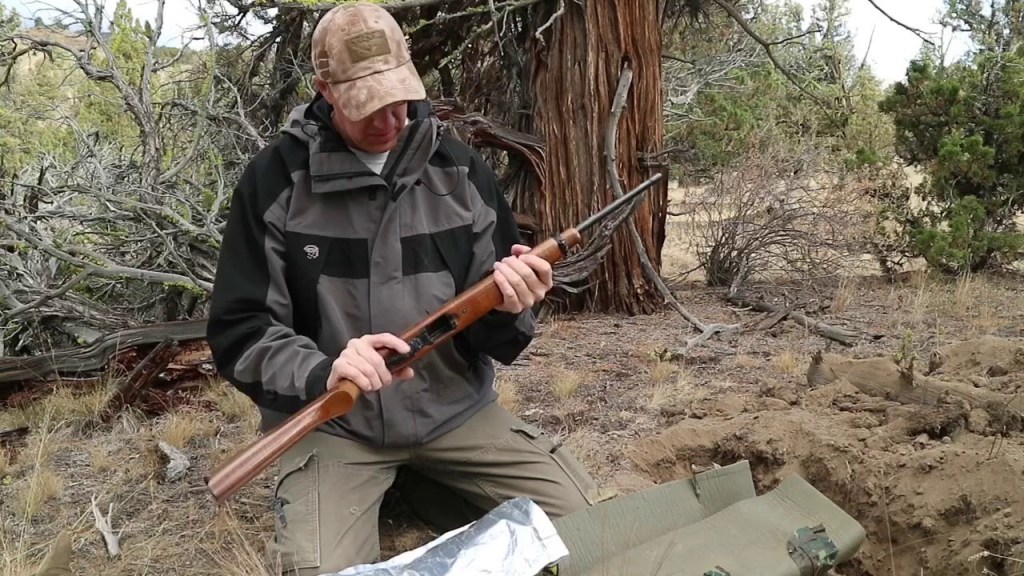
I’d suggest a .22 rifle as an all-around wilderness or urban survival gun, as it’s lightweight, reliable, easy to use, and clean, and the ammunition it uses is cheap, easily affordable, and small. You can kill deer and larger game with a .22. Its report isn’t too loud, which could be a disadvantage if you’re trying to signal someone. I’d also suggest carrying a larger caliber handgun, something akin to a .357 Magnum or .44 Magnum, for self-defense and peace of mind.


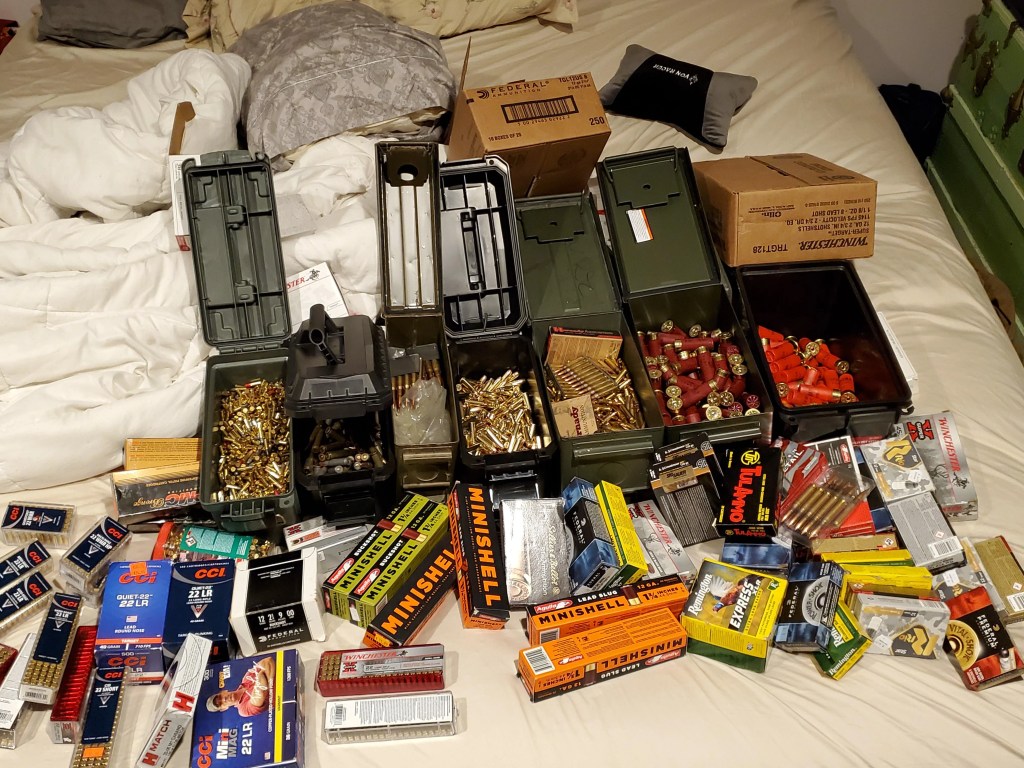
Of course, you should also carry an adequate supply of ammunition, which brings up another disadvantage associated with firearms. Once you run out of ammo, they’re basically useless, with the possible exception of scaring off would-be human attackers.

Knives


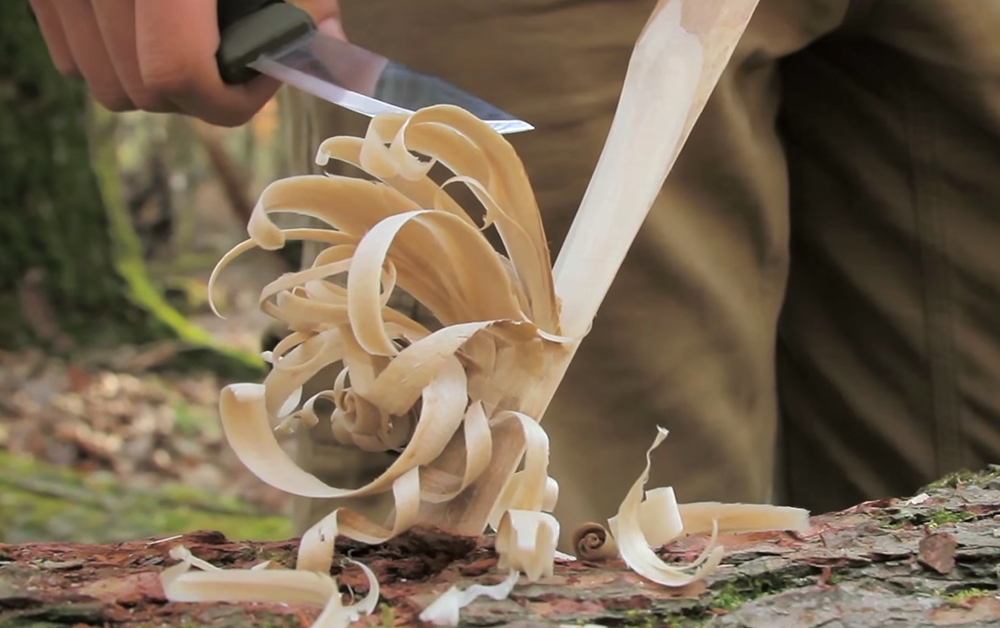
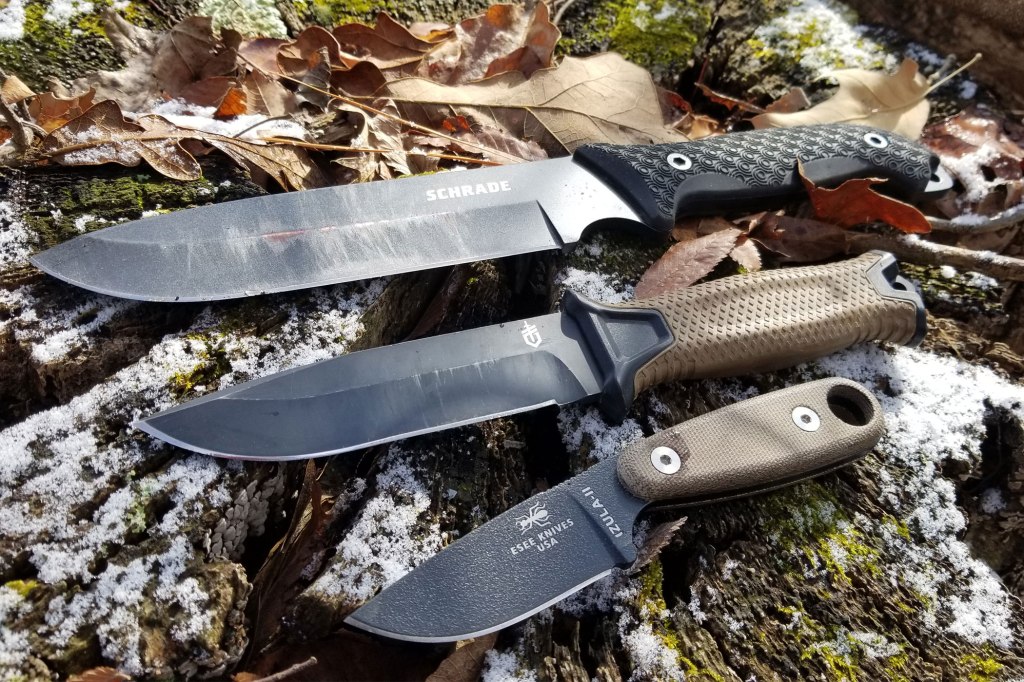
A knife should be considered a must-have survival tool. Carrying at least one knife, and probably more, is a given in any survival situation. Knives are the single most versatile “multitool” you can have. With a knife, you can make other tools and DIY weapons, build a shelter, build a fire, procure food, make clothing, open a can of beans and defend yourself. You can even just whittle away the time when you’re bored waiting for the rain to stop.


There are many good survival knives on the market today. I won’t go into all of the attributes you should look for when choosing a survival knife. I will, however, a mid-sized fixed blade knife and a folding pocket knife are the knife style you should be carrying. Folding knives aren’t as sturdy as fixed blade knives, but their compactness makes them easy to stow away until needed. Knives are generally lightweight enough that you can easily carry more than one.


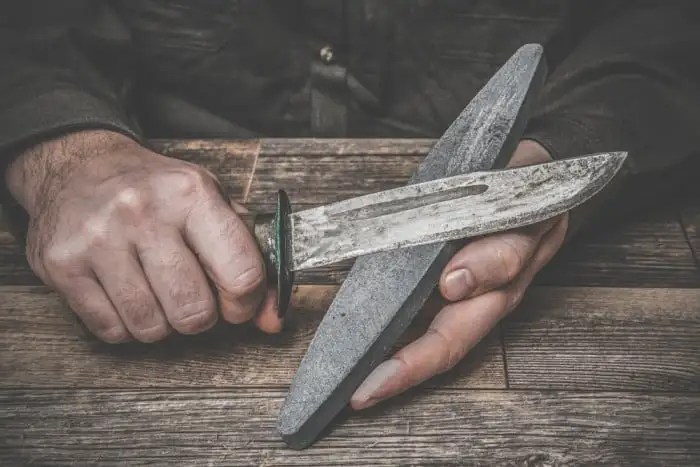
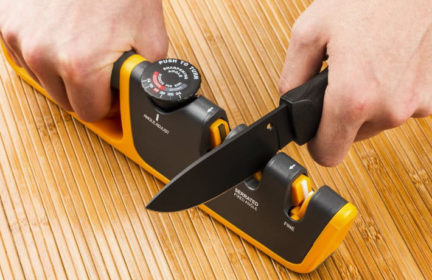
You’ll also probably want to carry a sharpening stone with you in order to keep your knife edge keen. The sheath you choose for your fixed blade knife can also be a source of additional survival tools. For instance, you can have a knife sheath made that’ll also hold fire steel, a whetstone, a compass, and any other tidbits you might find useful in a survival situation.
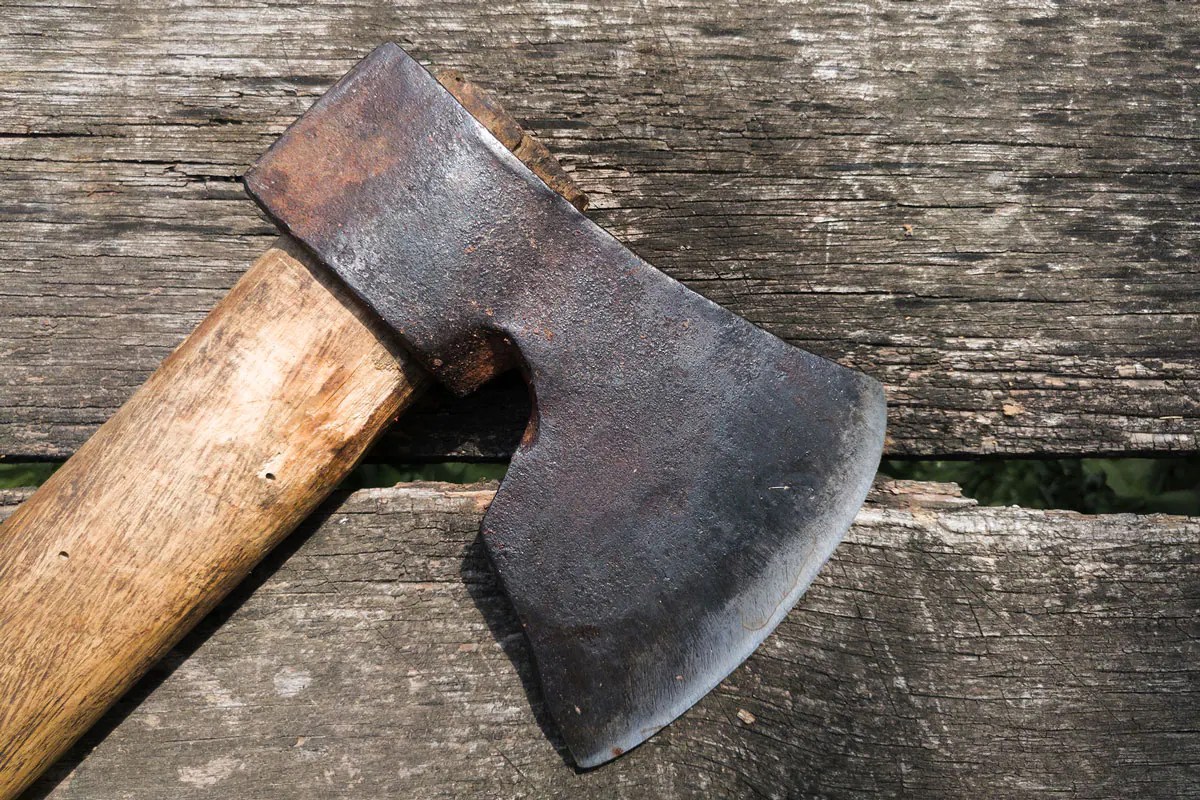
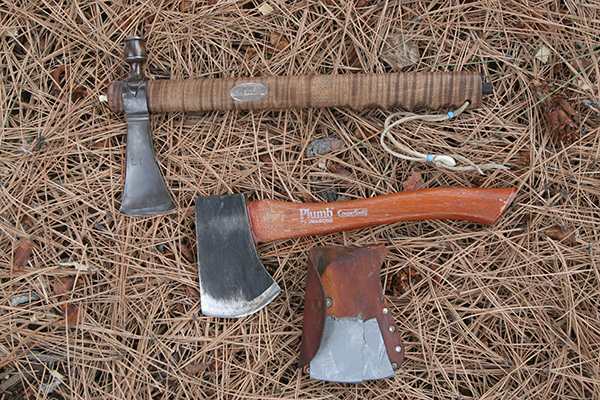
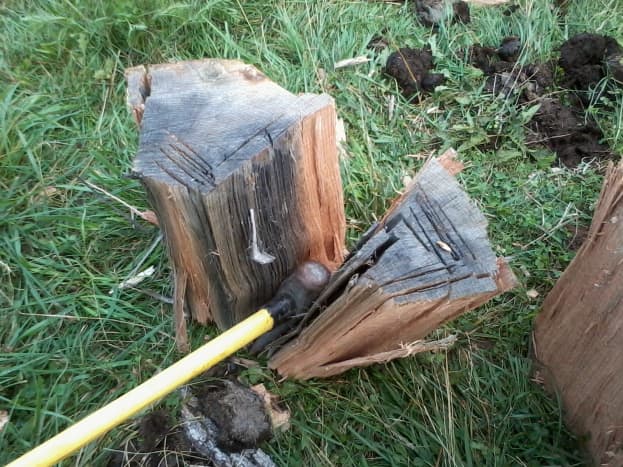
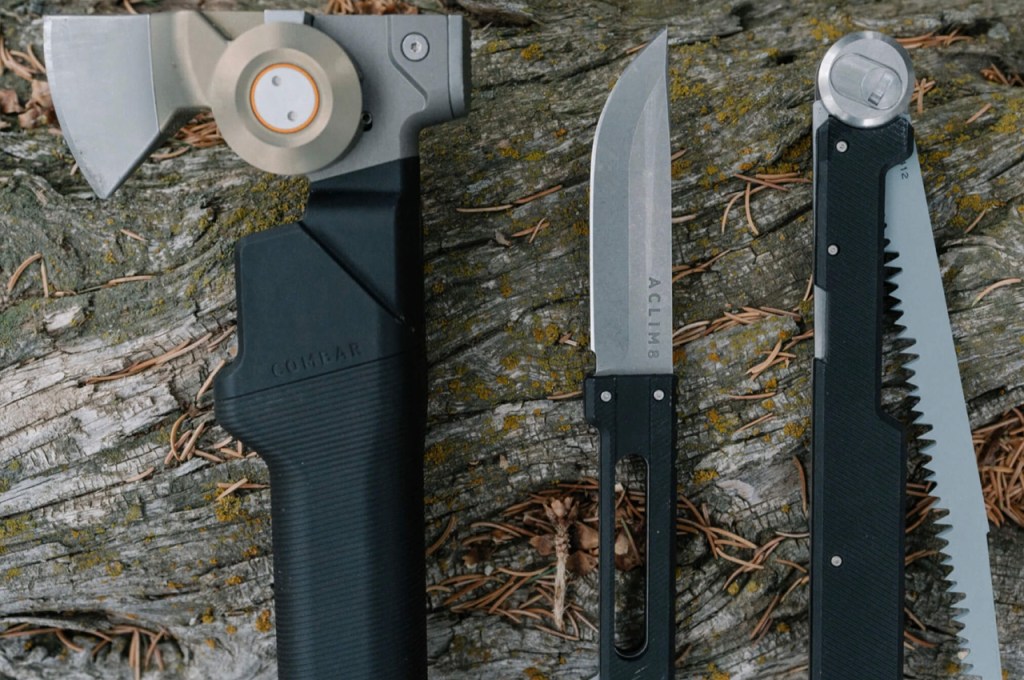

Hatchet


The benefit of carrying a hatchet is that it’s both a functional tool and a self-defense weapon. A hatchet or stout tomahawk can be used to chop wood or small trees, carve a spear, clear brush, and more. It can also put a little more distance between you and a would-be attacker or dangerous animal in close quarters should you need to employ it in that regard.

In a survival scenario, I would definitely want to carry a knife and a hatchet. If you’re able, you should also consider carrying a small file with you to touch up the edge of your hatchet when necessary.

If you can comfortably carry or stow an actual, full-length ax, all the better. The weight of carrying such a tool may be prohibitive, however. You can do a lot more with an ax that might unduly tax a hatchet, but a good, sharp hatchet is a great choice. It’s relatively lightweight and can perform multiple tasks with ease.

Firemaking Basics: How To Fuel Your Fire

As a basic survival need, fire is essential in keeping your body temperature at a normal level.

Fire also enables you to cook food, boil water for consumption, and protect yourself from predators.

Temperatures tend to drop drastically at night, especially in temperate climates. In the US alone, hypothermia accounts for around 1,300 deaths each year— so starting a fire is an invaluable skill if you don’t want to freeze to death.

So, the question on our mind; how does one start a big roaring fire? You’d need three things:

  • Oxygen
  • Heat
  • Fuel

These three make up the “combustion triangle” and without one or the others, it would be impossible to ignite a fire.

20% of the air is made up of oxygen, so you don’t really have to worry about this element. The density of oxygen does decrease at high altitudes, so you have to use extra effort in creating a fire in areas significantly above sea level.

Heat can be produced through friction, like rubbing sticks together, striking a flint, lighting a match against a surface, or using a lighter.

Fuel can be any flammable object that feeds the fire and keeps it burning such as tinder, kindling, and firewood.

What’s The Difference Between Tinder, Kindling, And Firewood?


Tinder
Tinder is any dry and fibrous material that would easily combust.

When out in the woods, a “bird’s nest” made from dry tree bark makes for excellent tinder. Trees like cedar, pine, and birch are all rich in resin, which makes their barks easily combustible even when they’re damp. These resinous trees grow all over North America, too, so you wouldn’t have trouble finding them when out in the wild.

To create a tinder bundle with tree bark, all you have to do is peel the bark off of dead fallen trees. Make sure they’re nice, dry, and fluffy. Tear the bark into fine strips and bunch it up to form a bundle. Congrats, you now have tinder to start a fire.

Other things you can use as tinder include dry grass, wood shavings, pine needles, pine cones, dry coconut husks, and fluffy plants like cattails.

You can also prepare some fire starters before leaving home. These catch flame really quickly and will help you create fire even when conditions are less than ideal. An example of one would be:

Dryer lint – This may be the bane of many dryer filters, but don’t throw them out just yet. Dryer lint is made of hundreds of tiny fabric fibers and is highly flammable. You can use dryer lint on its own, or turn it into hardcore firestarters with some egg cartons and candle wax.
Cotton balls – Like dryer lint, cotton balls are great on their own, but if you slather them in petroleum jelly or vaseline, they become even better.

Kindling
Kindling is a type of fuel that’s slightly larger than tinder and is meant to keep the fire going long and hot enough for you to feed it larger pieces of wood.

With kindling, it’s important to start small. Ideally, kindling should be thin enough to snap with your hands. They’re usually around the diameter of a match, but no larger than a pencil. Think thin twigs, wood splinters, and small pieces of softwood.

Each layer of kindling that you put into your fire should ignite the next, so make sure to feed them gradually. Patience is a virtue in this stage of fire-making. Add too large pieces too soon and you’ll smother your flame.

Like Tinder, you have to make sure that your kindling is dry. Look for dead-standing tree branches and twigs. Stay away from pieces of wood that are on the ground, since they absorb a lot of moisture. They’re most likely rotten or have vegetation growing all over them, too. If a branch bends but doesn’t snap, that means it still has some moisture within and is not ideal for kindling.

It could be difficult to find good kindling after a rain shower, where everything’s wet or damp. It could also be a challenge when you’re in an area with limited trees, or if all you could find are thick tree limbs. In such cases, you’d need to know how to create feather sticks.


Firewood
Once you light a fire with your tinder and kindling, it’s time to keep it going by feeding it larger pieces of fuel. You can bring some processed firewood from home, buy a bundle from camp stores along the way, or gather some firewood from dead standing trees around your camp.

Be careful not to smother your fire with too big pieces. Carry a bushcraft axe or learn how to baton with your knife to break large chunks of wood into smaller pieces.

Building Shelter: Do’s & Don’ts

I think there are as many different ideas on how to build a survival shelter as there are survivalists. I have spent my share of nights in the wild, many times without any shelter, but on occasion, a good shelter comes in handy.

When to Build
I think the biggest mistake a lost person who really needs a shelter makes is that they wait too long before they decide to make a shelter. Most people who die in the wilderness do so from exposure.

A lost person thinks they are going to find salvation just around the next bend, or just over the next rise. The problem is that this thinking keeps on until they notice darkness is falling and it is almost too late to put any kind of effective shelter together.

Location, Location, Location
The next problem is many people pick the wrong location for their shelter. By just looking ravines makes a nice location for a shelter, but are prone to flash flooding. Avoid them because they can be deadly. Many will fail to look overhead when building their shelter, and end up with a dead tree, or large rock that could come down on them in the middle of the night.

Depending on where you live, unless the forest has been logged you can’t completely get away from large trees that may come down or drop a big branch on you. The best bet here is to find a large downed tree and build your shelter against it. This way the tree will take the blow, and hopefully spare you if something does fall.

Wind Direction
One of the most annoying things is to get a nice shelter built and then put in your fire, only to have the smoke inundate your shelter because you didn’t take the wind into account when you built it. A good angle away from the wind is best.

If you place it directly away from the wind the lee will cause the smoke to eddy and back up into your shelter.

Fire Safety
So you have a nice shelter built and warm fire in front only to be awakened from a deep sleep by your shelter being on fire! Basic fire safety is important especially in a survival situation, where what would be an inconvenience in a normal situation, can be fatal if you are lost. There should be some thought put into building your shelter other than just the mechanics of building it.

It’s important that you are not only warm, fed, sheltered, but also safe. Fire, while providing you comfort, can be very dangerous. So, please make sure to respect the nature around you by caring for your fire properly. Do not start a forest fire. Your fire pit must have boundaries, and you must keep an eye on it. Also, as we mentioned previously, observe where there is a break in the tree canopy before you set your fire.

Survival Prepping: Best Non-Perishable Foods

Natural disasters—a flood, hurricanes, blizzards—often come with little or no warning. Stocking up now on the right non-perishable food items will help you weather the storm (or global pandemic) with less stress.


Why Eat Differently During an Emergency?


Fueling your body during an emergency is very different from your everyday diet. (Think of how an emergency fund functions differently than a savings account.) Because you’ll probably expend more energy than you normally would during your emergency plan, you should eat high-energy, high-protein foods. If the emergency is disease-related (as in the coronavirus pandemic of 2020), it is especially important to eat nutritious foods that will help you maintain good health. And because you’ll have a limited supply in your emergency preparedness kit, the higher-quality foods you eat—and the fewer of them—the better. Start stockpiling as soon as possible!


What to Always Keep in Your Pantry


These non-perishable food items (or close to it) have lengthy expiration dates, so you can stash them away for long periods of time, even if it’s not hurricane season or tornado season. Make a list of everything in your stockpile and check expiration dates every six to 12 months to keep things fresh. And don’t forget to have a can opener on hand at all times—all that food won’t be of any use if you can’t open it.

Peanut butter

Peanut butter is a really good survival food. It is readily available, shelf-stable, nutrient-rich, calorie-dense, and easy to store while being easy on the wallet compared to many survival foods. Powdered peanut butter, specially designed for survival stores, can even last up to 10 years.

Powdered peanut butter is the best peanut butter for long-term storage. If it is sealed in a #10 can and stored in a cool, dry place it can last between 5 and 10 years. It can also last up to a year in a plastic pouch.

Whole-wheat crackers


Crackers are a good replacement for bread and make a fine substitute when making sandwiches. Due to their higher fat content, whole-wheat or whole-grain crackers have a shorter shelf life than their plain counterparts (check the box for expiration dates), but the extra fiber pays off when you’re particularly hungry. Consider vacuum-packing your crackers to prolong their freshness.

For added value, purchase a family-sized pack of whole-wheat crackers. The toasted crackers give a bit more of a healthful kick and are made without high-fructose corn syrup as well.


Nuts and trail mixes


Stock up on these high-energy foods—they’re healthful and convenient for snacking during a hurricane, tornado, or other emergencies. Look for vacuum-packed containers, which prevent the nuts from oxidizing and losing their freshness.

Canned tuna, salmon, chicken, or turkey


Generally lasting at least two years in the pantry, canned meats provide essential protein. Vacuum-packed pouches have a shorter shelf life but will last at least six months.

Moreover, vacuum-sealed packs may come in handy if you don’t have a can opener. For your pantry, purchase a 12-pack of Safe Catch Elite Wild Tuna, which has the lowest mercury count of any brand on the market, making it a safer choice for kids and even pregnant women.


Canned vegetables, such as green beans, carrots, and peas


When the real deal isn’t an option, canned varieties can provide you with essential nutrients, making these a great hurricane food or natural disaster option. To pack in as many of those healthy vitamins and minerals as possible, order a case of mixed vegetable cans by Libby’s. Inside each can you’ll find peas, carrots, corn, lima beans, and green beans, giving you a well-balanced meal straight from the jar.