Survival Prepper – Items You Will Not Survive Without

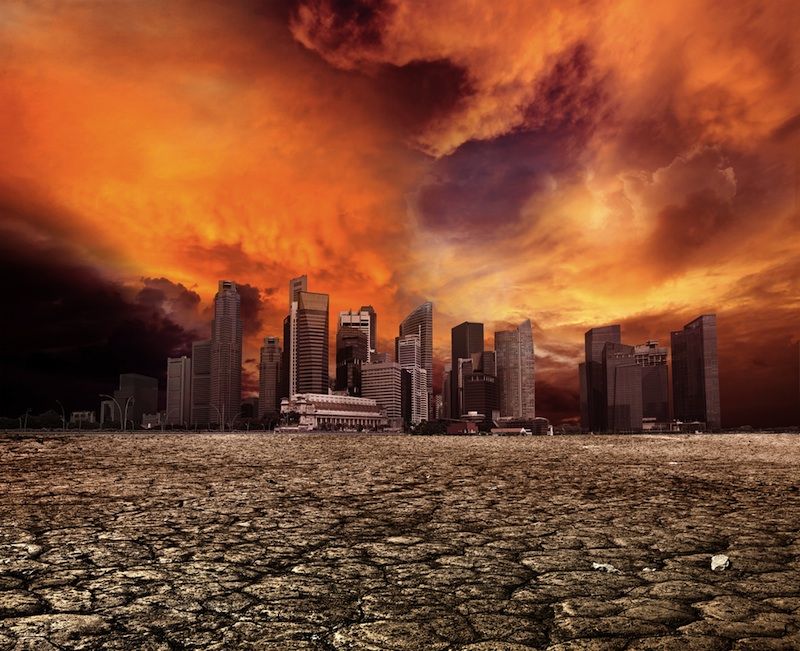
Whether you’re a master prepper or this is the first time because of the Covid-19 pandemic, there is no better time to set yourself up for success in case things get even worse.

What really matters will always come down to the basics of food, water, shelter, and a means to protect yourself and your family. The following is a list of items to stockpile for emergencies and other survival situations. Including items that could be useful during weather emergencies and longer-term grid-down situations.

Must-Have Items to Stockpile
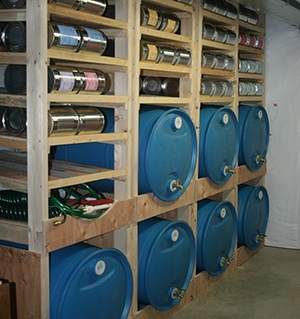
Water


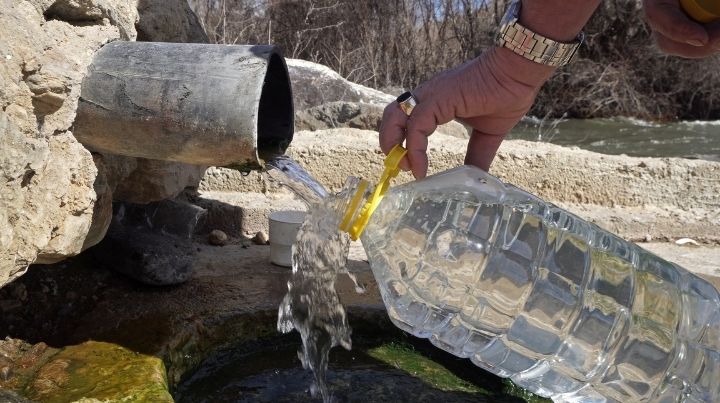
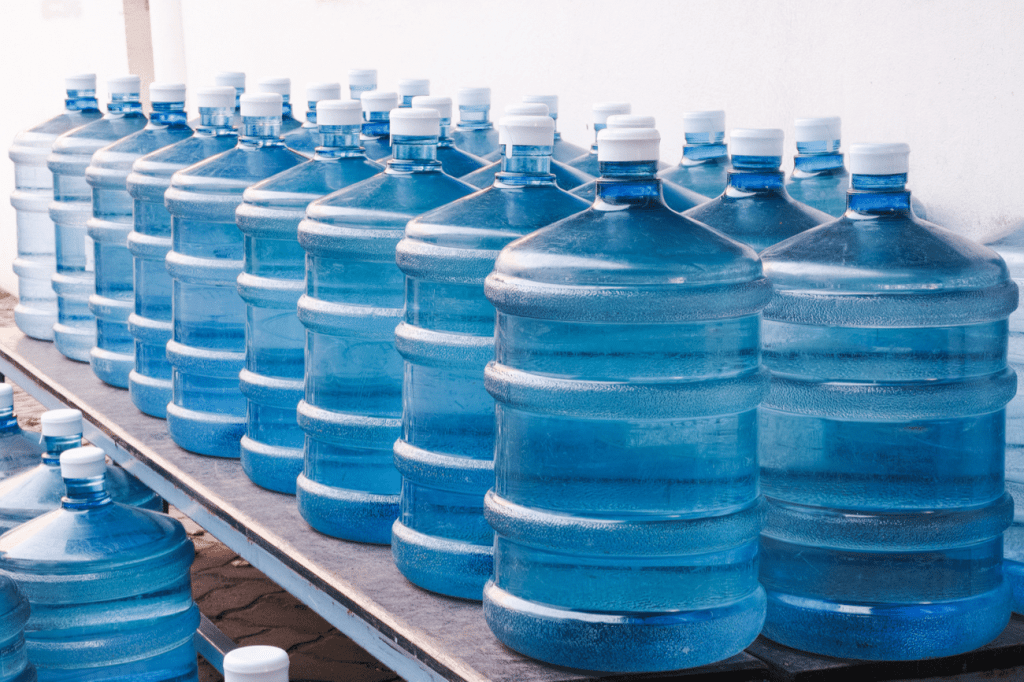
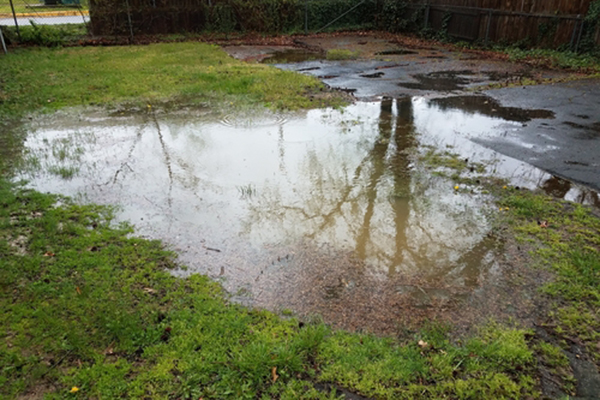
Water is the most valuable item on this list. The human body can last weeks without food, but only 3- 5 days without water. The body is made up of 50-75% water. It is the basis of blood, digestive juices, urine, and perspiration. It’s important to know, that without water, your body will shut down. If you still need a little convincing, I’ve listed a few ways water provides us with essential nutrients.

  • Water is essential to most bodily functions.
  • The body has no way to store water and needs fresh supplies every day.
  • The best source of fluids is freshwater.
  • Dehydration can happen when the body’s fluids are low. It can be life-threatening, especially to babies, children, and the elderly.
  • Water loss needs to be replaced.
  • Maintain the health and integrity of every cell in the body.
  • Keep the bloodstream liquid enough to flow through blood vessels.
  • Help eliminate the by-products of the body’s metabolism, excess electrolytes, and urea, which is a waste product formed through the processing of dietary protein.

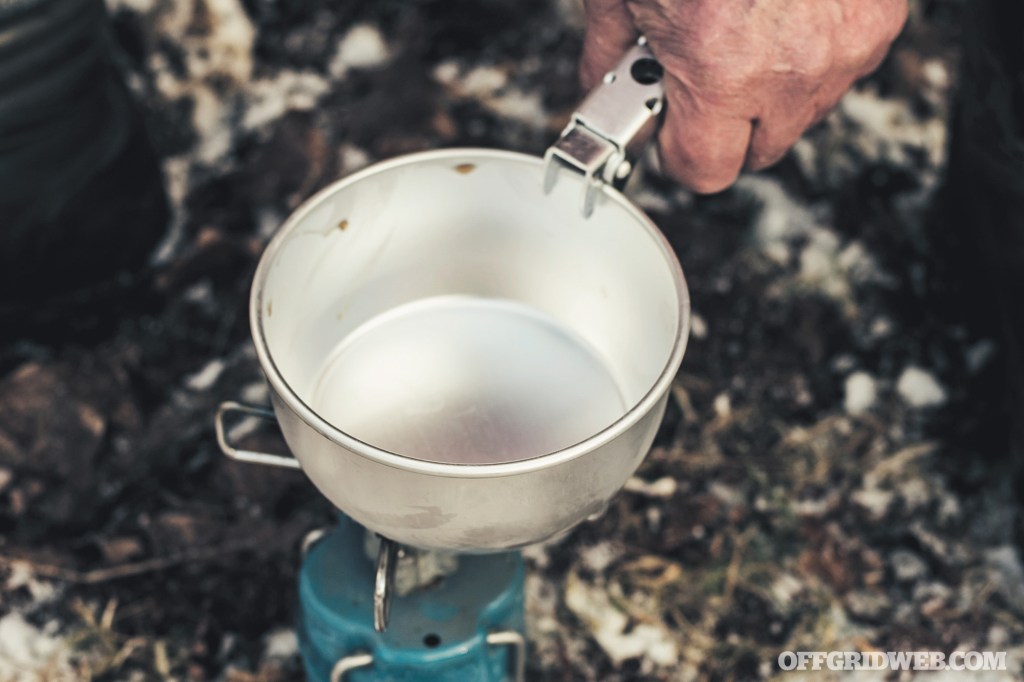
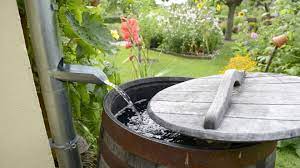
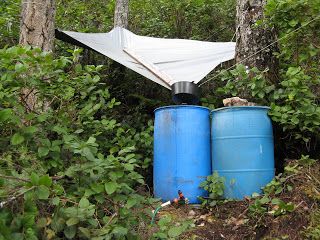
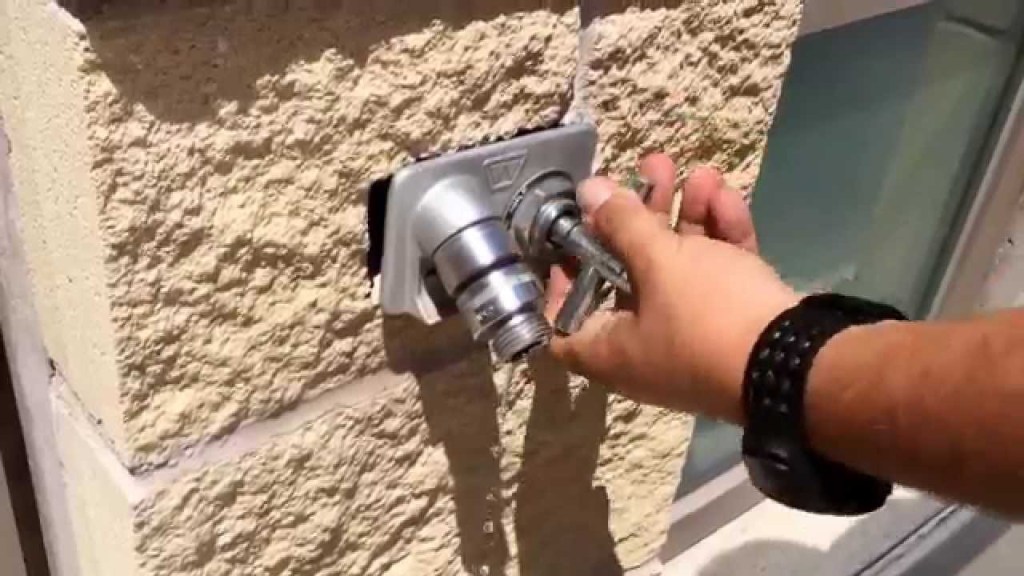
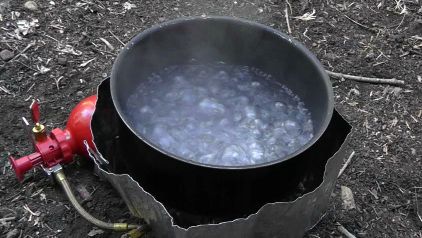
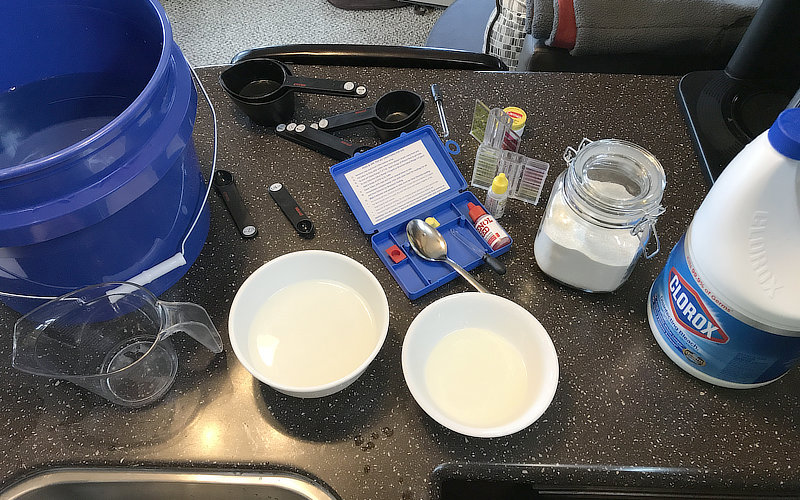
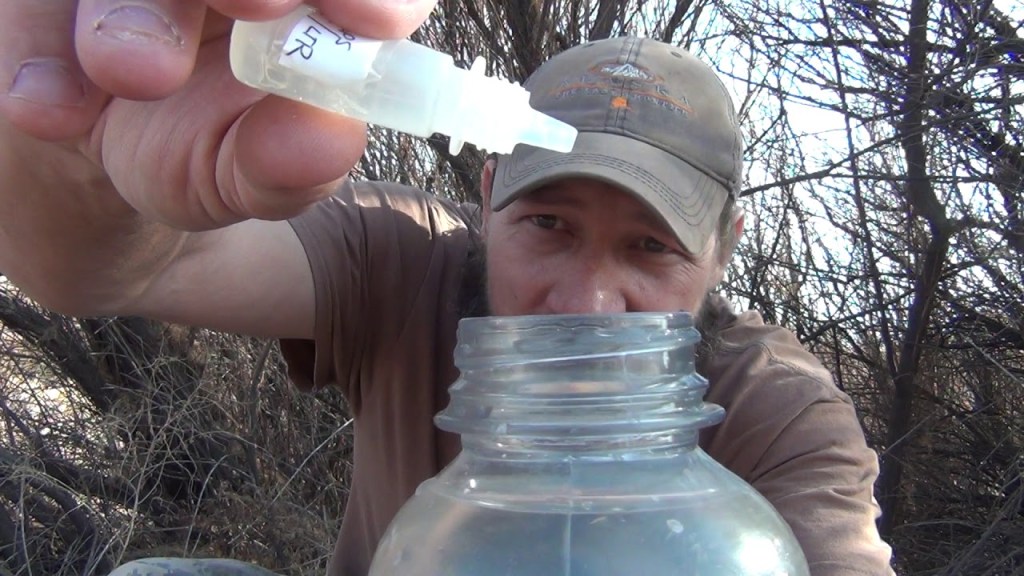
Don’t limit yourself to just water itself, though. Anything that can help locate, contain, or purify water will also be a huge hit. Try items like filters, water purification tablets, and desalination kits.

Food


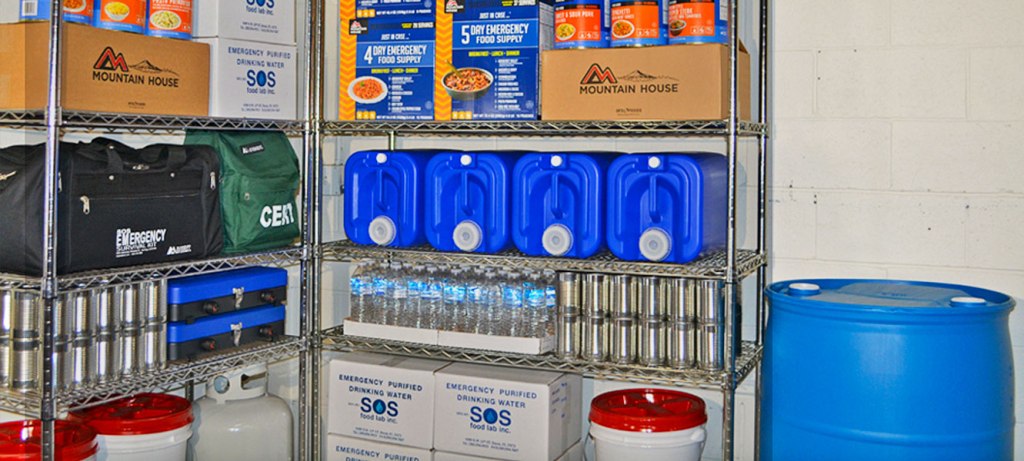
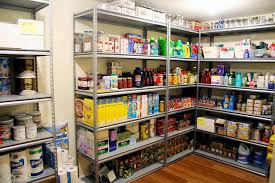
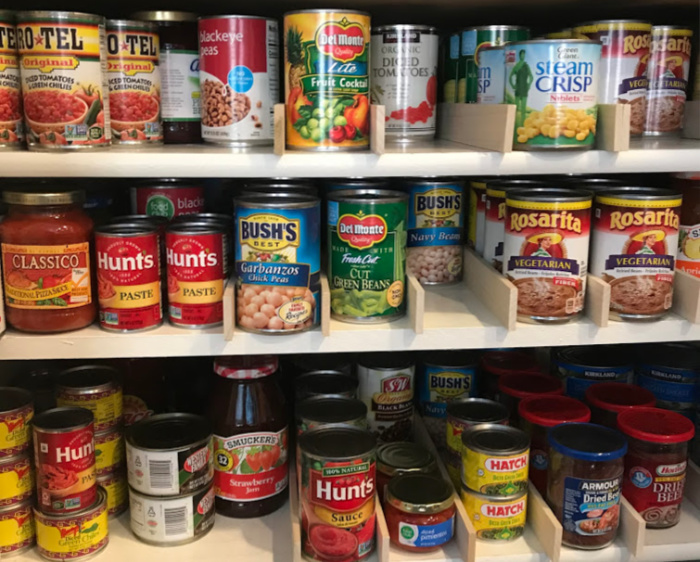
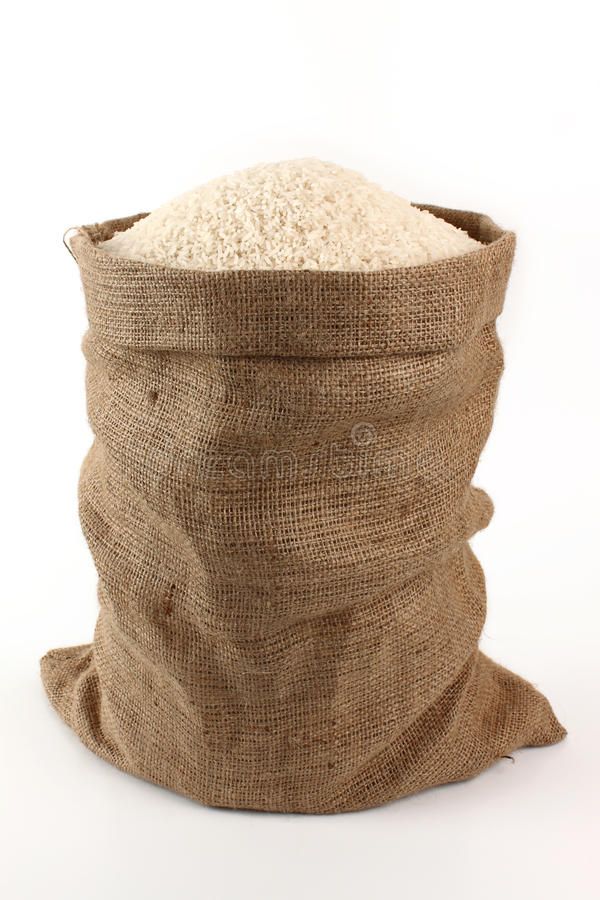
Food stockpiling is the second most important item needed for disastrous situations. At the very minimum, you should have a 30-day stockpile of food on hand. stick to dense foods like cans of beans and bags of rice, These items last longer and don’t take up as much space like a bag of potato chips.

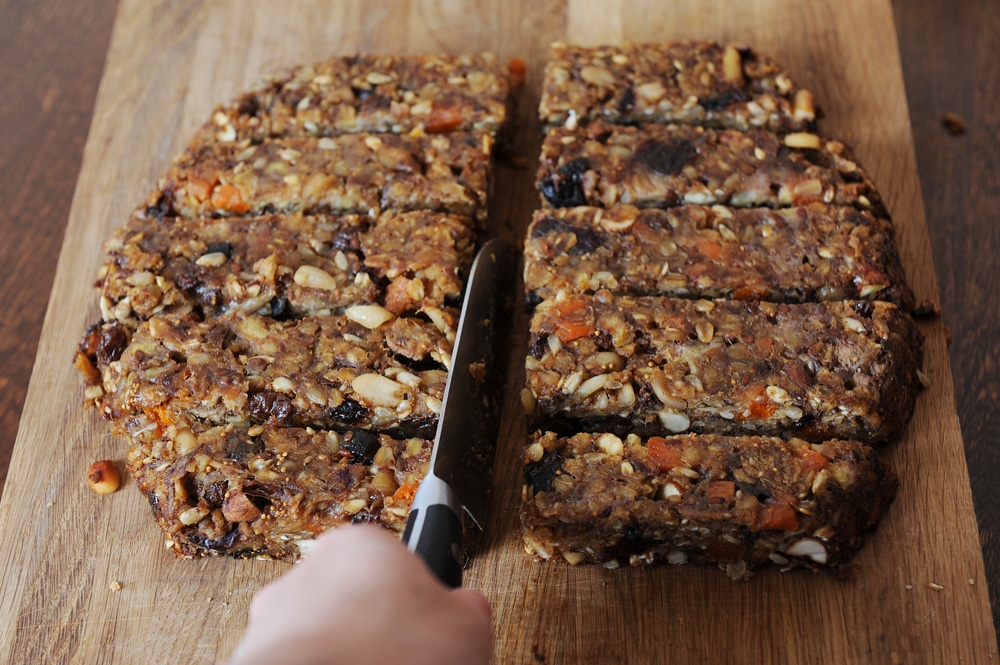
Focus your attention on calorie-dense and processed foods that can last years. Dehydrated, freeze-dried, canned, and smoked goods will fetch a high price. Save lots of room for protein bars, and protein powder.

Meat is so incredibly difficult to have a long-lasting shelf-stable supply of. Traditional meat preservation methods have been lost because of the fear associated with food poisoning and spoiled meat. And if we are honest with ourselves, it is so easy to just store meat in the freezer.

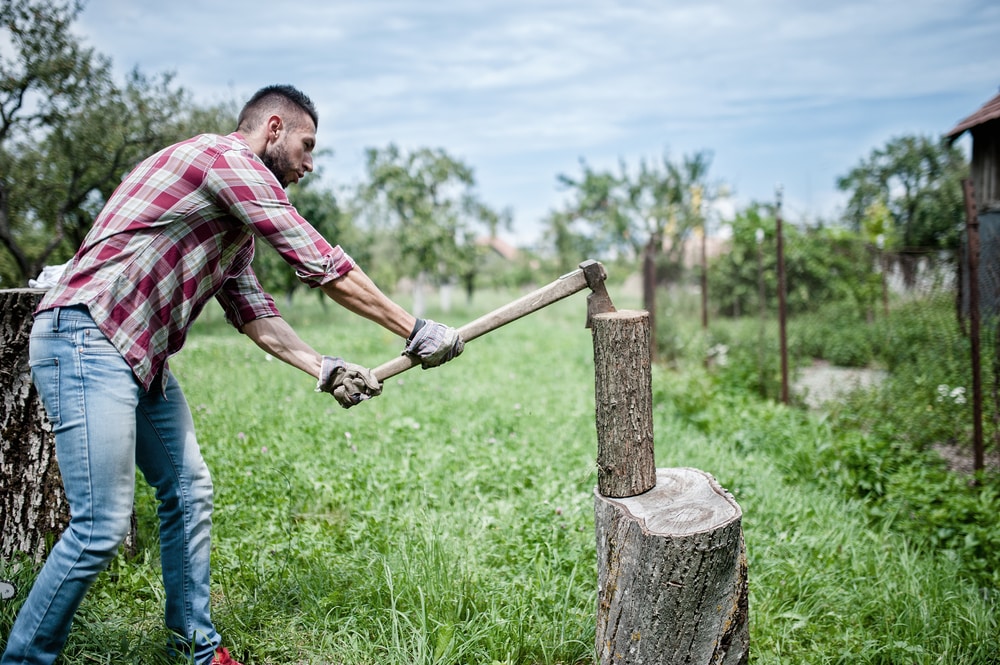
Salt For Meat Preservation


No matter which meat preservation method you choose, you will need to keep salt on hand. Canning or freeze-drying are the only ways to preserve meat without salt, and it is actually recommended that you use at least a little bit. Salt draws out moisture and binds to the remaining water molecules in the meat. This creates an inhospitable environment for microorganisms.

Most importantly, salt actually kills many microorganisms that may be contaminating the meat through a process called osmotic shock. This basically causes a dramatic loss of water in their cells. If they don’t outright die, they certainly suffer and cannot grow as fast.

If you have the space and the ability, you can attempt to grow fresh foods. Carrots, potatoes, and wheat store the longest and have multiple uses. Consider saving seeds to insure a constant supply of your favorite fruits and vegetables. Got room for small livestock? Chickens are a great option if you have space. They’re hardy, surprisingly loyal, and great foragers and composters that’ll help with your garden. When they stop laying eggs, drop them in a pot and you’ve got dinner. Eggs and chicks are both invaluable bartering items.
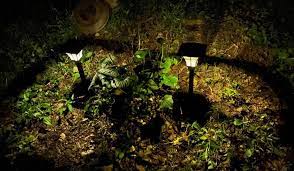
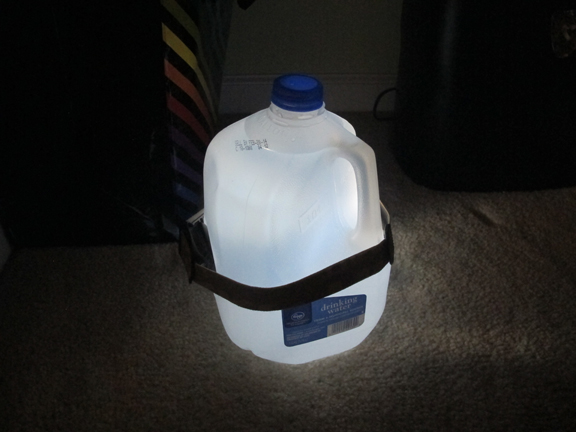
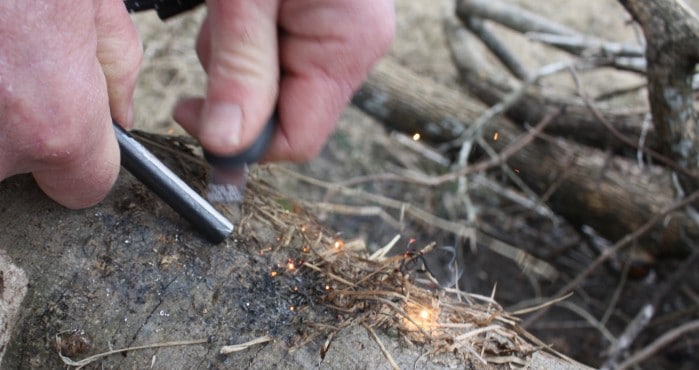
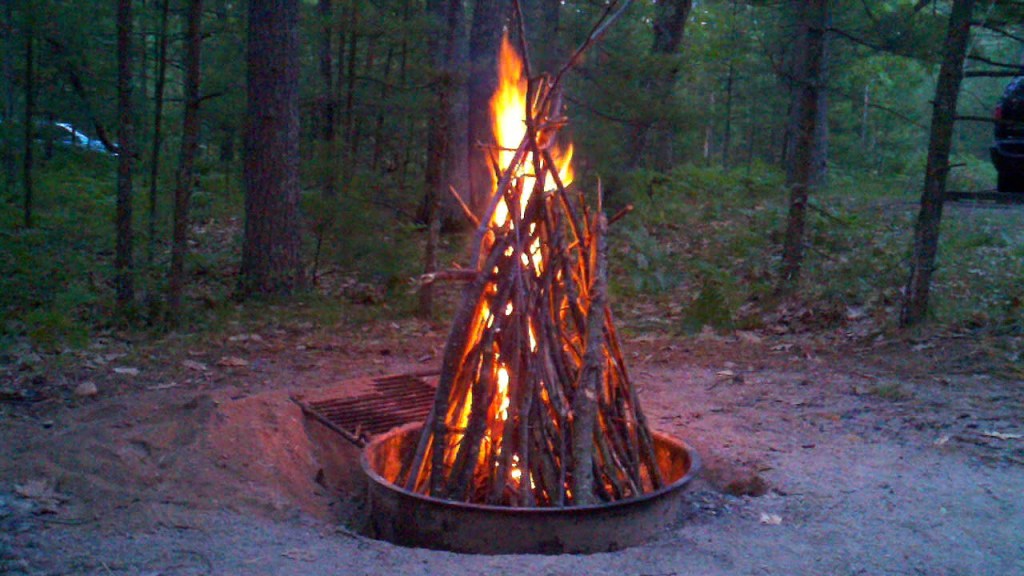
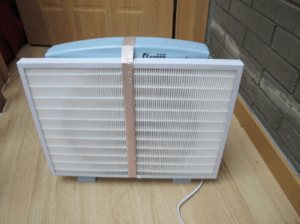
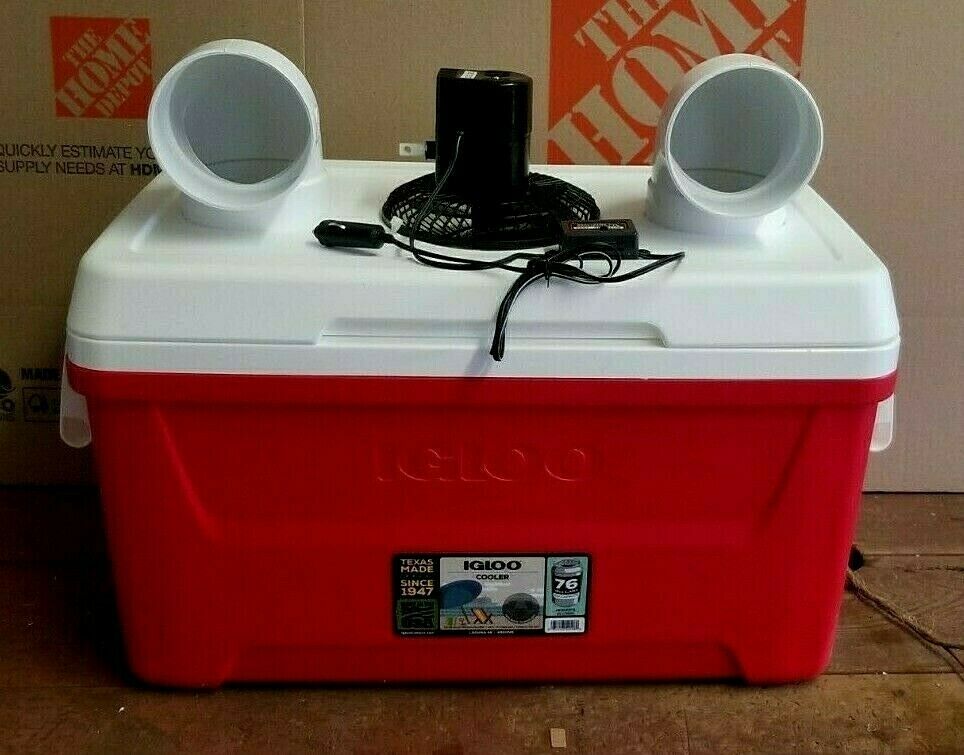
Heat or Light


Survival lighting is an often overlooked yet vitally important consideration for preppers. Overall, solar lanters, headlamps and electric lanterns are the safest and most useful types of survival lighting. However, these will eventually run out of batteries or need to be recharged, so you’ll want a backup option for long-term preparedness.

Ideally, you would get several types of survival lights to ensure all of your needs are covered.
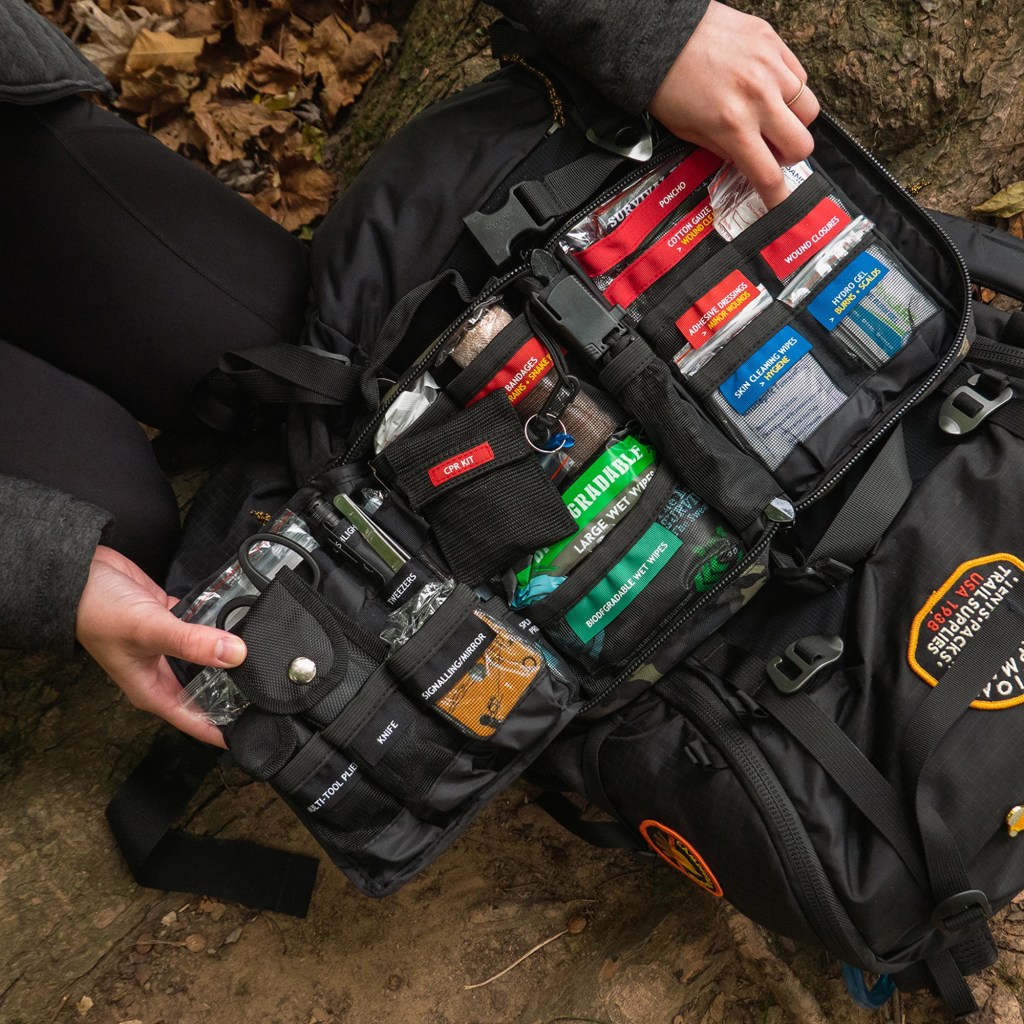
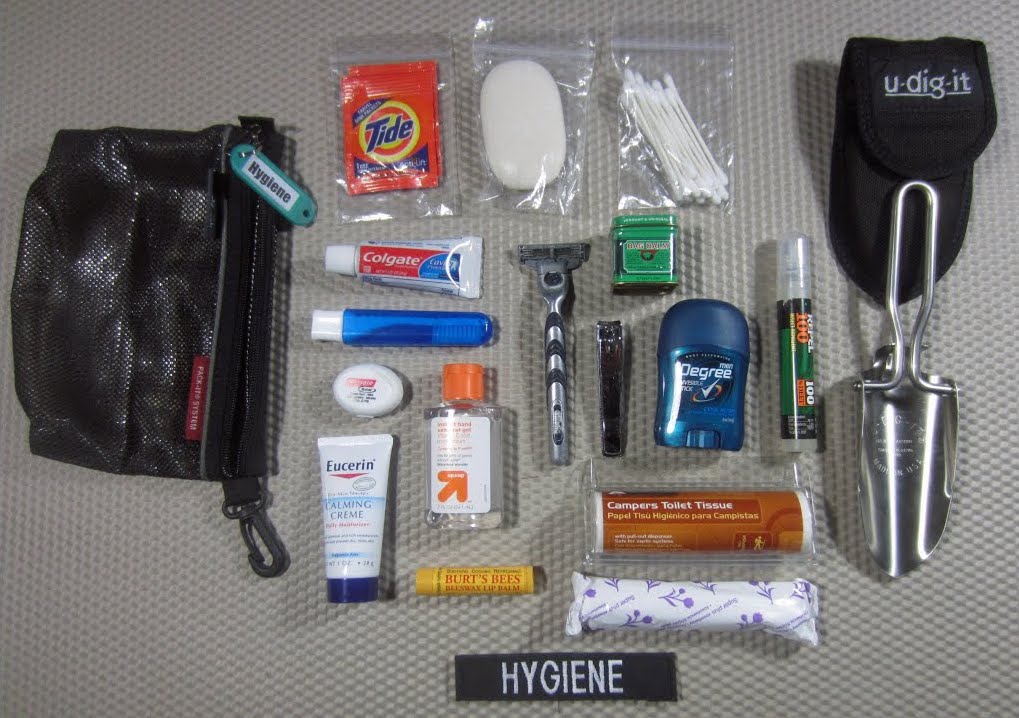
Medical Supplies

I recommend investing in a quality medical pouch or kit itself. It’s important your kit contains bandages, gauze, wraps, creams, and ointments are supplied. You’re going to use them once and then eventually you’re going to need more.

Also, you can trade medical supplies in a pinch, so it’s a great supply for bartering. Because if somebody doesn’t have any medical supplies and you have extra, you could trade for more food or water.

Survival Prepper: Important Knots Every Prepper Should Know

Tying knots is one of the most essential skills everyone should know, prepper or not. This skill comes in handy in your day-to-day life and emergency situations, even saving a life.

Since one of the best ways we can prepare for future survival scenarios is to learn how to tie a few different knots. I’ll also cover the essential tools for knot tying, the different parts of knots, and everything in between.

Let’s get knotty. 

Do you know how to tie a knot if it meant your survival? How about a specific knot that you would need in a sudden survival scenario?

Knowing how to tie a climbing knot sounds more pleasant than learning how to fall safely, doesn’t it?
You don’t need to learn and try to perfect all the hitches, but developing your skills with the knots, will be useful and practical for everyday use.

If you haven’t learned the essential knots to be able to tie yet, not a problem. Tying a specific survival or fishing Knot can mean the difference between surviving and knot surviving. There are thousands of different Knots for each kind of scenario. From doomsday situations to fishing for dinner.

Some knots are essential to learning more than others. Most of the time you’ll only have to be able to tie a few knots. Other knots are only needed in rare or special circumstances. So depending on your activities, some knot categories would be more essential for you than others. There are knots just for fisherman use and knots that are more common when camping. Learn the ones that you are going to use the most first.

Know The Knot

The importance of knowing how to tie knots, when, and where to use them are more than useful—they could be life-saving.

Of course, depending on your situation, every knot has its special place and is used for specific purposes. It’s best to learn ahead of time before you find yourself in an emergency learning how to tie a knot.

Rope Construction

The construction of the rope tells you important details about what can and should be done with the rope. Certain materials should be used for certain purposes and knots, while other types of construction are for other uses and types of knots.

Materials

There are two kinds of cordage materials. Natural and Synthetic. You can even make your cordage on your own.

Natural Materials

  • cotton
  • sisal
  • manila

Synthetic Materials

  • polypropylene
  • polyester
  • nylon

Useful Tools

Choosing to use tools when handling ropes and knots; will easily make you 50% more efficient than not using them.

Here is a list of some essential tools.

  • Sailmakers Palm and Needle
  • Adhesive Tape
  • Sharp Knife
  • Netting Needle
  • Marlinspike
  • Swedish Fid

Terms & Tips

When first starting, most of us watch tutorial videos and try to follow them. However, the terms and phrases used by these experts can sometimes be confusing. It’s best to try and learn a few basic terms to follow along while working with cordage and viewing the videos.

Types of Knots

Focus on mastering just one survival knot at a time. Once you can pull off tying and untying the knot with your eyes closed and can teach someone else how to do it, move on to another knot.

Knots can be broken down into different fields they’re primarily used in, such as survival knots or sailing knots. Another way to break them into is by specific types, such as hitches and bend knots.

Types:

  • Coils
  • Hitches
  • Bends
  • Loops
  • Binding
  • Stopper
  • Splices & Whippings
  • Decorative

Three-Strand- the simplest braid

The three-strand knot is also known as a plait or braid. If you are familiar with braiding hair, then this should be very easy for you. The first step is usually easy; it usually involves making the three ropes become one. You can do this by holding the three ropes together and making a knot on one end of the rope.

Double Sheet Bend

The double sheet bend, or weaver’s knot, is used to connect two pieces of cordage together. If you must join two ropes together during a survival situation, time will likely be of the essence. The double sheet bend knot will help you accomplish the task quickly without sacrificing sturdiness.

Weaver’s knots are not prone to jamming or locking up while being used and can be untied rapidly. This type of knot is often used when creating a guideline across a waterway, hanging food high up in a tree, increasing the length of cordage when constructing a shelter, using non-traditional and short types of material as cordage, and tying down large loads.

THREADED FIGURE-EIGHT

The threaded figure-eight knot is an essential climbing knot. The way it’s tied allows it to jam under strain. The best part about this knot is it’s easy to recognize, so you can easily check a buddy to make sure they’re safely knotted before the climb. 

Where to use it:

  • Tying a rope onto an anchor
  • Attaching a rope to a climber’s harness
  • Creating a “stopper”

Square Knot

The reef knot, or square knot, is an ancient and simple binding knot used to secure a rope or line around an object. In addition to being used by sailors for reefing and furling sails, it is also one of the key knots of decorative macrame textiles. The knot lies flat when made with cloth and has been historically used for tying bandages.

To tie this knot, take one end of the rope in your left hand and a length of rope in your right hand. Cross the left over the right, forming an X so that your rope ends are in the opposite hand. Then, put the right over left, forming an X, and pull tight. 

Butterfly knot

Need a secure loop in a rope? There are many ways of doing this, but the butterfly knot is one of the best. Often used by climbers, it’s handy if you can get some slack in the rope and need a loop that won’t slip under a heavy load.

Gather in some slack and form an 8-shaped loop in the rope. Fold the upper loop down, pass it around the rope then thread it through the lower loop and pull it tight. That’s all it takes.

Are these all the knots you can use to help you survive? Nowhere near! There are hundreds of knots, some of them very specialized. The more you can learn, the better equipped you’ll be to survive. These four will cover most things, though. Get some bits of rope and practice until you can tie them confidently, and you’ll have a big advantage when modern fasteners aren’t available anymore.

Conclusion

Knot tying in survival and in everyday use can be very important. If you struggle with the important and essential knots, I would encourage you to get a nice thick piece of rope and start learning knots with a much larger rope. This can make a world of difference. Thicker rope holds its shape better while you tie and it is also much easier to handle.

We used thick rope to teach shoelace tying in our house. If it can help 4-year-old fingers get more dexterous and effective then it will work for you.

If you feel pretty proficient with knots then spend some time bashing up natural materials and making cordage from nature.

Survival Prepping Basics

Knowledge and correct information are the first steps to survival. There are generic preparations that are appropriate for every emergency situation. However, concrete and careful planning is needed for you and your family to survive during emergency situations.

It’s better to prepare for the worst in case things go upside down and you aren’t equipped with the essentials to survive. So, here’s a guide for those of you who are just beginning to prep for the worst possible scenario, such as a natural disaster or a terrorist attack.

Prepare To Leave Your House With Short Notice

  1. Plan and practice with the family the exact steps you’ll go through in the event of a disaster.
  2. Get your home, animals, and property ready so you can be self-reliant for at least two weeks.
  3. Have a self-defense weapon on hand to keep you and your family safe if you happen to find yourself in an aggressive situation with another person or animal.
  4. Spread the word to your neighbors, families, and friends, and recruit other families to help prepare multiple locations. That way, there is always a place to go, no matter where the emergency occurs.

Bugging In & Really Mean It

we discussed the bare essentials for survival—food and water. Bugging in is choosing a familiar and safe in the event of an emergency. It’s very important you map out and practice an escape plan. Not everyone has the ways and means to leave when the S really HTF. Some have unreliable transportation or no personal transportation at all. Others may not have the luxury of having a bug-out location, family, or friends to run to. That doesn’t mean you can’t survive. In some cases, bugging in is the best and safest option—especially if you live in the middle of a cramped and crowded city where leaving would be next to impossible.

Don’t Forget About Hygiene and Sanitation

Stocking up on toilet paper, baby wipes and soap is just as important as stocking up on food and water. You have to stay clean in order to avoid becoming sick. Proper sanitation during a disaster is a critical component of preparedness. Frequently, there are more deaths following a disaster due to poor sanitation, than lives lost in the initial event. The earthquake in Haiti is a classic example as it was followed by a horrific cholera outbreak that killed thousands of people and hospitalized hundreds of thousands.

Are You Fit for Survival?

If your entire prepping plan comes down to, canned foods and toilet paper then you are probably not physically fit for survival. Many preppers will find themselves completely exhausted after just one day of disaster. Hiking from place to place, carrying supplies back and forth, repairing damaged roofs or windows, etc. All of it will wear you out fast if you’re not in shape. It is important to establish what your goals are and start a prepper fitness routine.

Here are some prepper baselines to consider.

Can You…

  • Walk 12 hours while carrying a heavy pack?
  • Lug 2 ½ gallons of water in each hand back to camp from a stream 3 miles away?
  • Carry a 150lb person on your back?
  • Scale a wall?
  • Maneuver on crutches?
  • Swim across the lake located nearest to you?
  • Run 5 miles over hilly terrain?

10 Winter Survival Basics Preppers Follow

Whether you’re camping, backpacking, living off the grid, or in a survival situation, you’ll need to consider your options for staying warm in all kinds of weather. That’s tougher than it sounds when you’re far from civilization.

How to Dress Up for Winter Survival

Clothing is your first level of protection in this harsh weather, so make sure you’ve got proper layers on. 

Your base layer should be made of wicking fabric to keep sweat and moisture off of your skin. Merino wool is an exceptional kind of fabric that keeps you warm and dry when it’s cold and keeps you cool when it’s hot out. Synthetic fabrics like polyester do well as a base layer, too. Stay away from cotton as it absorbs a lot of moisture. It will stay soaked when it gets wet, and that could lead to hyperthermia.

People who live in arctic climates have used animal hide and sealskin to fend off the cold, so take it from them to keep warm if you’re in the same terrain. Prevent heat from escaping your head by wearing hats and scarves.

Finding Your Way and Getting Help

Navigating in the winter, when trails can be obscured by snow and daylight is painfully short, is no easy feat. The combination of thick snow, biting wind, and poor visibility can pose a challenge, even when you’re familiar with the terrain.

A map or even a GPS device will be of great help in finding your way back to safety. Avoid avalanche-prone areas like steep inclines and areas with scarce trees. If you can’t find a trail, try looking for other signs and watching for landmarks.

Sat phones will come in handy when you’re trying to reach for help. Fire, smoke, and mirror distress signals can be helpful, too. Anything dark or that contrasts with the white backdrop (like branches forming an SOS over the snow) can serve as a signal for help.

Pick the Right Location

Picking the right location is crucial to building your fire. Choose one with natural protection against the wind; a large rock, boulder, or log would do. These natural windbreakers can also act as heat reflectors. Dig beneath the snow and keep the area clear from it. Don’t build your fire beneath trees — their branches are laden with snow that can melt and put your fire out.

Build a Winter Shelter

You gotta keep in mind that not all tents are suitable for the winter, so pick one that can withstand the biting cold.

Many cold-weather shelters and specialty tents are large enough to accommodate you and your gear and have ample space for wood-burning stoves to keep you warm. 

Basic seasonal tents are usually made from nylon, while cold-weather tents are typically made of silicone and polyurethane to keep cold and moisture out. However, these types don’t accommodate wood-burning stoves very well. They can be bulky and heavy as well, so take the fabric’s weight and durability into account when you’re choosing a tent. You also have to make sure that the tent has enough ventilation.

Another great addition to your winter tent is a space blanket. Also known as an emergency or mylar blanket, this item helps reflect heat to the body. It’s also lightweight and widely available so that you can bring one or two in your backpack. Tarps also do a good job of keeping the rain out of your camp.

On the off chance that you find yourself without a tent, space blanket, or tarp, there are various emergency shelters that you can build using natural materials like poles, branches, foliage, and some cordage.

Sometimes several feet of snow can be a good thing as it allows you to build snow caves. Snow caves are made by excavating snow and forming a shelter to protect people from the wind.

Carry Multiple Firestarters

Why stick to one when you can have a bunch? It’s always great to have an array of firestarters within your reach — when one doesn’t work, you’d still have other options to light your fire with. 

If you’ve suffered from a wreck, you can use the oil to start a fire. Char cloth is also a handy firestarter that you can keep in an Altoids tin. You can also pack some DIY egg carton firestarters in a waterproof Ziplock baggie.

Make sure you’ve got more than one way to light that fire. Your matches can easily get wet and soggy, so don’t forget to pack a Ferro rod, firesteel, and a couple of trusty BIC lighters in your kit as well.

Find Dry Tinder

Trying to find dry tinder in the winter can be a challenge as everything will be damp from the snow. Your knife will be your best friend; you can use it to whittle down dead branches until you get rid of the damp bark and find dry wood. Pine and birch bark also work nicely.

Keep That Fire Burning

Making a fire in the winter is tricky, but not impossible. The cold, damp, and windy conditions will be a challenge, so have a lot of patience…and dry tinder on hand.

Use the Right Type of Firelay

Using the right firelay can keep your fire burning for a longer period. Ideal firelays for winter are the log cabin and upside-down firelays, as they can burn for a long time with minimum supervision. You can also try to build a long fire or this self-feeding fire that can burn for 14+ hours.

Stay Hydrated (But Don’t Eat Snow)

Just because it’s cold out doesn’t mean you don’t have to replenish lost liquids. It’s also a way to protect yourself from hypothermia and possible frostbite. Fortunately, finding water during the winter is not a problem as long as you have the means to melt it.

Under no circumstances are you to ingest snow.

Doing so would decrease your core temperature and will bring all sorts of trouble, starting with hypothermia. You want to pack that snow tight into a container to get rid of any excess air before putting it over the fire to melt. The heat also kills microorganisms and other nasties from your drinking water.

How to Find Food and Keep Your Energies Up

It’s important to keep your energy up during the winter. Your body is working twice as hard to keep you warm, so it will need all the fuel it can get. Hypoglycemia (low blood sugar) is a real threat during these cold times, and it can often lead to confusion, headaches, and dizziness. 

Drinking plenty of water will help reduce the hypoglycemic effect. Foods like apples, molasses, licorice roots, and wild yam are also particularly effective in combating hypoglycemia.

Other foods that can tolerate winter temperatures include wild nuts like acorns, berries, plums, cattails, and mushrooms.

Trapping is an efficient way to find some meat. Rigging multiple traps and snares saves you a lot of time and energy compared to hunting. Rabbits and squirrels are available even during the winter. Their meat is pretty lean and won’t lend a lot of fat, but it should sustain you in a survival situation. Other meatier game includes beavers, raccoons, and deer, but you’ll have to hunt for these acts.

You can read more by going here.

Survival Prepper: Climate Change

We live in a world suddenly plagued by wildfires, extreme heat, novel viruses, and sociopolitical unrest.

The realities of climate change are slapping me in the face. I’ve had personal run-ins with weather disasters for five straight years now, starting in 2017 when my mom’s house burned down in California’s Tubbs fire. This summer, after temperatures topped off at 116 degrees in Portland, Ore., the city I call home, I know the game has changed. If this can happen, anything can. Snow in Houston: Why not? How about a heatwave in Greenland or severe flooding in Germany? Before summer even began, the entire West — extending as far east as Texas and as far north as British Columbia — was laid flat by record-breaking temperatures, worsening drought, and an unusually early fire season. For more than two weeks, the Bootleg fire has been burning in southern Oregon, so hot and extreme that it generates its own weather.


The only thing predictable about such events is that they will continue to happen, with increased severity and frequency, and they will cause a lot of human misery. They’ve forced me to reevaluate my indifference toward prepping.


In fact, our whole society seems to have been caught off guard by changes that, not so long ago, seemed far off. Here in the Pacific Northwest, people sweltered in houses that aren’t typically equipped with air conditioning. Our roadways warped and cleaved, and power lines melted; hundreds were hospitalized with heat-related illnesses. In Texas, where my brother lives, state regulators urged citizens to limit power usage during a June heatwave to avoid the massive grid outages that, during a severe winter storm in February, left nearly 70 percent of Texans without electricity and half without water. In New York City, heavy rainfall flooded stretches of the subway system this month; in Miami, the construction of properties on a dissolving shoreline no longer seems sound.

With these infrastructural and governmental inadequacies, people resort to improvised, often subpar measures to stay safe. Last fall, when wildfires surrounded Portland, awarding us the worst air quality in the world, YouTube videos on how to make DIY air purifiers circulated on social media. Though a box fan and a furnace filter panel were the only things required — items typically found at any hardware store — the entire city was sold out.

My prepper mentality came to mind again for me when temperatures soared a few weeks ago, and I drove to four different locations looking for ice because our refrigerator had started smoking. (According to my landlord, mine was the third refrigerator that needed replacing in less than 24 hours.) At my last stop, the cashier shook his head apologetically: “Everyone’s trying to stay cool.” This time, city residents were slapping together jury-rigged swamp coolers with large bowls of ice and those perennially versatile box fans. I’d run up against the limits of what the marketplace could provide. In a moment of desperation, I asked my neighbors two doors down if I could store my perishable goods with them. Though they kindly accommodated, it made for awkward interactions later when I had to knock on their door and ask for my coffee creamer or salad greens. After a while, I decided I didn’t really need those things after all.

You can finish reading this article by going here.

Survival Prepper: Electronics

I myself am an advocate of using technology, especially for homestead defense purposes. I prefer an induction kitchen over an open fire, without any doubt. And I know that given the fantasy of the need for an endless-expanding market, things are designed, engineered, and manufactured for failure. This is because of the need of being sold at an affordable price and keep the money flowing. YOUR money, flowing from your pocket to theirs. No matter if you decided to use some “excess” money you may have, in buying a new microwave, or some other stuff. Keep reading, please.

Simplicity is reliability.


But what I do feel the need to mention, is how important is to keep our devices and appliances as simple as possible. Simplicity is reliability. Sophistication, in my opinion, has been used for decades now to absorb the excess money generated by the boost of the companies’ profits, produced by an incredible increase in the use of automation and information technology, outsourcing, and other similar phenomena that allowed to decrease the production costs.

This sophistication has brought us extremely beneficial devices at affordable prices: heat/thermal vision for our cellphones, high-powered crossbows (carbon fiber, anyone?), and tons of other gadgets. Tablets, GPS, tasers, drones, and a good variety of these survival gadgets are going to be very useful and widely used in the sustainability or defense of our homestead. Air rifles technology and some interesting toys like 3D printers and all types and flavors of machines for making other machines in the skilled hands of the mechanically savvy are all over the place.

If you don’t really need fancy electronics, then keep it simple for your basic day-to-day needs. In the present conditions, someone who needs to fix their luxury refrigerator with a Bluetooth connection and with more computing power than my laptop is going to have a heart attack. That is if they are lucky enough to find someone able to fix that kind of thing that has not left the country yet.

You need a simple repair set-up

There are plenty of tutorials about lots of maintenance so you can do without thinking it twice, always of course with the assistance of someone with the needed technical knowledge. This is important because you will be able to diagnose problems at an early stage.

You do need, as a prepper, a bio-digester that will provide the gas generated by the waste of the chicken coop, to boil the rainwater that you have filtered previously with your entirely gravity-fed, high capacity, custom homemade, filtering equipment, and prepare your coffee. Only then, you can turn on your large TV, naturally powered by your solar/wind/hydro generator/batteries setup, to admire Scarlett in all of her beauty.

Complicated electronics are great…in good times.


Electronics have come to improve lots of things, and I am pretty aware of that.

Having equipment and devices that are made to last, perhaps with analog systems, instead of lots of electronics, is something that in the long term will be rewarded.

Yes, I have some digital measurement tools, of course. A digital vernier calibrator (sort of a very precise rule used by technicians to measure dimensions of small pieces, like in machining or repairing), for example. But I do have a mechanical one J as a backup that I could buy for a few bucks (and know how to use it).

I hope you have enjoyed the reading, by Jose from Venezuela.

God bless us, fellows!

Doomsday and the End of Days Approaching

Doomsday, end of times, end of days. Call it what you will, but as Christians, we look forward to it.

Why?

Because it means Jesus is coming to save us.

He’ll rescue us from this scorched Earth and we’ll ascend into Heaven, to live out our days together with God.

And to be honest, it may be closer than you think.

Geopolitical tensions are rising with the threat of Russia’s invasion.

Food shortages are affecting modern America as well as third-world Africa.

And you only have to look at the Capitol Hill riots to see how easy a civil war could break out.

So let me ask you this:

How will you protect your family from this chaos?

Because of the rise into Heaven with Jesus, we must first survive the end days. Only then will He take us to The Promised Land.

Does that mean living on tinned rations in underground bunkers? Or sleeping with an AK47 under your pillow? I don’t believe so.

All you actually need is a simple, homemade device crafted from parts you can pick up for pennies on the dollar.

It’s likely you even have most of them sitting in your kitchen drawers already!

This video presentation reveals exactly how to survive after the fall and thrive.

And in my opinion, that’s essential to make it through alive, ready, and waiting to rise into Heaven with Our Lord Jesus Christ.

Members of my flock, rest assured, this new survival revelation comes with my divine blessing.

I hope you heed my advice and you’re ready for when He comes.

I’m all set, are you?

Defend your family, and rise with Jesus

Survival Prepper: Clean Water

If you are an outdoor lover who enjoys hiking, camping, or trips in the wilderness, you understand how quickly a bottle of water can be consumed. The intense heat of the sun and sweating profusely can require you to drink more to stay hydrated. Water can be consumed quickly and you can run out fast.

This can be particularly true in a disaster situation where clean water might not be available for a while. An earthquake, flood, hurricane, or other disasters can damage water and sewer lines making freshwater unavailable for homes and families until water lines are repaired or help comes. Drinking unclean and unsafe water can lead to disease and death.

If you are in a situation where you need to find clean water to drink, here are some ideas.

Water Heater Tank


Be sure to turn off the electricity or gas before you unplug the drain at the bottom of your water heater tank. This water is already filtered water, and unless you fear it’s been contaminated, it should be safe to drink.

Stored Water


Store water in food-grade clean containers now before a disaster happens. Rinse out and thoroughly clean used 2-liter soda containers or plastic juice jugs and fill them with tap water. You can store these in your closet, behind beds, in your basement, under furniture, or wherever you have room. You can also use containers made for water storage like 5-gallon jugs, 55-gallon drums, or stackable WaterBrick containers. It is suggested that water storage be rotated every six months to 1 year. If not rotated, then have the means to filter if needed. Having some water stored on hand can be a lifesaver in the event of a disaster.

Rainwater


If you can collect rainwater in rain barrels or buckets attached to the downspouts from the roof of your home, it can be your main substitute water next to your stored potable drinking water. Rainwater will still need to be strained, filtered, and purified before you drink it.

Sillcock Key


A sillcock 4-way key is an inexpensive preparedness item that you can find and purchase online. It gives you access to emergency water in commercial buildings like entertainment venues, mall strips, ballparks, golf courses, government buildings, rest stops, and so forth. Even if the water is turned off in a building, there can still be water in the pipes. Simply locate the water spigot on any business or public building and use the sillcock key to turn the spigot on. Have a bucket or hose ready to collect the water. The Sillcock key can be used where an adjustable wrench or pliers will not.

Avoid Standing Water


Pools and puddles of water are typically a focal point for bacteria and other harmful toxins. While this water can be purified, it will probably taste bad and might contain other harmful substances that are more difficult to filter out. Brown or muddy reddish water can be a sign of rust particles or other harmful substances and must be avoided. Most purification methods typically won’t be effective in this case and the water could be dangerous to consume.

Boiling to Purify Water


If you have any water that you are not sure if it is safe to drink, you will want to purify it. One of the oldest and most proven ways to purify water is by boiling.

To purify by boiling, first, pour the water through a clean piece of cloth or a coffee filter to strain out the visible dirt and debris. Then heat up the water in a pot until it starts to boil. It’s best for the water to reach a boiling point of 212 degrees Fahrenheit or 100 degrees Celsius to destroy pathogens if you have a thermometer to check.

Allow the water to boil for a minute or so to ensure it is completely up to temperature and that anything living in the water is killed. Boiling for too long will cause you to lose some of it to water vapor. You might want to cover it with a lid so that any water you lose to vapor will collect and condense again in the pot.

You also want to note that while boiling water will kill bacteria and dangerous living organisms, it won’t do anything to salts, chemicals, or rust. It also won’t change the taste of the water due to minerals or substances that make it taste bad.

Pool Shock to Purify Water


Calcium Hypochlorite or pool shock can be a bleach substitute for purifying water. Its long shelf-life and affordability make it a good choice to have on hand when needed. It also takes up less space than liquid bleach. The EPA states that you can use granular calcium hypochlorite to disinfect water.

Create a chlorine solution: Put one teaspoon of granular calcium hypochlorite (about ¼ ounce) into ONE gallon of water and allow it to dissolve. This blend creates a stock chlorine solution.

To disinfect water: Add ¾ ounce of the chlorine solution to treat ONE gallon of water.

[The ratio to use is one-part chlorine solution to 100-parts water to be treated. This is about equal to adding 16 ounces (1 pint) of stock chlorine to 12.5 gallons of water.]

To get rid of any unwanted chlorine smell, aerate the disinfected water by pouring it back and forth between two cups or canisters. This is true for bleach purified water, or stored water as well.

Chlorine Bleach to Purify Water


You can use regular, unscented chlorine bleach to disinfect your water. Check the label that it contains 6 or 8.25% sodium hypochlorite. Avoid using color-safe, scented, or bleaches with added cleaners. Be sure to filter the water getting out any debris or sediments first.

Then use 16 drops (¼ tsp) of chlorine bleach to purify TWO gallons of water or 8 drops to purify ONE gallon. If the water is cloudy, cold, or colored then double this amount. Stir the water and allow to stand for 30 minutes.

You can find the full article here!

Survival Prepper: Essential Shoes

While it might not be as exciting or sexy as some of the survival gadgets on the market today, a good pair of boots is an essential piece of survival equipment. If you ever find yourself bugging out, forget your tennies, they won’t survive. You’ll need a good pair of hiking boots or work boots to help you on your trek through the wilderness.

Good boots are an investment. Properly cared for, they will last. But if you don’t care for them, then you can count on their life being considerably shorter. That could very well leave you in a position where you don’t have any footwear; not something you want to contemplate in a survival situation. Going without good footwear in such a situation could see your feet cut to ribbons.

Of course, a lot depends on the quality of boots you buy. Like many other things, you tend to get what you pay for with boots. Good ones are better made, with higher quality materials and greater comfort. But the quality of the boots themselves doesn’t matter as much as how well you take care of them. Proper care can add years to the life of a pair of boots.


Break Them In


Break them improper break-in may not add years to the life of your boots, but they will add years to the life of your feet. Actually, it will help your boots to last too, as painful feet cause people to walk improperly, causing unnecessary wear on soles and heels.

Breaking in should be done in small stages. Don’t try to wear your boots for a whole day, until you’ve got them well broken in. Until then, only wear them for a couple of hours at a time. That will give your feet a chance to recover so that you don’t end up limping or walking improperly.

Some boots are made with harder, stiffer leathers. If there is a part of the boot in which your foot needs to be flexible, it can help to work that area by hand, bending it over and over to remove the stiffness from the leather. Do this as you are oiling the boots, and it will do a world of good for your feet.


Waterproof Them

Waterproof boots need to be waterproofed; they don’t come that way from the factory. Even if your boots say that they are waterproofed, don’t believe it. The sprays they use at the factory aren’t very good and will wear off quickly.

Waterproofing is either done with wax or oil, depending on the way the leather was tanned. If your boots are made of oil-tanned leather, then you’ll need to use oil to waterproof them. If they are chrome-tanned, you’ll need to use silicone spray or shoe wax to waterproof them. One of the best products around for waterproofing boots is mink oil. This paste product works for both oil and chrome-tanned types of leather, as it is a combination of oils, lanolin, and silicone.