Let me get something straight right out of the gate: nature doesn’t care about your comfort, your schedule, or your excuses. Alabama proves that every single day. I’ve spent enough time watching people underestimate this state’s environment to know one thing—complacency gets people hurt, and sometimes killed. Down here, danger doesn’t always roar or rattle. Sometimes it buzzes, bites, or stings while you’re minding your own business.
This article isn’t here to coddle you. It’s here to wake you up.
Alabama is crawling with insects and insect-adjacent creatures capable of causing serious injury or death under the wrong conditions. No, they aren’t movie monsters. They’re worse—quiet, common, and underestimated. As a survival prepper, that’s what infuriates me the most: people refuse to respect threats they see every day.
Let’s break down the most dangerous ones and, more importantly, how to survive them.
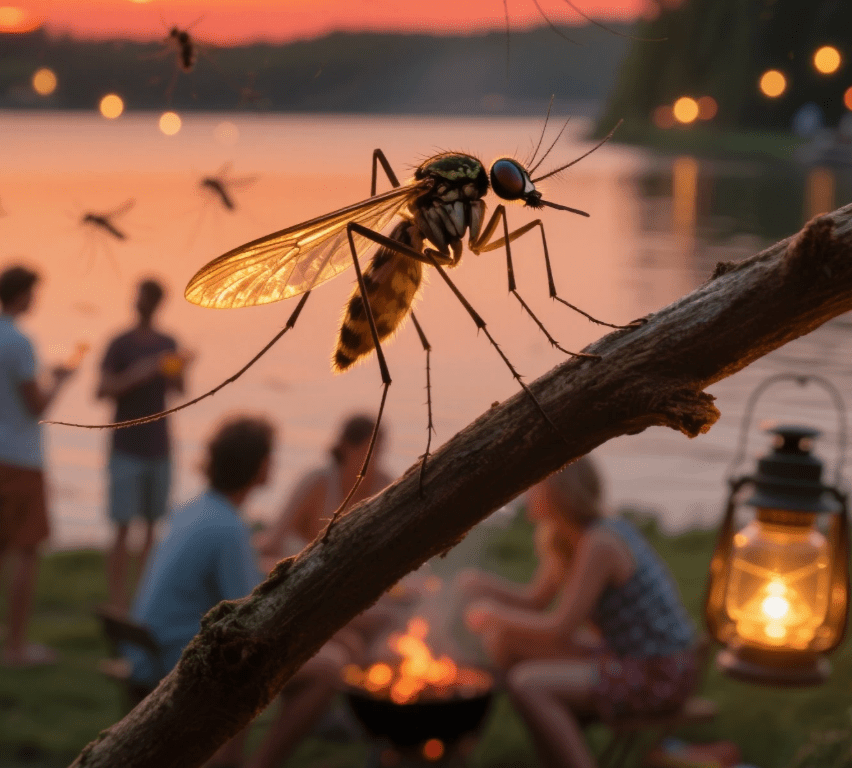
1. Mosquitoes: The Deadliest Insect on Earth (Yes, Including Alabama)
People laugh when I say mosquitoes are killers. They shouldn’t.
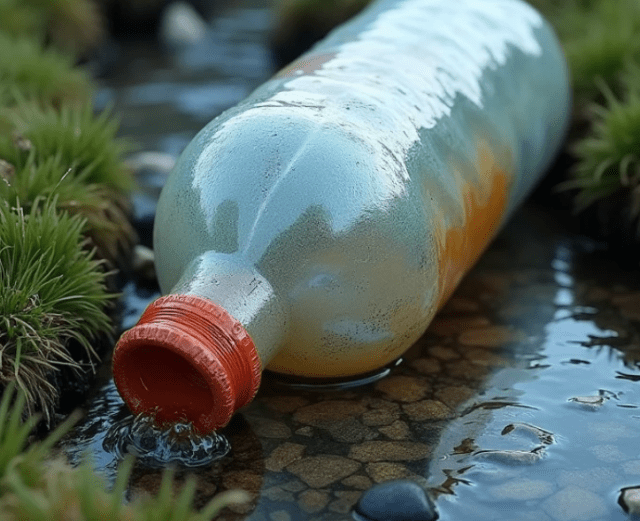
In Alabama’s hot, humid climate, mosquitoes thrive nearly year-round. These insects are not dangerous because of the bite itself—but because of what they carry. Mosquitoes are known vectors for diseases that can cause severe illness and, in rare cases, death if untreated.
Survival reality:
- You don’t “walk it off” if you get sick.
- You don’t tough-guy your way through fever and neurological symptoms.
- You either respect the risk, or you become a statistic.
How to survive:
- Eliminate standing water around your property.
- Use protective clothing and repellents when outdoors.
- Install and maintain window and door screens.
- Take unexplained flu-like symptoms seriously and seek medical care.
Preppers don’t ignore tiny threats. We neutralize them early.
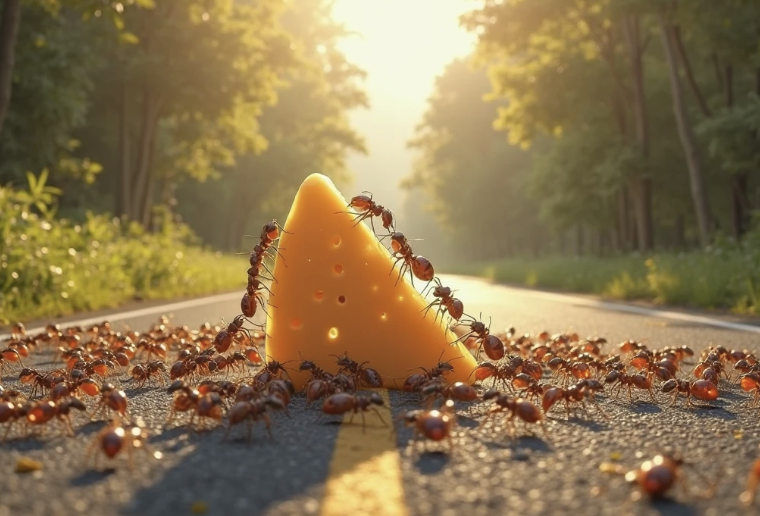
2. Fire Ants: Small, Angry, and Capable of Killing You
Fire ants are one of Alabama’s most aggressive invasive species, and I hate them with a passion earned through experience. These insects attack in swarms and sting repeatedly. For most people, it’s painful. For others, it’s life-threatening.
Anaphylaxis—a severe allergic reaction—can occur even if you’ve never reacted badly before. That’s the part people don’t like to hear.
How to survive:
- Learn where mounds are and eliminate them safely.
- Wear boots and protective clothing when working outdoors.
- If you know you’re allergic, carry emergency medication and make sure people around you know how to help.
- Multiple stings plus dizziness, swelling, or breathing trouble is a medical emergency—no debate.
Nature doesn’t give warnings. Fire ants don’t either.
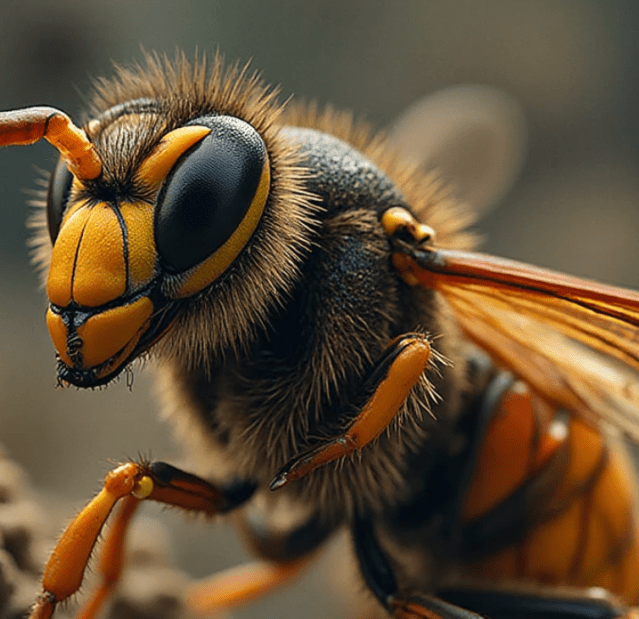
3. Wasps, Yellowjackets, and Hornets: Flying Rage with a Grudge
Alabama is prime territory for stinging insects that don’t die after attacking you. Wasps and yellowjackets are territorial, aggressive, and perfectly happy to sting you multiple times if they think you’re a threat—which sometimes means just existing near their nest.
A single sting can be deadly for someone with allergies. Multiple stings can overwhelm even healthy adults.
How to survive:
- Learn to identify nests and avoid them.
- Never swat blindly—movement escalates attacks.
- Keep food and trash sealed outdoors.
- If stung repeatedly or if symptoms escalate beyond localized pain, seek medical help immediately.
Preppers don’t pretend bravery makes venom harmless.
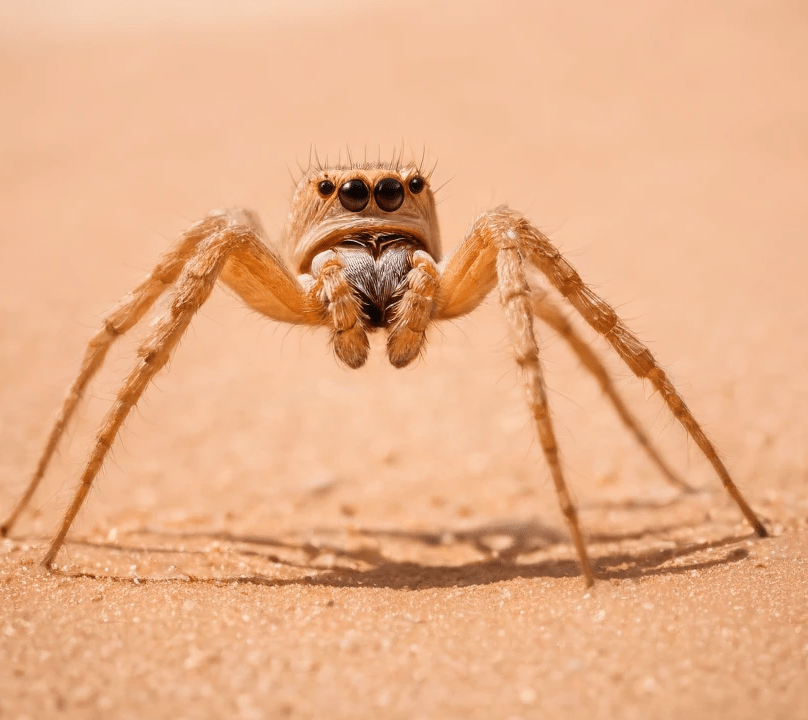
4. Brown Recluse Spider (Not an Insect, but Still Your Problem)
Let’s clear something up: spiders aren’t insects. But pretending that distinction matters when you’re injured is idiotic.
The brown recluse is present in Alabama, and its bite can cause serious tissue damage and systemic symptoms in rare cases. Most bites heal, but “most” isn’t a guarantee—and survival planning is about planning for exceptions.
How to survive:
- Reduce clutter in storage areas.
- Shake out clothing and boots before wearing them.
- Seal cracks and entry points in your home.
- If bitten, don’t ignore worsening symptoms—medical evaluation matters.
Denial doesn’t stop venom.
5. Black Widow Spider: A Warning You Shouldn’t Ignore
The black widow is easier to identify and easier to avoid—but only if you’re paying attention. Its venom affects the nervous system and can cause severe pain and complications, especially in children and older adults.
How to survive:
- Wear gloves when working in sheds, woodpiles, or crawlspaces.
- Keep storage areas clean and well-lit.
- Seek medical care if symptoms escalate beyond localized pain.
Preparedness means action, not panic.
Why Survival Preppers Love Living in Alabama
Now here’s the part that confuses people: with all this danger, why do survival preppers love Alabama?
Because Alabama forces you to stay sharp.
This state has:
- A long growing season
- Abundant water
- Dense forests and wildlife
- Rural land that’s still affordable
- A culture that understands self-reliance
Alabama doesn’t hand you comfort—it hands you responsibility. You learn quickly that ignoring your environment gets you hurt. That’s why preppers thrive here. We don’t fear the wild; we respect it. We prepare for it. And when things go sideways, we’re not waiting for someone else to save us.
Living in Alabama teaches you that survival isn’t about paranoia—it’s about awareness.
Final Words from an Angry Prepper
I get angry because this stuff is preventable. People die not because Alabama is cruel, but because they refuse to take it seriously. The insects here don’t care about your opinions. They don’t care if you “didn’t think it was a big deal.”
Survival is a mindset. Respect the threats. Learn the risks. Prepare accordingly.
Or don’t.
But don’t say nobody warned you.