Should Survival Prepping Be Fun and 5 ways to Prep on a Budget

Have you ever considered having fun with prepping?

Well you can check out my survival prepping TikTok videos here, or just read below!

Survival prepping is not something that is discussed often in this world, but it is starting to get noticed more and more on a daily basis, and that is a fact!

Especially since we are constantly thinking about survival.

What is the point of survival, however, if we are not enjoying our lives?

This might sound too philosophical, but it is a simple thought that not enough people talk about.

I want to share with you a simple way to make prepping easier, and perhaps even relaxing.

First, let’s talk about why you would even need to make prepping fun.

It is simple, really.

We want to survive not just for a day, not for a few weeks, but for years ahead.

It is simply not sustainable to constantly take everything so seriously.

We need to be able to do this for a long time.

A very simple way to do that is by incorporating family activities into your prepping routine.

That makes the process more enjoyable for everyone, and also ensures that everyone in your household is prepared for whatever may come.

For example, you make a game for your children out of prepping.

Create hypothetical survival scenarios where the whole family has to help to survive.

We actually did this last week at my house.

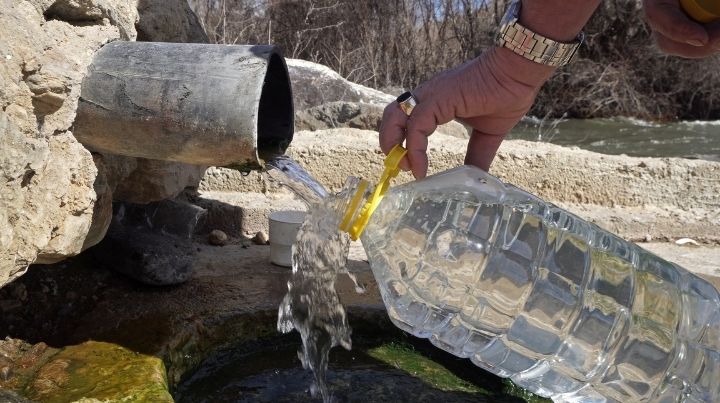
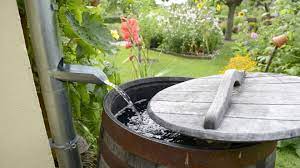
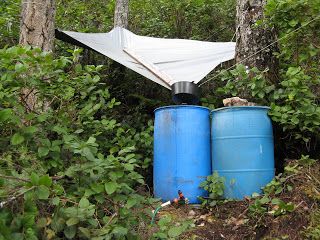
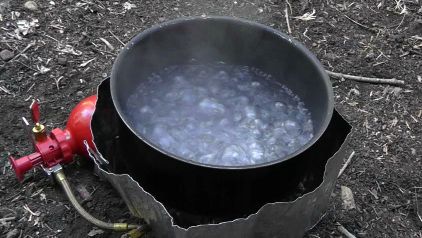
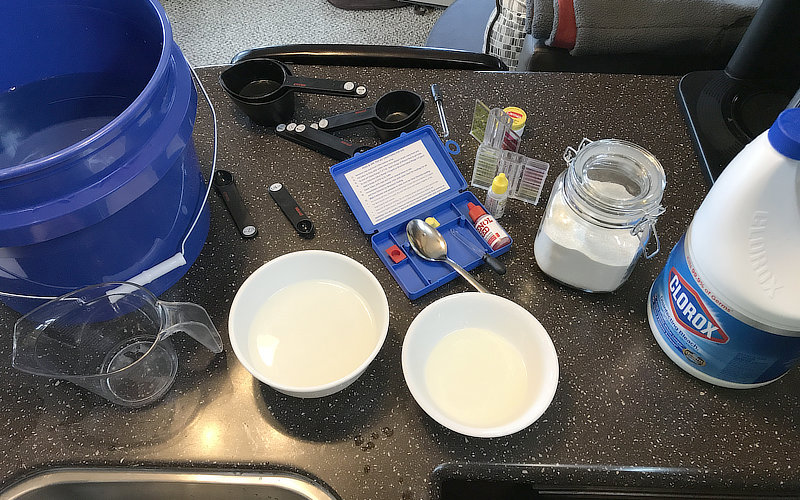
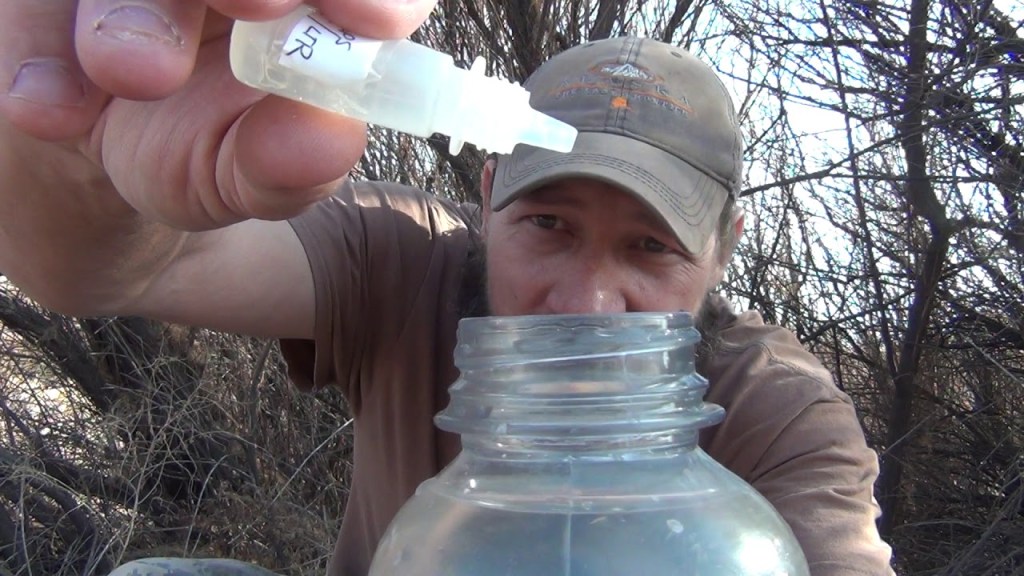
We pretended the water was contaminated and we had to find alternative drinking sources.

And my children did some research online and even found a cool way to purify water.

I hadn’t ever seen them more excited to help with anything prepping-related!

Why don’t you also try it?

Another way to make prepping a family activity is to take a trip to a wilderness survival training course.

These courses teach you and your family valuable skills such as building a shelter, finding food and water, and starting a fire.

Prepping doesn’t just have to be about stocking up and making plans.

By incorporating fun activities into your prepping routine, you can make sure that your whole family is prepared, while also having a good time.

So don’t be afraid to think outside the box and make prepping a family activity.

Try to have your whole family involved in the prepping process.

5 Different Ways To Prep On A Budget

A lot of people have told me that they would prep, but they just can’t afford it.

And to some degree, they have a point.

Prepping might be costly, even if it protects you from spending resources in the future.

For example, if you insulate your house or install solar panels, you will be wasting less energy for years.

But you would still have to put the initial payment down.

If you can’t afford to do that, does that mean that you can’t do anything?

Well, not exactly.

Another resource that a lot of people neglect is time.

If you are willing to put some time into preparing for survival, you don’t need to make any huge investments upfront.

I have gathered different 5 ways you can use to stay safe even if you can’t afford to make large investments.

Learn to make prepping gear yourself.

Back in the day, this is how our grandparents would prep.

They simply couldn’t shop for most things back then.

If you have the time, you can make your own soap, candles, and even fire paste!

It might seem too hard if you haven’t done this before, but you will also be gaining valuable skills that could come in handy in survival situations.

Identify what you already have on hand.

Most people already own basic items like flashlights, batteries, and first aid kits.

Make a list of what you already have, and then focus on slowly adding the items you still need.
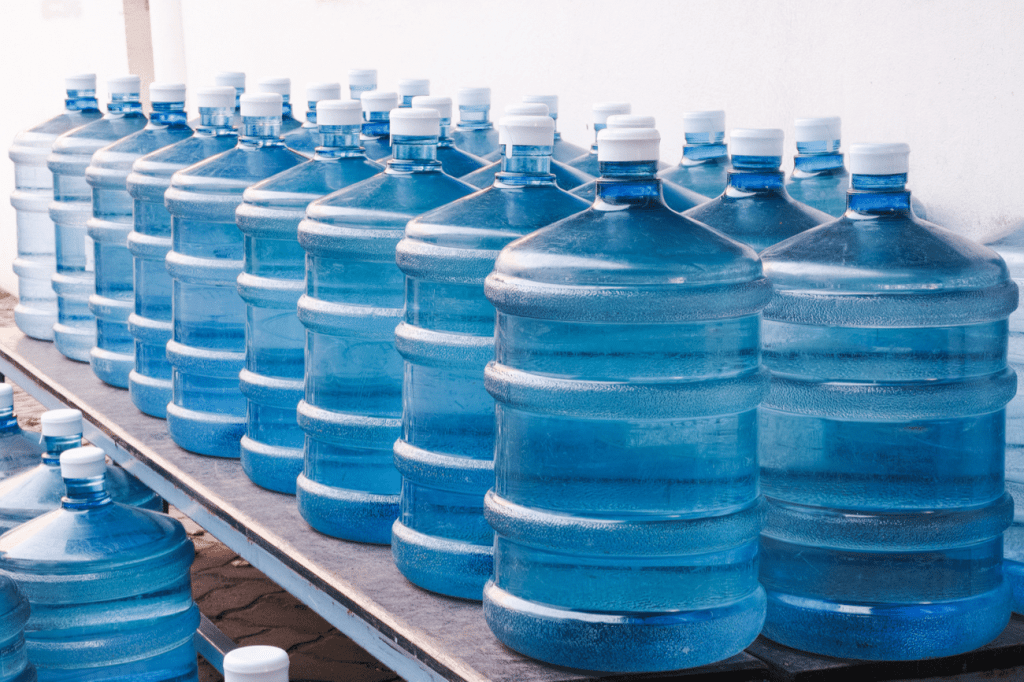
Shop in bulk.

Many prepping items can be purchased in bulk for cheaper.

If you find the places that sell them, you will be saving yourself a lot of time and resources.

Look for used items.

You can find many prepping items, such as camping gear, at a fraction of what you would normally pay.

Look out for flea markets, thrift stores, and online marketplaces like Craigslist and Facebook Marketplace for deals on prepping gear.

Prefer multi-purpose items.

Instead of buying a separate tool for every task, look for items that can be used for multiple purposes.

For example, a good quality folding knife can be used for cutting rope, opening cans, and even as a makeshift screwdriver.

Prepping doesn’t have to be as expensive as some people think.

With a little bit of creativity and resourcefulness, you can have everything you need without spending valuable resources.

Survival Prepper: Clean Water

If you are an outdoor lover who enjoys hiking, camping, or trips in the wilderness, you understand how quickly a bottle of water can be consumed. The intense heat of the sun and sweating profusely can require you to drink more to stay hydrated. Water can be consumed quickly and you can run out fast.

This can be particularly true in a disaster situation where clean water might not be available for a while. An earthquake, flood, hurricane, or other disasters can damage water and sewer lines making freshwater unavailable for homes and families until water lines are repaired or help comes. Drinking unclean and unsafe water can lead to disease and death.

If you are in a situation where you need to find clean water to drink, here are some ideas.

Water Heater Tank


Be sure to turn off the electricity or gas before you unplug the drain at the bottom of your water heater tank. This water is already filtered water, and unless you fear it’s been contaminated, it should be safe to drink.

Stored Water


Store water in food-grade clean containers now before a disaster happens. Rinse out and thoroughly clean used 2-liter soda containers or plastic juice jugs and fill them with tap water. You can store these in your closet, behind beds, in your basement, under furniture, or wherever you have room. You can also use containers made for water storage like 5-gallon jugs, 55-gallon drums, or stackable WaterBrick containers. It is suggested that water storage be rotated every six months to 1 year. If not rotated, then have the means to filter if needed. Having some water stored on hand can be a lifesaver in the event of a disaster.

Rainwater


If you can collect rainwater in rain barrels or buckets attached to the downspouts from the roof of your home, it can be your main substitute water next to your stored potable drinking water. Rainwater will still need to be strained, filtered, and purified before you drink it.

Sillcock Key


A sillcock 4-way key is an inexpensive preparedness item that you can find and purchase online. It gives you access to emergency water in commercial buildings like entertainment venues, mall strips, ballparks, golf courses, government buildings, rest stops, and so forth. Even if the water is turned off in a building, there can still be water in the pipes. Simply locate the water spigot on any business or public building and use the sillcock key to turn the spigot on. Have a bucket or hose ready to collect the water. The Sillcock key can be used where an adjustable wrench or pliers will not.

Avoid Standing Water


Pools and puddles of water are typically a focal point for bacteria and other harmful toxins. While this water can be purified, it will probably taste bad and might contain other harmful substances that are more difficult to filter out. Brown or muddy reddish water can be a sign of rust particles or other harmful substances and must be avoided. Most purification methods typically won’t be effective in this case and the water could be dangerous to consume.

Boiling to Purify Water


If you have any water that you are not sure if it is safe to drink, you will want to purify it. One of the oldest and most proven ways to purify water is by boiling.

To purify by boiling, first, pour the water through a clean piece of cloth or a coffee filter to strain out the visible dirt and debris. Then heat up the water in a pot until it starts to boil. It’s best for the water to reach a boiling point of 212 degrees Fahrenheit or 100 degrees Celsius to destroy pathogens if you have a thermometer to check.

Allow the water to boil for a minute or so to ensure it is completely up to temperature and that anything living in the water is killed. Boiling for too long will cause you to lose some of it to water vapor. You might want to cover it with a lid so that any water you lose to vapor will collect and condense again in the pot.

You also want to note that while boiling water will kill bacteria and dangerous living organisms, it won’t do anything to salts, chemicals, or rust. It also won’t change the taste of the water due to minerals or substances that make it taste bad.

Pool Shock to Purify Water


Calcium Hypochlorite or pool shock can be a bleach substitute for purifying water. Its long shelf-life and affordability make it a good choice to have on hand when needed. It also takes up less space than liquid bleach. The EPA states that you can use granular calcium hypochlorite to disinfect water.

Create a chlorine solution: Put one teaspoon of granular calcium hypochlorite (about ¼ ounce) into ONE gallon of water and allow it to dissolve. This blend creates a stock chlorine solution.

To disinfect water: Add ¾ ounce of the chlorine solution to treat ONE gallon of water.

[The ratio to use is one-part chlorine solution to 100-parts water to be treated. This is about equal to adding 16 ounces (1 pint) of stock chlorine to 12.5 gallons of water.]

To get rid of any unwanted chlorine smell, aerate the disinfected water by pouring it back and forth between two cups or canisters. This is true for bleach purified water, or stored water as well.

Chlorine Bleach to Purify Water


You can use regular, unscented chlorine bleach to disinfect your water. Check the label that it contains 6 or 8.25% sodium hypochlorite. Avoid using color-safe, scented, or bleaches with added cleaners. Be sure to filter the water getting out any debris or sediments first.

Then use 16 drops (¼ tsp) of chlorine bleach to purify TWO gallons of water or 8 drops to purify ONE gallon. If the water is cloudy, cold, or colored then double this amount. Stir the water and allow to stand for 30 minutes.

You can find the full article here!