Imagine this scenario for a moment—you’re heading out the door, running errands, or even just walking to the mailbox. Everything seems perfectly normal. Then, suddenly, the unexpected happens. A power outage. A car breakdown. An emergency situation where you need to think on your feet and act fast.
Now, ask yourself: Are you really prepared for the unexpected?
Most people go about their day with the bare minimum in their pockets or bags: a wallet, a smartphone, and a set of keys. But what if that wasn’t enough? What if you could make a few small changes to your everyday carry (EDC) that could help you in a survival situation or simply make life a little easier?
It’s time to think beyond the basics and upgrade your EDC. When disaster strikes—whether it’s a natural disaster, power outage, or even just an unexpected situation—you’ll want to be as prepared as possible. With the right EDC, you can navigate these events with confidence, without being caught off guard.
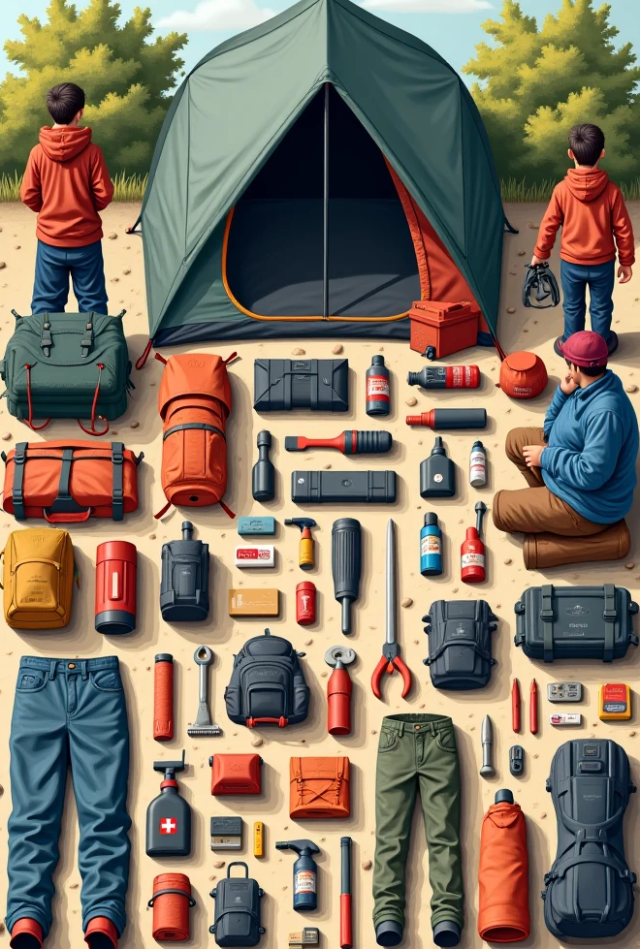
Let’s go over the crucial items every survivalist should have in their everyday carry kit. These tools could very well be the difference between surviving and being caught unprepared.
1) Multi-tool
A multi-tool is perhaps the most essential item in your EDC. This versatile tool is your Swiss Army knife for modern-day survival. From knives and screwdrivers to bottle openers and pliers, a quality multi-tool will serve you in nearly any situation. Whether you’re fixing a broken item, opening a package, or handling an unexpected repair on the go, having a multi-tool at your disposal is invaluable.
Survival Prepper Tip: Choose a multi-tool that’s compact, durable, and easy to carry. Look for one that includes a knife, scissors, pliers, and a few screwdrivers. Don’t forget about the weight – you want something that’s easy to carry without weighing you down.
2) Flashlight
When the lights go out, a flashlight is your best friend. Whether you’re facing a power outage at home, navigating through a dark area, or even just trying to find something in a poorly lit space, a flashlight is a must-have in your EDC. Opt for a small, durable, and powerful flashlight that can be easily carried in your bag or pocket. There’s nothing worse than fumbling around in the dark when you need light the most.
Survival Prepper Tip: Look for a flashlight that uses rechargeable batteries, which can save you money in the long run. Solar-powered models are an excellent choice for preppers who want a sustainable option. Always have spare batteries in your kit as well.
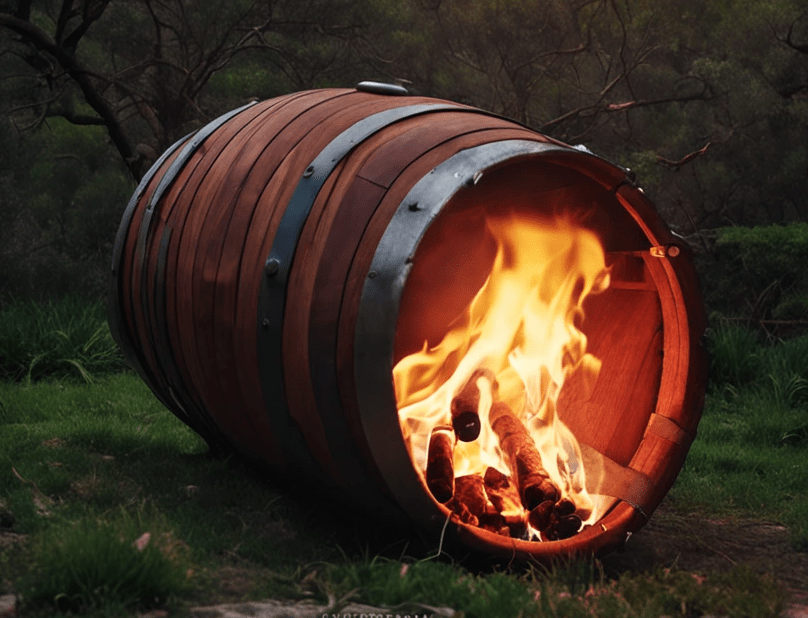
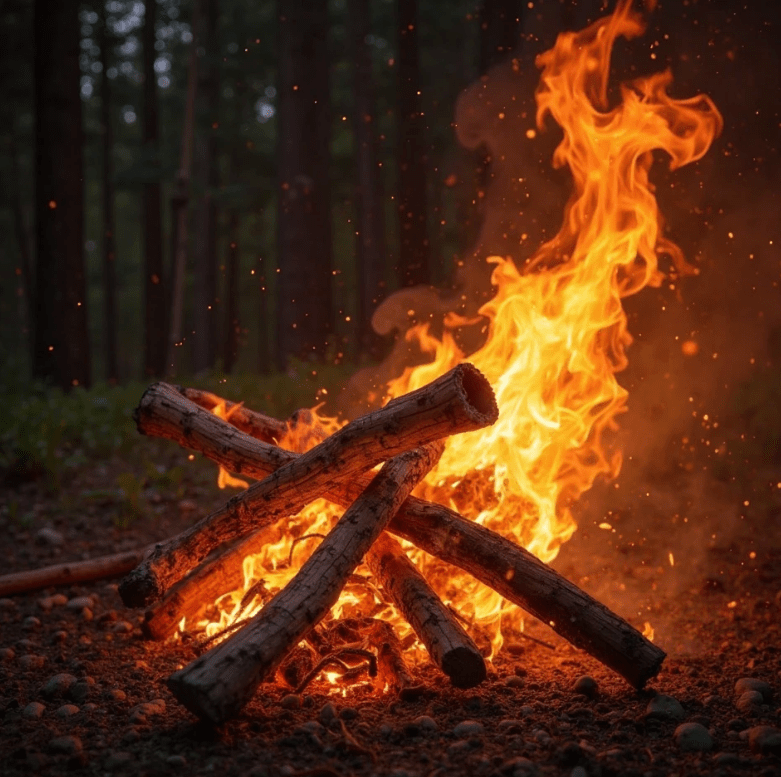
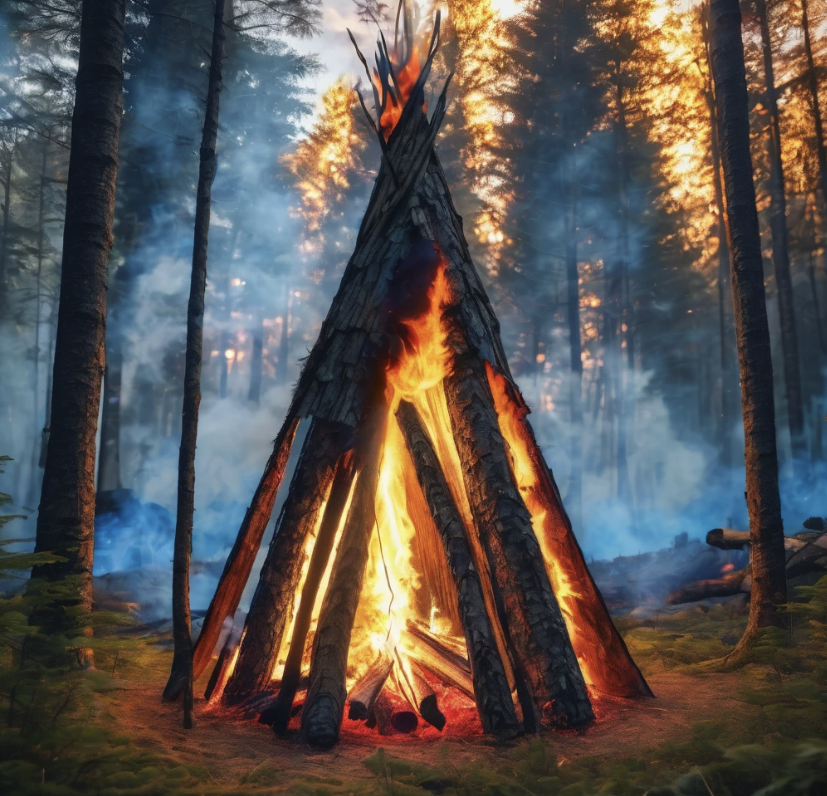
3) Fire Starter
When you’re caught in a situation where you need warmth, cooking, or a signal for help, a reliable fire starter can be a game-changer. A Ferro rod fire starter is compact and easy to carry, and it’s capable of igniting a fire even in wet conditions. You never know when you might need to create a fire to cook food, stay warm, or send out an emergency signal. Fire is also essential for purification, whether you’re boiling water for drinking or disinfecting something.
Survival Prepper Tip: Practice using your fire starter before you need it. The last thing you want is to struggle with it during an emergency. Keep a few fire-starting supplies, like cotton balls soaked in petroleum jelly or tinder, in your kit for easy ignition.
4) Water Bottle
Water is life, and in any survival scenario, access to clean drinking water is critical. Carrying a durable, reusable water bottle ensures you’re never without hydration when you need it. Additionally, a high-quality water bottle with a built-in filter can help you purify water from lakes, streams, or questionable sources. Having access to clean water is a fundamental survival skill, and carrying it with you makes it a part of your everyday readiness.
Survival Prepper Tip: Choose a stainless steel or BPA-free plastic water bottle. If you’re worried about contamination, consider one with a built-in filtration system. This ensures you can purify water from a variety of sources in the wild.
5) First Aid Kit
When you’re in a survival situation, injuries can happen fast—whether it’s a cut, burn, sprain, or something more serious. A small but well-stocked first aid kit is essential in your EDC. You should be able to address minor injuries and have supplies for more serious situations, like infection prevention or wound care.
Survival Prepper Tip: At the very least, your first aid kit should include antiseptic wipes, bandages, gauze, medical tape, tweezers, pain relievers, and any personal medications. Don’t forget to include an emergency whistle, as it can help you signal for help if you need it.
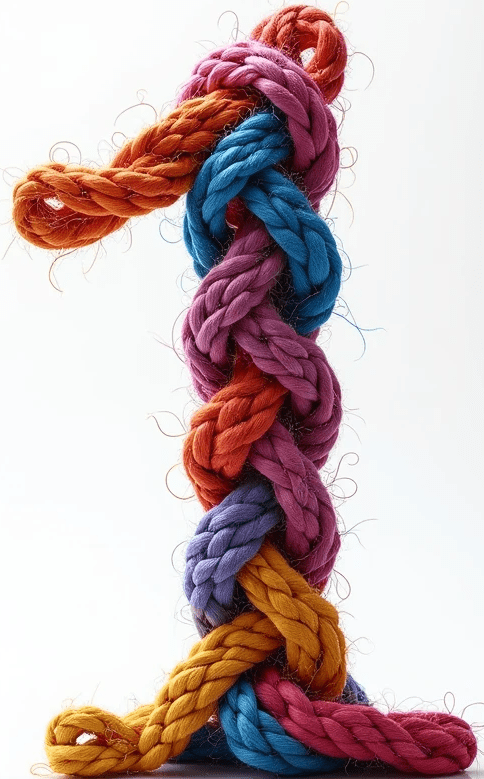
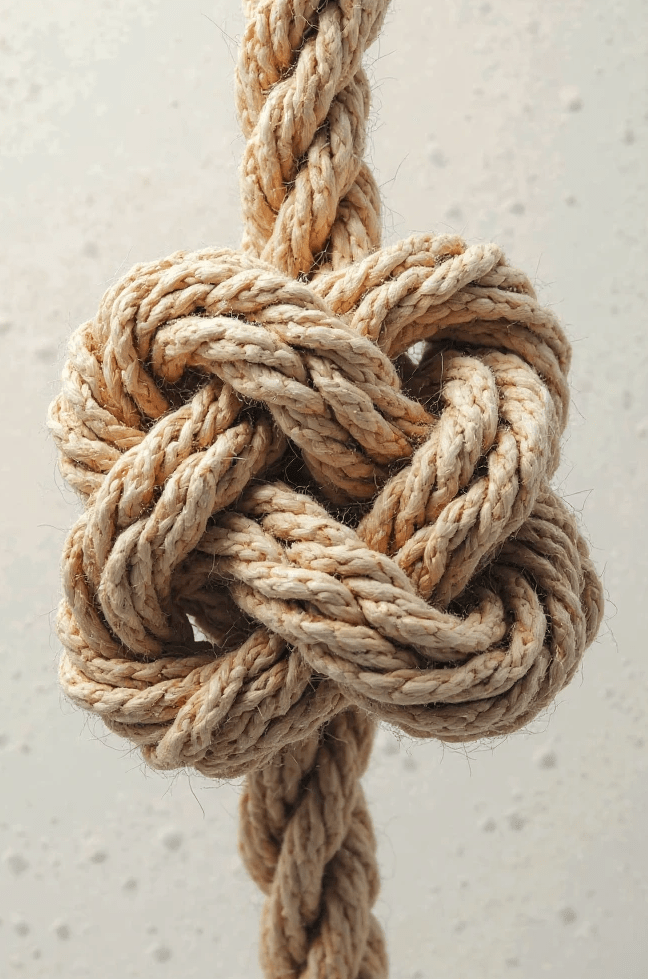
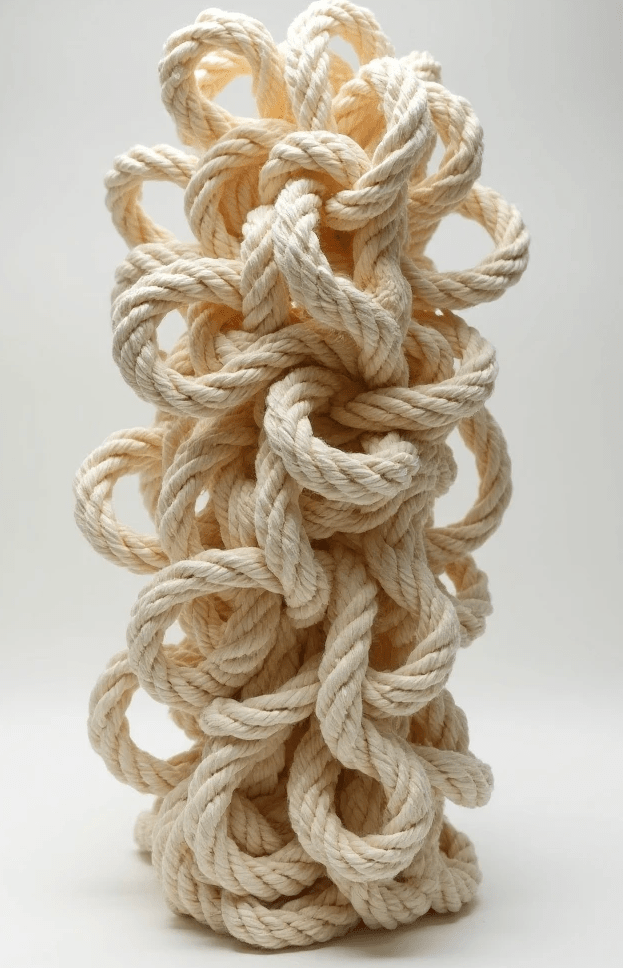
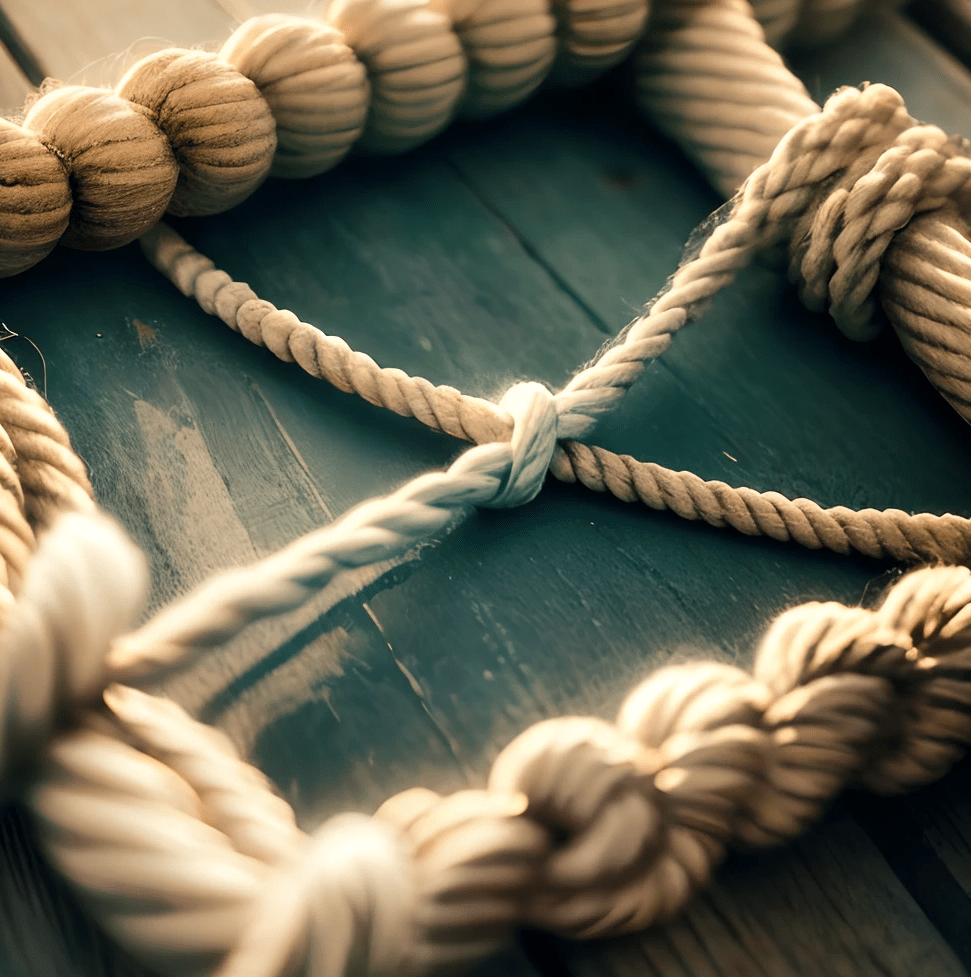
6) Paracord
Paracord is one of those items that you’ll be glad you packed, even though you might never need it. However, when you do, you’ll be amazed at its versatility. From building shelter, tying down gear, making repairs, to even using it for fire-starting (by stripping it), paracord is a survivalist’s go-to utility tool. Keep at least 10 feet of it in your EDC kit.
Survival Prepper Tip: Choose a high-quality, 550-paracord with a higher tensile strength. It should be durable enough to withstand harsh conditions. If possible, look for a paracord bracelet, so you have it easily accessible.
7) Survival Blanket (Mylar Blanket)
A Mylar survival blanket, also known as a space blanket, is a must-have in your EDC. It’s small, lightweight, and helps retain body heat in extreme temperatures. It can also be used as a reflective signaling device in emergencies. These blankets are an essential part of your kit because they protect you from hypothermia and other weather-related dangers.
Survival Prepper Tip: The reflective nature of Mylar blankets makes them ideal for signaling. Use them in survival situations to attract attention from rescuers. Consider carrying a small survival shelter or poncho for added protection.
8) Knife
A high-quality, folding pocket knife is essential for your EDC. From preparing food to cutting rope, a sharp knife can help you handle multiple survival tasks. Choose a compact, easy-to-carry knife that is capable of handling heavy-duty tasks. Make sure the blade is durable, and the handle is comfortable to grip.
Survival Prepper Tip: When selecting a knife, consider the lock mechanism for safety. Always sharpen your blade and check for rust to maintain optimal performance.
9) Compact Tool Kit
While a multi-tool is great, sometimes you need specialized tools for specific tasks. A small, compact tool kit with essentials like a small wrench, pliers, or even a screwdriver set can be a lifesaver. This can help you with repairs or minor fixes during your day-to-day life or in emergency situations.
Survival Prepper Tip: A lightweight, minimal tool kit with just a few essential tools will help you make repairs on the go without adding unnecessary bulk to your kit.
10) Tactical Pen
A tactical pen is another item that can be part of your EDC kit without drawing attention. While it functions as a regular pen, it also serves as a self-defense weapon, glass breaker, and even a tool for small repairs. It’s an inconspicuous but practical addition to your gear, and it could come in handy in a wide variety of scenarios.
Survival Prepper Tip: Choose a tactical pen made of heavy-duty materials, like aluminum or titanium, so it can withstand rugged use. Ensure it also has a reliable writing mechanism to make it functional as a regular pen.
Final Thoughts:
In a survival situation, your ability to adapt, improvise, and make use of the resources at hand is what will keep you alive. Your EDC is more than just a collection of random items. It’s a critical component of your overall preparedness strategy. The key to an effective EDC is to make sure you have the tools that you need to handle unexpected situations, whether that’s a minor inconvenience or a full-blown emergency.
By having these items in your kit, you’re setting yourself up for success. Keep refining your gear, add more items as necessary, and always stay alert. The world is unpredictable, but with the right tools in your pocket, you’ll be ready for whatever comes your way.
Survival Prepper Tip: Regularly review your EDC kit. Seasons change, your needs evolve, and new gear becomes available. Keeping your kit up to date will ensure that you’re always ready for whatever life throws your way.