Tennessee doesn’t get hammered every winter like the Upper Midwest, so when snow or ice does hit, people are caught flat-footed. Roads aren’t treated fast enough. Power grids aren’t hardened for ice. Drivers aren’t trained for slick conditions. And families don’t have food, heat, or backup power ready.
That combination is deadly.
I’ve watched ice storms shut down Tennessee for days—sometimes weeks—while people insisted it “wasn’t that bad” right up until they lost power, heat, and access to food.
This article breaks down:
- The top ways people die during winter storms in Tennessee
- Why grocery stores empty faster than you think
- Why survival food and backup power are critical here
- What supplies actually matter
- How to survive when ice takes over and help slows to a crawl
If you live in Tennessee and think winter storms are a joke, keep reading. That mindset kills.
Why Winter Storms in Tennessee Are So Dangerous
Tennessee winter storms aren’t about deep snow—they’re about ice and terrain.
Here’s what makes them especially lethal:
- Freezing rain that coats roads, trees, and power lines
- Hilly and mountainous terrain across much of the state
- Bridges and overpasses that freeze instantly
- Power infrastructure not built for heavy ice loads
- Limited snow and ice removal equipment
- Long restoration times after outages
Tennessee doesn’t need blizzards to shut down—it just needs a quarter inch of ice.
The Top Ways People Die in Winter Storms in Tennessee

These deaths are predictable and repeat every time.
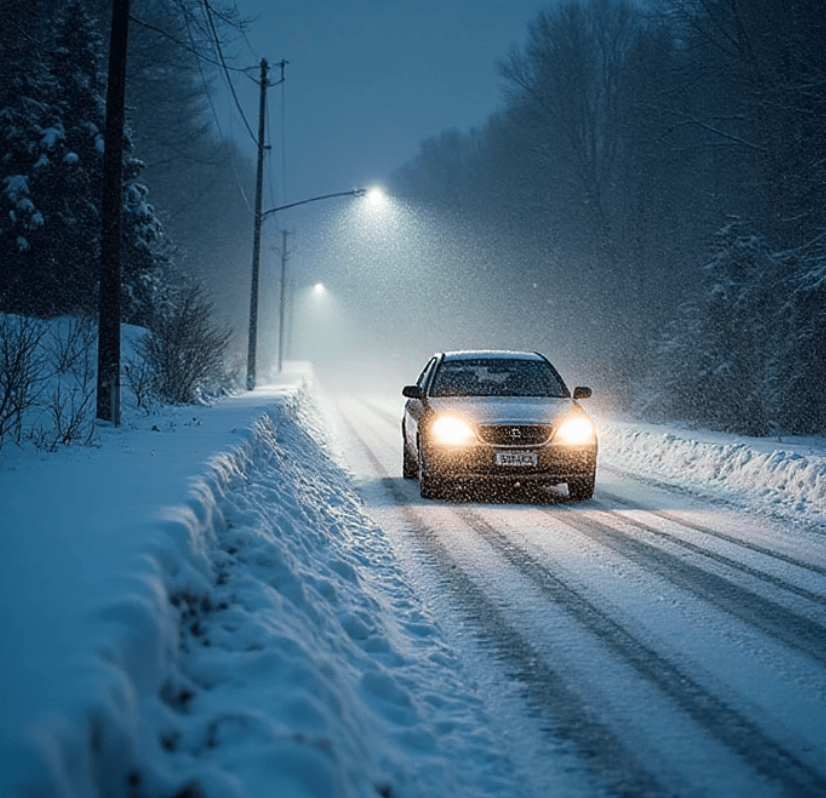
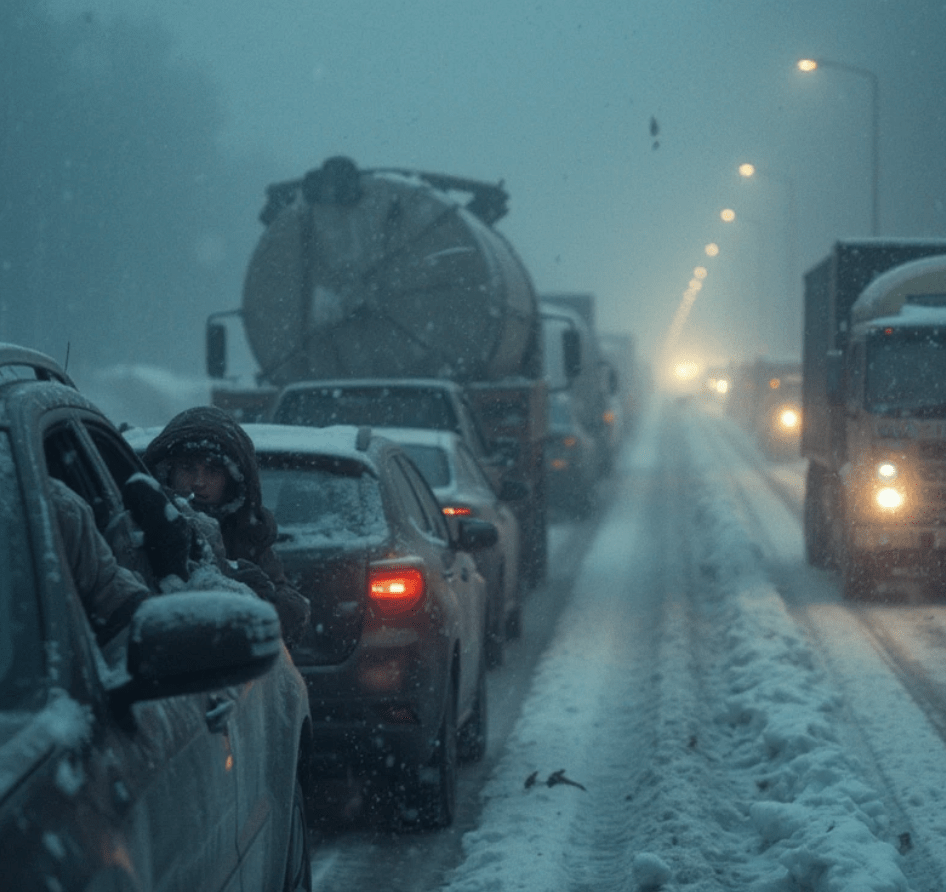
1. Vehicle Accidents on Ice-Covered Roads
This is the leading cause of winter storm deaths in Tennessee.
- Icy interstates like I-40, I-24, and I-65
- Steep hills and winding back roads
- Bridges and overpasses freezing first
- Drivers with no real ice-driving experience
Tennessee drivers aren’t bad drivers—they’re untrained for ice. Once traction is gone on hills, crashes pile up fast.
If ice is forecast, stay off the roads. Period.
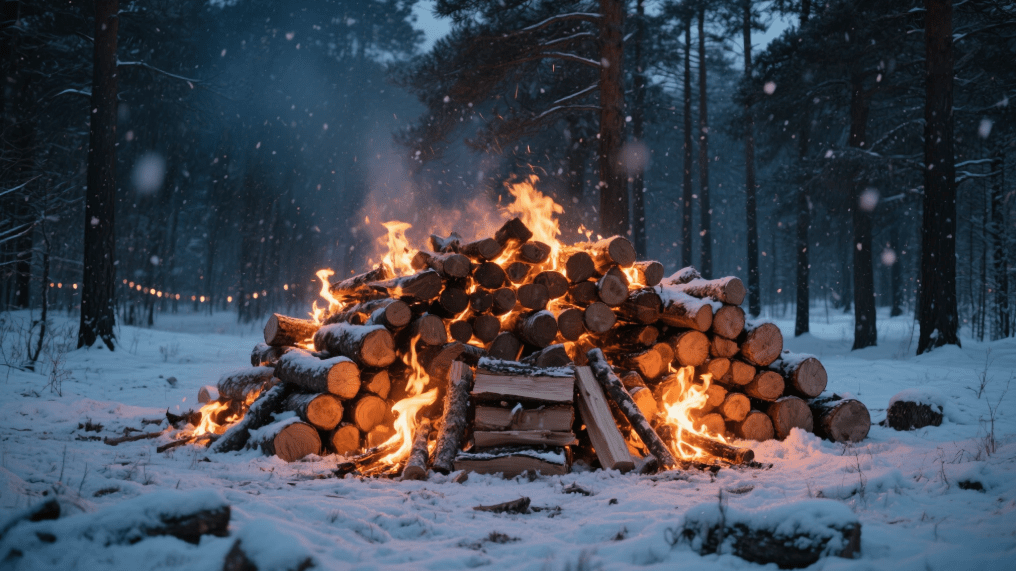
2. Hypothermia Inside the Home
This one catches people off guard every winter.
Ice storms knock out power, sometimes for days. Most Tennessee homes rely entirely on electricity for heat.
People die from hypothermia:
- Sitting in cold houses
- Wearing light clothing indoors
- Trying to “wait it out”
- Falling asleep and not waking up
Cold doesn’t need extreme temperatures to kill—just time and exposure.
3. Carbon Monoxide Poisoning
Every Tennessee winter storm brings the same preventable tragedy.
- Generators run inside garages
- Propane heaters used improperly
- Charcoal grills brought indoors
- Gas stoves used for heat
Carbon monoxide is invisible, odorless, and deadly. People fall asleep and never wake up.
If you don’t have carbon monoxide detectors in your home, you are taking a reckless risk.
4. Medical Emergencies With Delayed Response
During winter storms:
- Ambulances are delayed
- Roads are impassable
- Clinics and pharmacies close
- Emergency response times increase dramatically
People die from:
- Heart attacks while shoveling ice and snow
- Missed medications
- Respiratory issues
- Diabetic emergencies
Winter storms don’t cause these conditions—they remove access to help.
5. Falling Trees and Structural Damage
Ice storms turn Tennessee’s trees into weapons.
- Ice-laden branches snap
- Trees fall onto homes and vehicles
- Power lines come down
- People are crushed or electrocuted
Trying to “clear it real quick” during or immediately after a storm is how people get seriously injured—or killed.
Will Grocery Stores Go Empty in Tennessee?
Yes—and shockingly fast.
Tennessee grocery stores rely on just-in-time delivery. That means:
- Minimal back stock
- Constant truck deliveries
- No buffer during road closures
Here’s what disappears first:
- Bread
- Milk
- Eggs
- Meat
- Bottled water
- Baby formula
Once ice shuts down highways, shelves stay empty.
If you wait until the storm hits to shop, you’re already too late.
Why Survival Food Prepping Matters in Tennessee
Tennessee storms don’t always last weeks—but 3–7 days without power or access to stores is common.
Survival food gives you time and options.
Every household should have:
- 7–10 days of food per person
- No refrigeration required
- Minimal cooking needs
Best Survival Food Options
- Freeze-dried meals
- Canned soups and meats
- Rice and beans
- Pasta
- Protein bars
- Peanut butter
- Instant oatmeal
If your food depends on electricity, it’s not reliable.
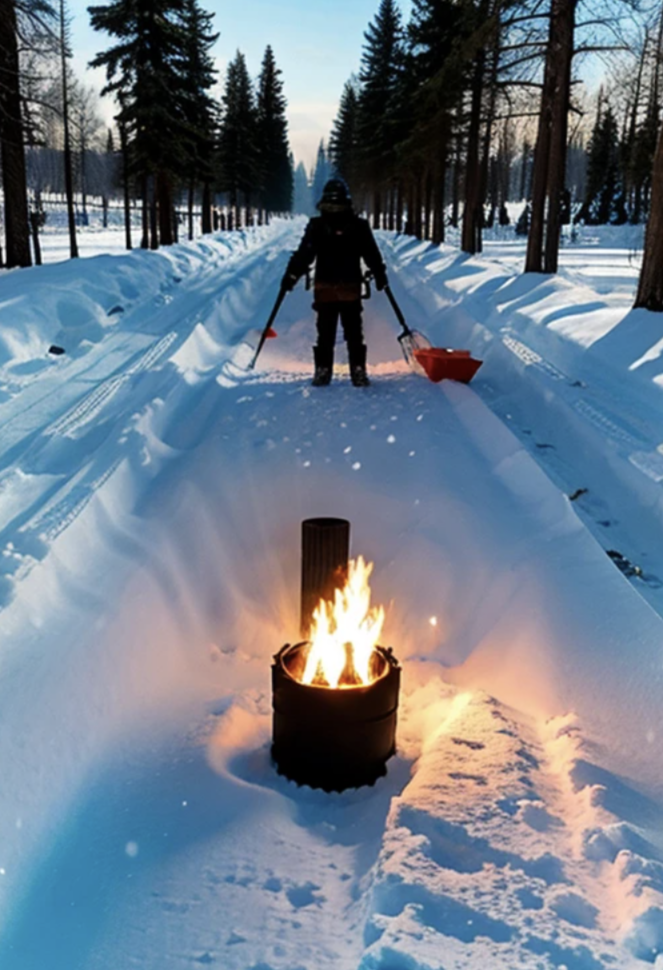
Solar Generators: The Smart Backup Power Choice for Tennessee
Gas generators cause problems every ice storm:
- Fuel shortages
- Carbon monoxide danger
- Noise and theft risk
- Cold-start failures
Solar generators with battery storage are safer and more reliable for most Tennessee households.
They can power:
- Phones and radios
- Medical equipment
- LED lighting
- Refrigerators
- Internet routers
- Small heaters
No fuel runs. No fumes. No guesswork.
If you don’t have backup power, you’re trusting a grid that fails under ice load every winter.
Essential Winter Survival Supplies for Tennessee
This is the minimum survival setup for Tennessee winter storms:
Power & Heat
- Solar generator with battery storage
- Power banks
- Indoor-safe heater
- Warm blankets and sleeping bags
Clothing & Warmth
- Thermal layers
- Wool socks
- Hats and gloves
- Emergency bivy blankets
Food & Water
- 1 gallon of water per person per day
- Non-perishable food
- Manual can opener
Safety & Medical
- First aid kit
- Prescription medication backups
- Carbon monoxide detectors
- Fire extinguisher
Communication
- NOAA weather radio
- Flashlights and headlamps
- Extra batteries
If you don’t own these, you’re not prepared—you’re exposed.
Why Survival Prepping Is So Important in Tennessee
Tennessee winters are unpredictable—and that unpredictability is the danger.
The state isn’t built for frequent winter storms. Equipment is limited. Infrastructure is vulnerable. And emergency services are quickly overwhelmed.
Prepping isn’t fear—it’s taking responsibility for your own survival.
You prepare so:
- You don’t drive on deadly ice
- You don’t freeze during outages
- You don’t panic when shelves are empty
- You don’t become another preventable headline
Winter Survival Tip from a True Tennessee Prepper

Every winter storm death in Tennessee comes down to one mistake:
Someone assumed it wouldn’t happen here.
Ice doesn’t care what state you live in.
Power doesn’t come back on demand.
And help doesn’t arrive instantly.
Prepare before the storm hits—because once it does, your options disappear fast.