Is Alabama’s Drinking Water Safe? Hell No—Here’s How to Survive It
Let me break it to you straight: if you’re trusting the government or your local utility company to keep your drinking water safe, you’re already behind enemy lines. Especially if you’re living in Alabama. I’m not saying you need to panic—but you do need to wake the hell up.
You think because water comes out of your tap, it’s pure? Think again. Alabama’s got more than its fair share of water quality issues. Nitrate contamination. PFAS. Lead. Bacteria. Sewage runoff. Pesticides. Industrial chemicals. You name it, it’s leaching into the rivers, lakes, and reservoirs down here. And you’re drinking it. Every. Damn. Day.
Still feel safe?
In 2023, multiple municipalities in Alabama reported levels of PFAS (forever chemicals that don’t break down in your body) above the EPA’s updated advisory levels. That means your so-called “safe” water is messing with your hormones, increasing your cancer risk, and God knows what else. Some parts of the state—particularly around the Black Warrior River and the Tennessee River Basin—are practically chemical cocktails.
And let’s not forget lead. Do I need to bring up Flint? That wasn’t an isolated incident. Lead is found in aging water infrastructure across the country. Alabama included. If your pipes are old, or if your town’s not doing aggressive water treatment (and let’s face it, most small Alabama towns aren’t), you could be slowly poisoning yourself and your kids.
You want to survive? You need to stop relying on the damn faucet.
Here Are 15 Water Filtration Survival Skills That Every Self-Reliant Person in Alabama Needs to Master
1. Learn to Identify Contaminated Water
Clear water doesn’t mean clean water. Know the signs—odor, color, foam, strange taste, or animal activity nearby.
2. Build a DIY Charcoal Filter
Layer gravel, sand, and activated charcoal inside a bottle or PVC pipe. It’s primitive, but it works to remove sediment and some chemicals.
3. Boil, Boil, Boil
Boiling water kills bacteria, viruses, and parasites. It’s not enough for chemical contaminants, but it’s a damn good start.
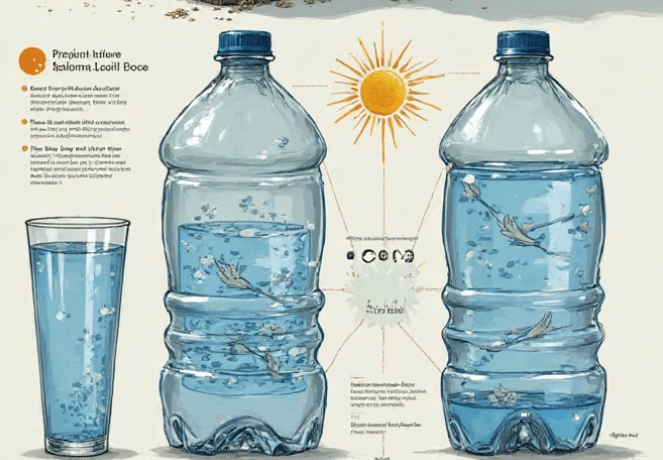
4. Solar Disinfection (SODIS)
Got a plastic bottle and sun? Fill it, lay it on a reflective surface in the sun for 6+ hours. UV rays will kill pathogens. It won’t help with chemicals, but in a pinch, it’s better than nothing.
5. Learn to Use a LifeStraw or Similar Device
Portable, lightweight, and filters out most bacteria and parasites. Essential for every bug-out bag.
6. Rainwater Collection
Install barrels under gutters. Make sure you filter it afterward—bird crap and rooftop chemicals are real threats.
7. Make a Slow Sand Filter
Build a filtration barrel with fine sand and gravel. Takes time to set up, but filters water effectively for months.
8. Use Potassium Permanganate
A few crystals per liter of water can kill bacteria and viruses. Learn the correct dosage—too much and you poison yourself.
9. Know Your Local Water Sources
Don’t just “hope” there’s a stream or spring nearby. Scout it. Test it. Map it.
10. Distillation
Set up a fire-based or solar still. It’ll remove salt and heavy metals. Collect that steam and let it condense—boom, pure water.
11. Bleach Purification
Unscented bleach (5-6% sodium hypochlorite). Use 8 drops per gallon, stir, and wait 30 minutes. Again—know the right dosage.
12. Build a Bio-Filter Bucket
Stack layers of fine cloth, sand, charcoal, and gravel inside a 5-gallon bucket with a spigot. Good for a semi-permanent homestead.
13. Use Natural Coagulants
Crushed moringa seeds or even dirty water stirred with clean clay can clump together particles for easier filtering.
14. Understand Gravity-Driven Systems
Learn how to set up gravity-fed filtration using elevation and multi-stage filtering. No power needed.
15. Know the Signs of Dehydration and Water-Borne Illness
You might think you’re drinking “filtered” water, but if you’re getting diarrhea, cramps, or fatigue—you’ve done something wrong. Adjust fast or you won’t last long.
3 DIY Survival Drinking Water Hacks That Could Save Your Life
Hack #1: The Fire-Stone Steam Distiller
Dig a hole in the ground, place a container in the center, surround it with wet vegetation or dirty water, and cover with plastic sheeting. Place a small rock in the center to create a drip point. The sun heats the water, and condensation gathers in the clean container. It’s basic as hell but gives you drinkable water—especially useful near coastal Alabama where brackish water is a problem.
Hack #2: The Bandana Filter Trick
Got no gear? Run dirty water through a bandana or shirt to remove big particles. Then use bleach drops or boil it. It’s rough, but it can keep you alive another day.
Hack #3: The Tin-Can Charcoal Filter
Burn hardwood to make your own charcoal. Crush it, layer it in a cleaned-out tin can with holes punched at the bottom. Add sand and gravel. Pour in the water. It’ll strip out some toxins and sediment—won’t taste great, but it’ll keep you kicking.
Alabama’s Water Isn’t Just a Health Risk—It’s a Damn Wake-Up Call

This isn’t about fear. It’s about reality. Survival isn’t just about living off the grid in the woods—it’s about knowing when your everyday comforts have become silent threats. Tap water is one of them.
If you’re living in Birmingham, Montgomery, Mobile, or anywhere near industrial zones, poultry farms, or paper mills, your water has been through hell before it hits your faucet. And the regulations? Let’s just say they’re too little, too late. Half the time, contaminants aren’t even regulated. The EPA plays catch-up while companies dump waste upstream.
You think you’ll get a warning before something bad happens? Ask the people of West Virginia, East Palestine, or Jackson, Mississippi how that worked out.
Stop being a sitting duck. Get off your ass, prepare your water systems, and teach your family how to survive without a working faucet.
Bottom Line
Alabama’s drinking water is not safe—not if you’re measuring by real survival standards. You want to live long enough to rebuild after the grid fails? Or after a flood contaminates your supply? Or when that “harmless” chemical dump leaks into the aquifer?
Then you better start acting like it. Learn these water filtration skills. Practice them. Store gear. Store bleach. Store charcoal. Collect rain. Build your water IQ now—not after you’re already dehydrated and poisoned.
Because in a crisis, water will be the first thing you fight for.
And in Alabama? That fight has already started.