I am one of the most tolerant people you’ll ever meet.
I don’t mind if someone is a bit late for our appointment…if they talk over me during a conversation…or if they are sometimes slightly rude.
I always give people the benefit of the doubt.
But as a prepper, there is one thing that I can’t tolerate…
Waste.
I regularly people wasting their resources as if they want to destroy Earth.
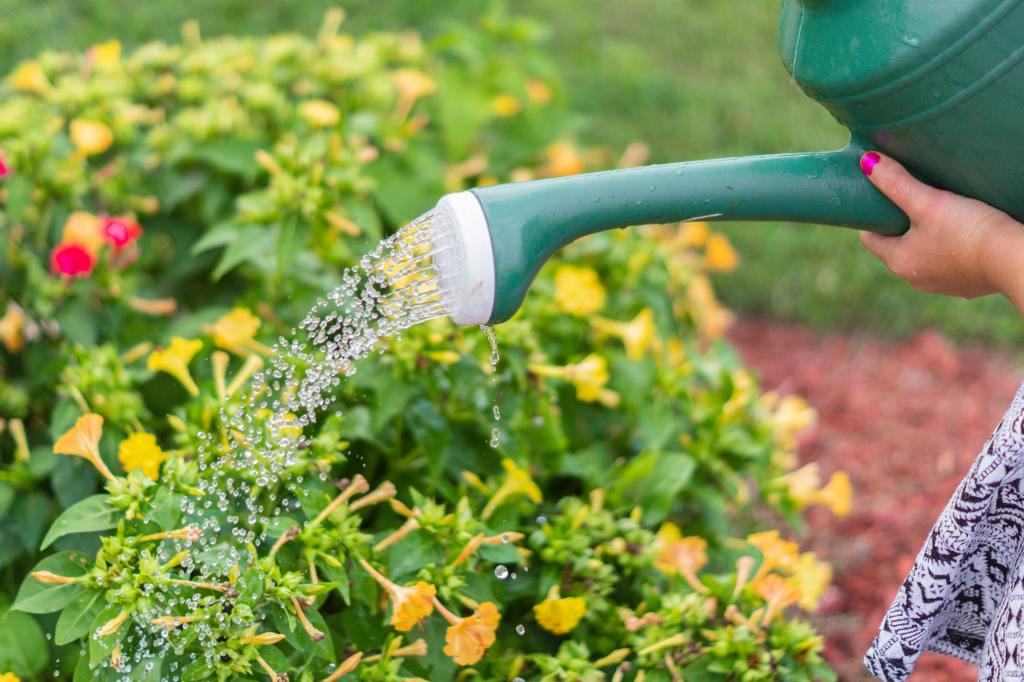
Just last week, I saw someone water their garden an hour after it stopped raining.
I am not kidding…
I decided to use the frustration I felt when I saw that, and write about simple ways to spend minimum water when tending to your garden.
I’ll share with you simple tips that I use myself, as well as ideas I discovered just last night when I was doing research.
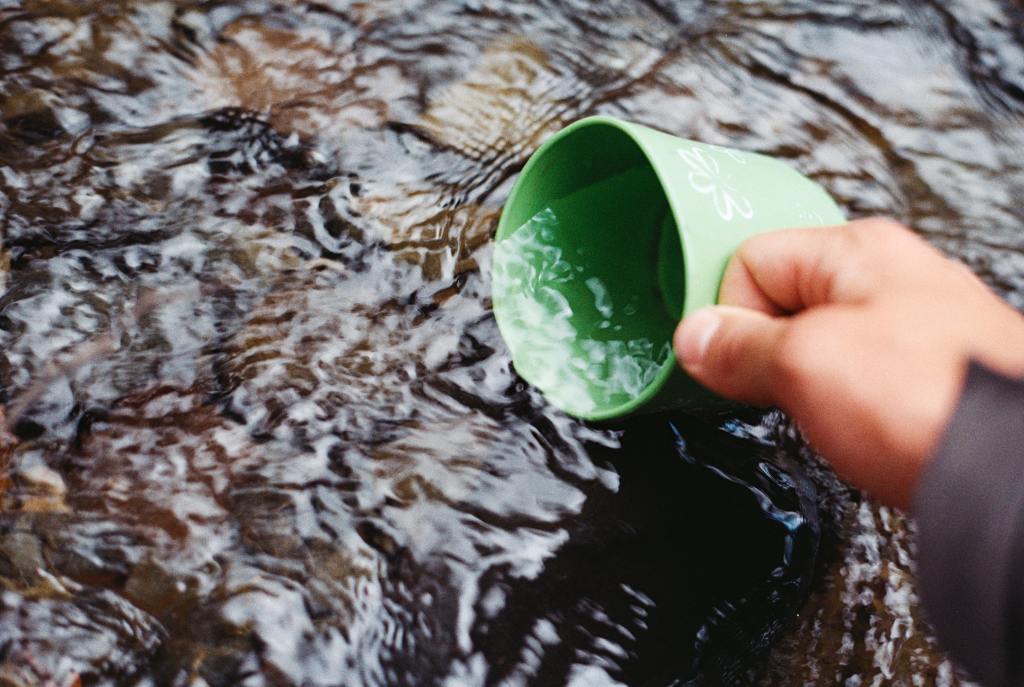
Water your plants in the morning or evening when temperatures are cooler to reduce evaporation.
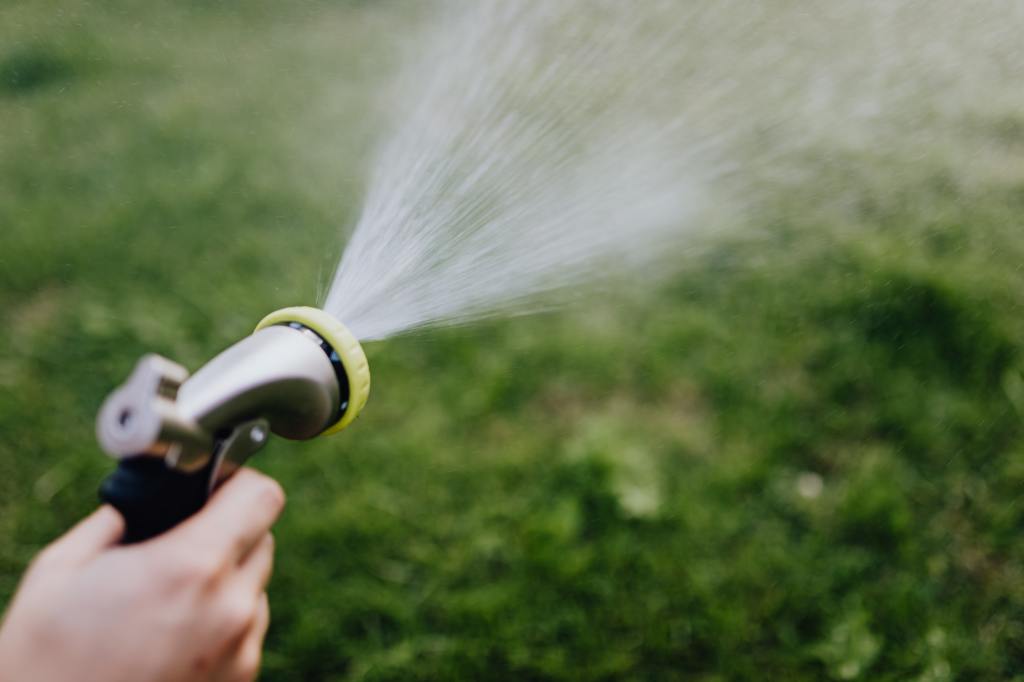
Use a watering can, hose, or soaker hose instead of a sprinkler, which can waste a lot of water.
Water your plants deeply and less frequently, rather than a little bit every day. This encourages deep roots and reduces the need for frequent watering.
Consider using drought-resistant plants that are well-adapted to your local climate.
Place mulch around your plants to reduce water evaporation and help retain moisture in the soil.
Gather rainwater in barrels or buckets to use for watering your garden, instead of using tap water.
Use a drip irrigation system to deliver water directly to the roots of your plants, which is more efficient and reduces water waste.
Maintain healthy soil by adding compost and organic matter, which helps retain moisture and reduce the need for frequent watering.
As you can see, some of these ideas are basic, while others require some lateral thinking (especially the first one!)
By implementing these water conservation techniques in your garden, you will greatly reduce your water usage.
And you will also create a more sustainable garden that is better equipped to handle droughts and dry spells.
Do you know any other techniques on how to waste less water when tending to your garden?
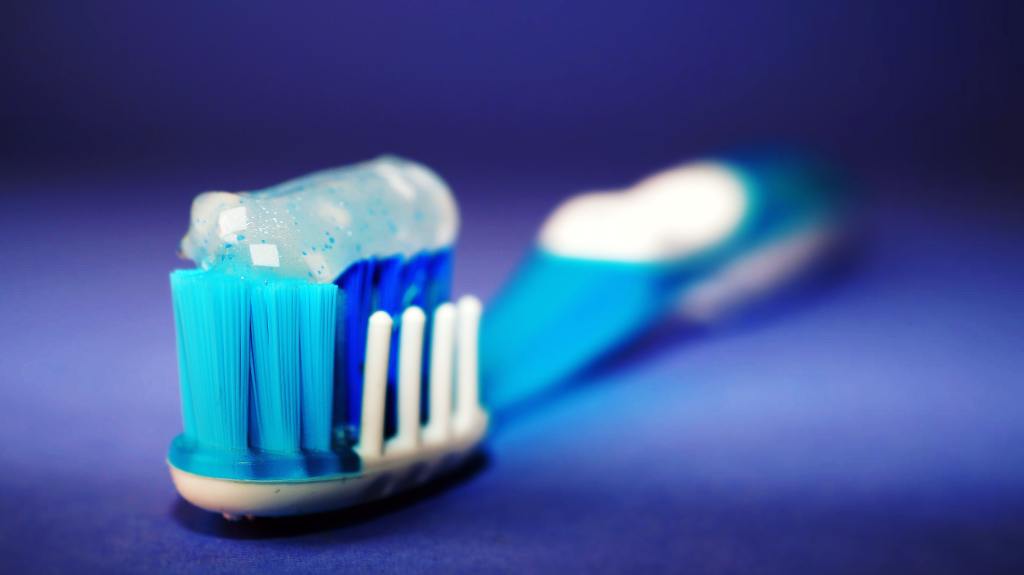
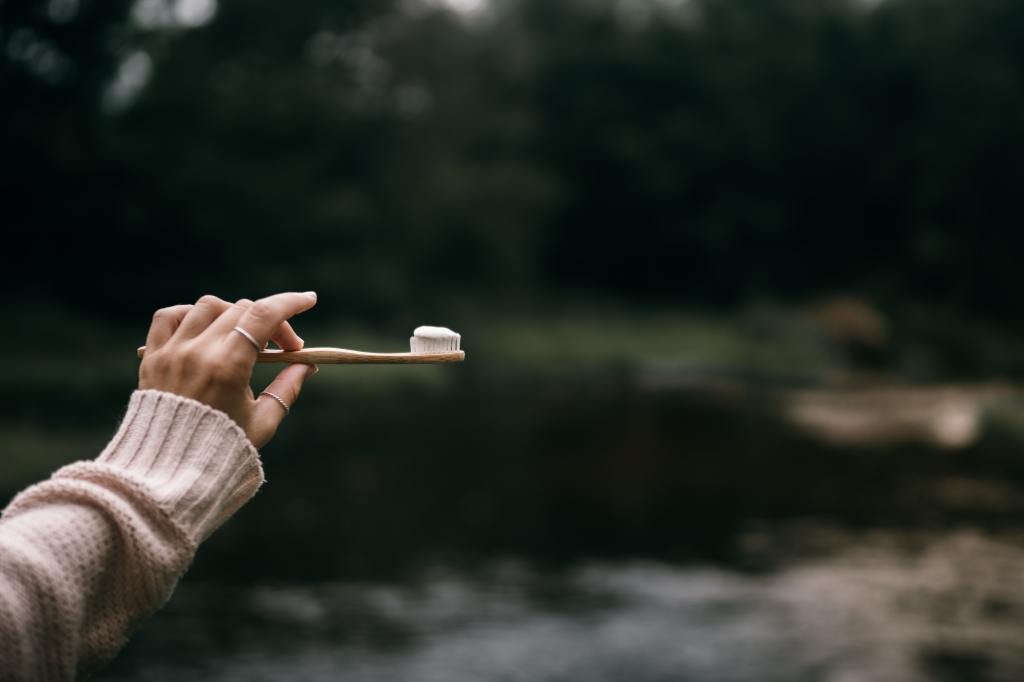
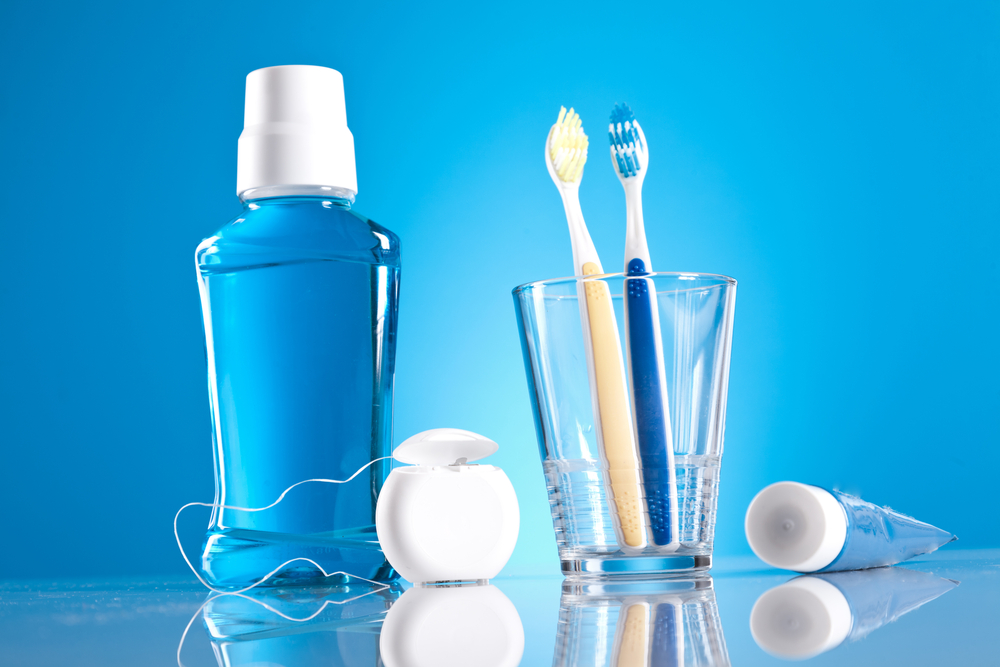
Have you ever been to the oral aisle at the supermarket?
There is a huge variety of products.
Manual and electric toothbrushes…
Fluoride and non-fluoride options kinds of toothpaste…
Mouthwash…
The list goes on.
Dental hygiene is important, but it always gets me thinking…
How did our ancestors brush their teeth?
They didn’t have these items.
But apparently, they survived.
I figured that there must have been some kind of a “trick” that they did.
And that in a survival situation, it might come in handy.
When I did some research, I found that they used a variety of methods.
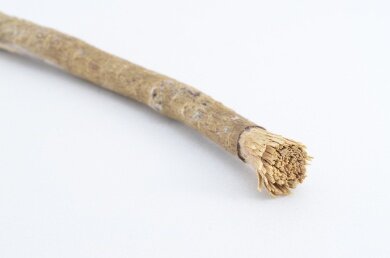
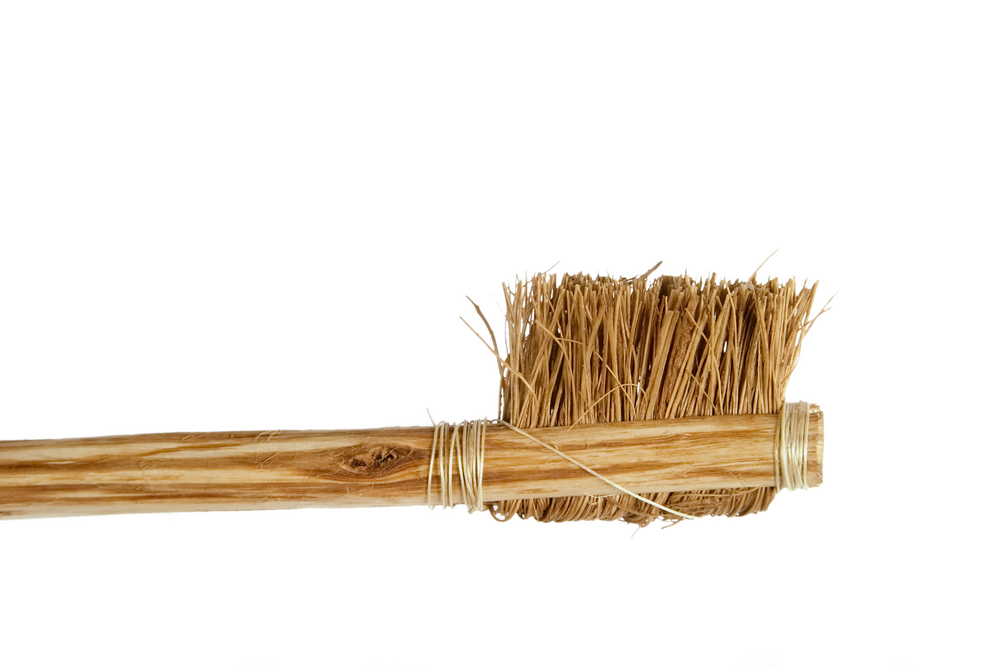
For example, the ancient Egyptians and Greeks used tooth sticks, which were thin sticks or rods that were used to clean their teeth and massage their gums.
The sticks were often made from twigs or other natural materials and were used much like a toothbrush.
In other cultures, people chewed on twigs or leaves that were believed to have cleansing and medicinal properties.
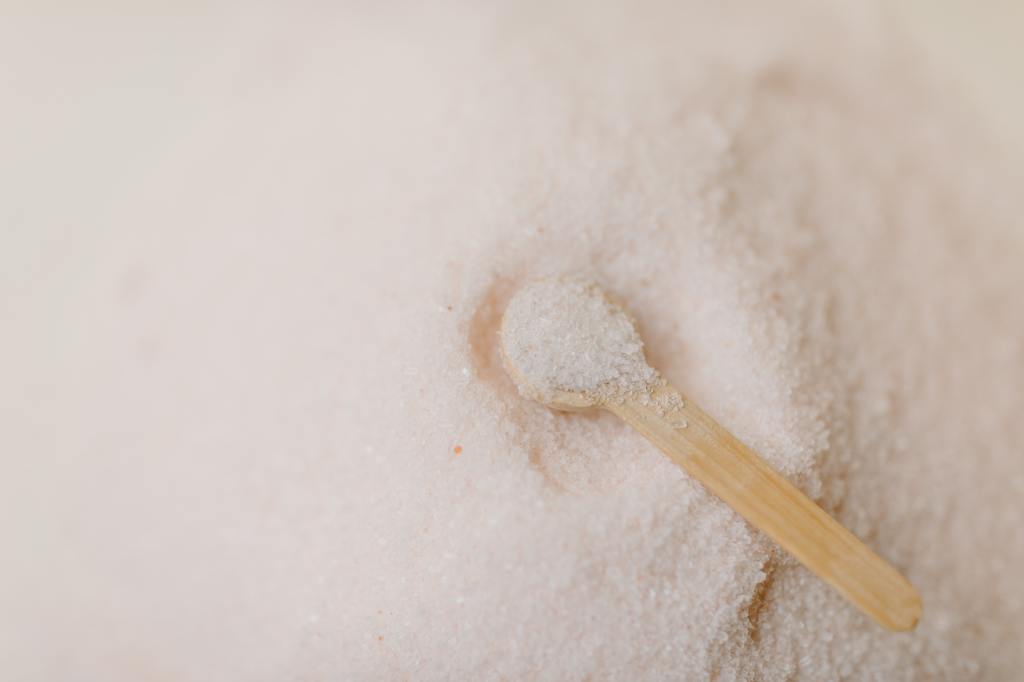
Some used a mixture of ashes and salt to brush their teeth, while others rubbed their teeth with a cloth or used a fingernail to clean them.
As you can see, there are many different ways to maintain oral hygiene.
In a survival situation, it’s okay if you don’t have your usual tools with you.
You can take care of your teeth and gums as best you can, using improvised methods if necessary.
To maintain good dental hygiene in an emergency, it is recommended to:
Rinse your mouth with water regularly to release food particles and plaque.
Use a toothbrush or tooth stick to clean your teeth if possible.
Brush your teeth with baking soda or salt if toothpaste is not available.
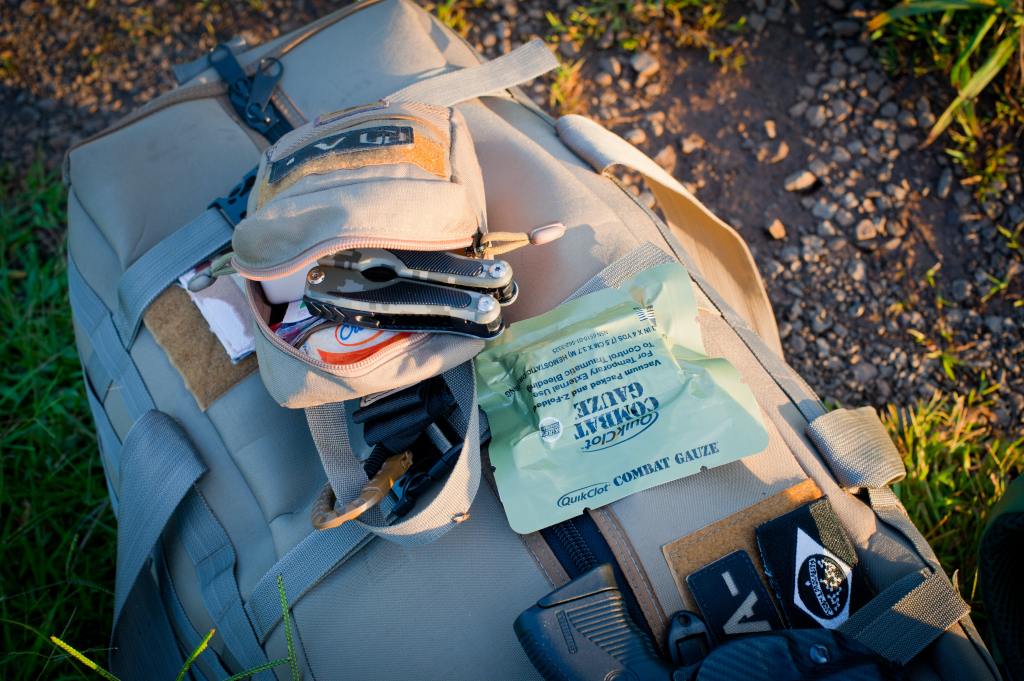
You can carry these things in your kit.
But even if you don’t have anything with you, you can improvise to take care of your basic oral needs.
Something is always better than nothing.
We should keep this in mind in every prep we do.
If you happen to know any other ways to maintain oral health in emergencies, I would love to hear them!
Did you know getting good at chess would improve your prepping abilities?
Don’t worry, I’m not going to ask you to learn how to play chess.
In fact, I don’t even know the rules of that game!
But I do know that it requires a lot of strategic thinking.
And that professional chess players can quickly think of 15 or 20 moves ahead in each move.
This is exactly what is needed for prepping.
Being prepared means more than just stocking up on food and weapons.
It means having a comprehensive plan in place that covers a wide range of scenarios and contingencies.
Without a plan, we risk being caught unaware and unable to respond effectively to emergencies.
But planning for emergencies is not easy.
There is always something different to prepare for.
Earthquakes…
Tornados…
Power Outages…
One can’t ever account for everything.
Sometimes we don’t even know what we are preparing for.
Take the chemical spill in Ohio, for example.
How could the residents see this coming?
And how could they even prepare for it?
Well, the truth is, with a proper planning system, you can prepare for anything.
You’ll see how in a minute.
First, you need to know:
Why Planning Is So Important.
Imagine you lived in an area that is prone to hurricanes.
You’ve stocked up on food and water…
You have a generator…
…and you’ve secured your house as best you can.
You feel confident that you are prepared for the next big storm.
But suddenly, a huge storm hits.
One that is bigger than any other storm your area has seen.
It completely destroys your preparations and your house is not safe anymore.
You have to bug out.
But the issue is, it happened on a school day. And your children still haven’t gotten back from school.
How will you let them know where to meet?
Your smartphone is not working because the power grid stopped working.
It’s a disaster!
Well, this is where foresight comes in handy.
If you had agreed on a meeting place in case your preparations didn’t work, then this would have been solved.
Getting good at planning means preparing for things that most people would not even think about.
Of course, this was a far-fetched scenario…
But it goes to show…
A proper plan can help you and your family overcome even the craziest catastrophe.
That’s why I’ll show you simple ways to become good at this skill.
And give you ideas on how to practice your planning abilities so that you are always ready.
Find Your Commitment Level
Before you start working on your planning skills, there is something that you have to figure out first…
You need to assess your level of commitment.
The reason this is so important is that developing this skill is not something easy.
You will not become good at it overnight.
Just like professional chess players work very hard to improve their skills, you will have to go over some roadblocks.
If you are aware of your commitment level before you even start, however, you will be in a much better position to work through these roadblocks.
Before you read the rest of the article, ask yourself these questions:
How much time and effort are you willing to invest in planning for emergencies?
If improving your planning skills gets too hard, would you continue working on them?
What challenges are you willing to face?
Take your time and honestly answer these questions.
This way, you can set realistic goals for yourself and ensure that you don’t overcommit or burn out.
How To Improve Your Planning Skills
Once you’ve figured out your commitment level, it is finally time to improve your planning abilities.
When it comes to planning for emergencies, there are some key elements that every prepping plan should include.
These elements include risk assessment, threat analysis, resource inventory, and contingency planning.
Let’s explore each of these elements in more detail:
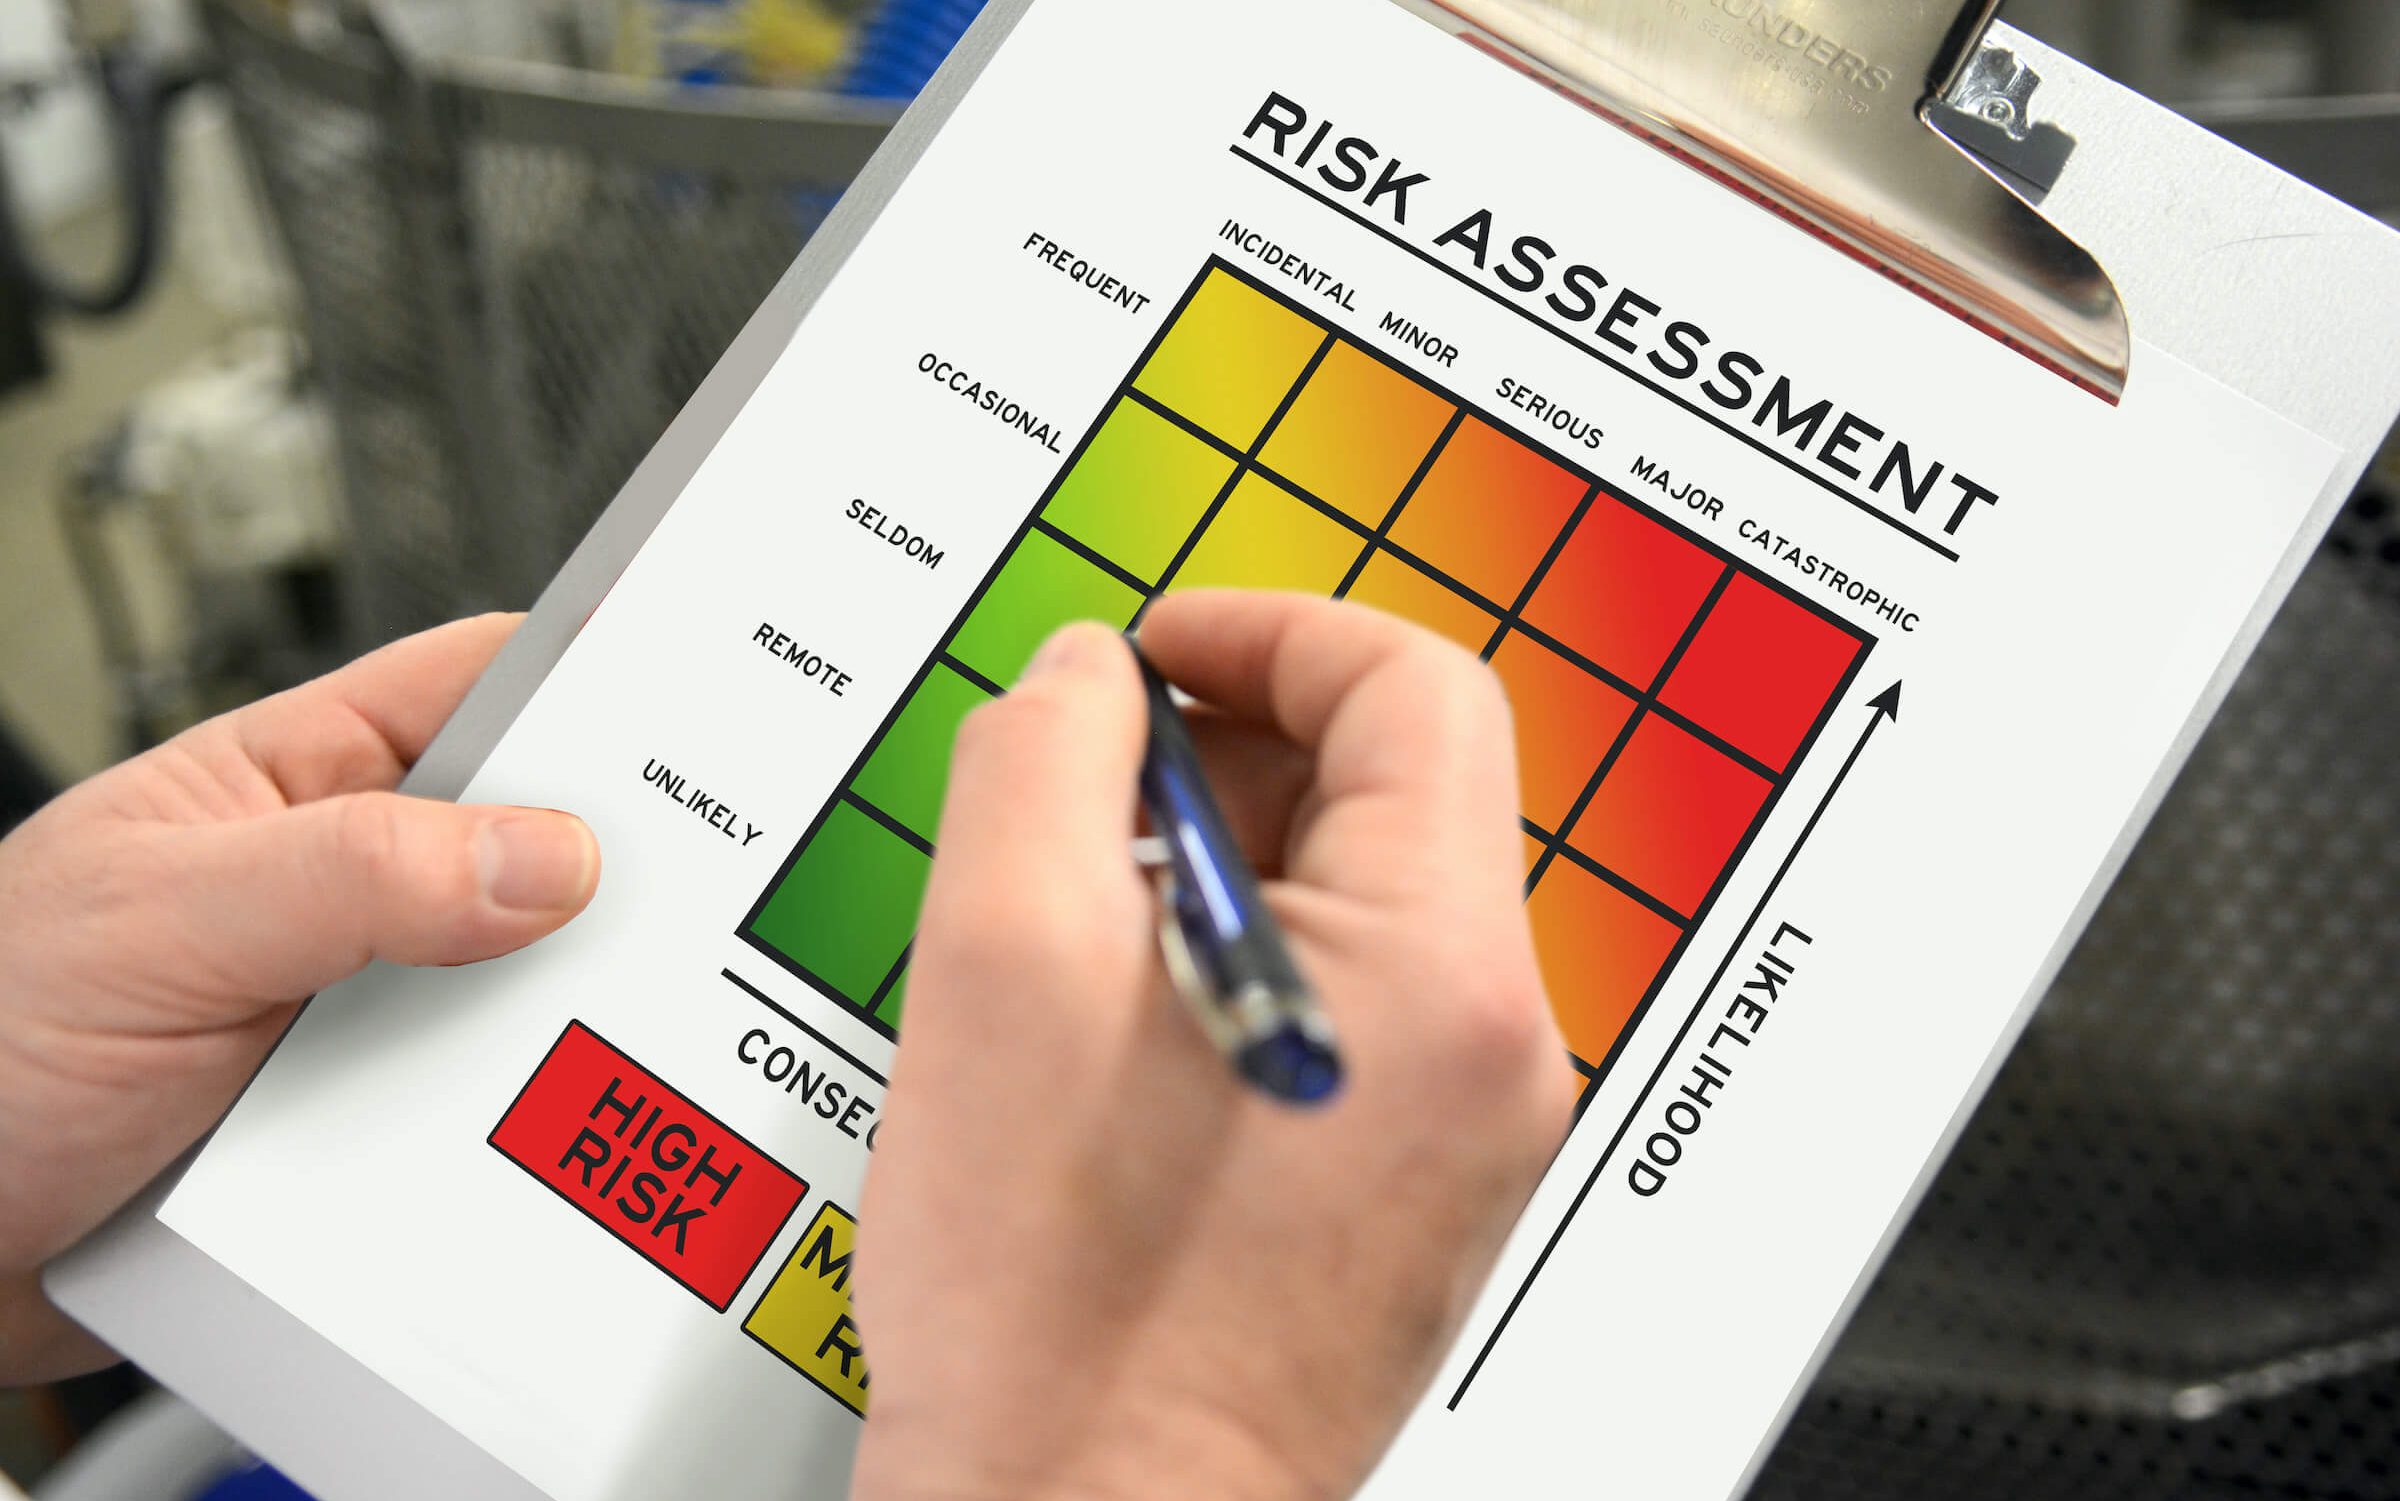
Risk assessment.
This is the process of identifying potential risks and hazards that could affect you and your loved ones.
This includes natural disasters, economic collapse, civil unrest, and other potential emergencies.
You can even include risks that are not your plan.
Neglecting to prepare for something is also a risk.
Consider everything that could go wrong.
Threat analysis.
This is where you evaluate the risks.
Conduct a threat analysis to evaluate:
The likelihood of each threat.
The potential impact of each threat.
This will help you prioritize your planning efforts and allocate resources.
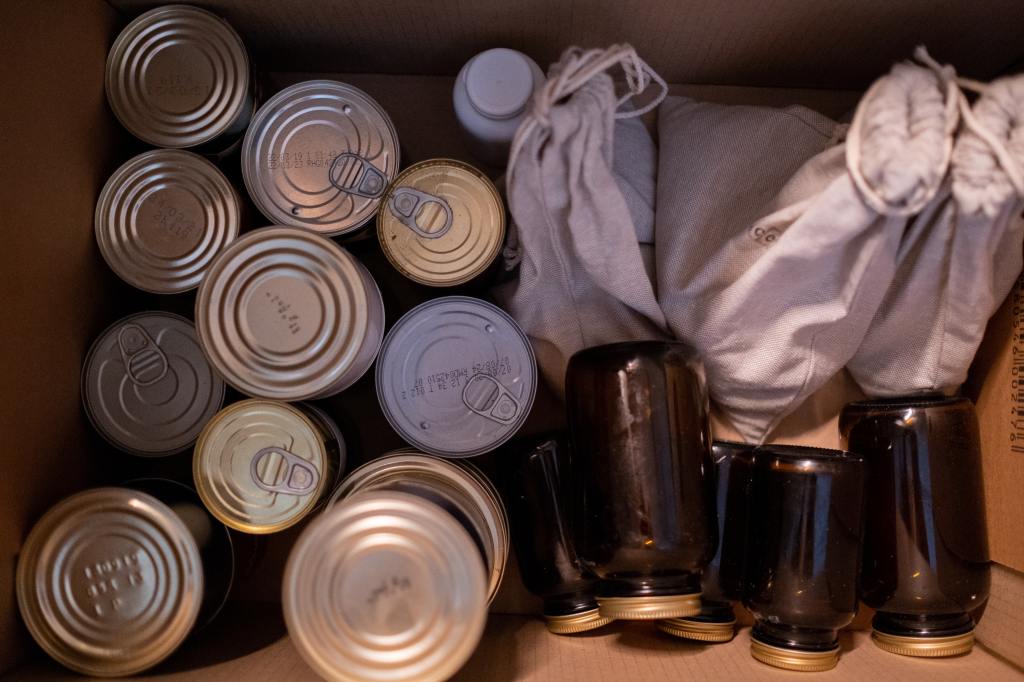
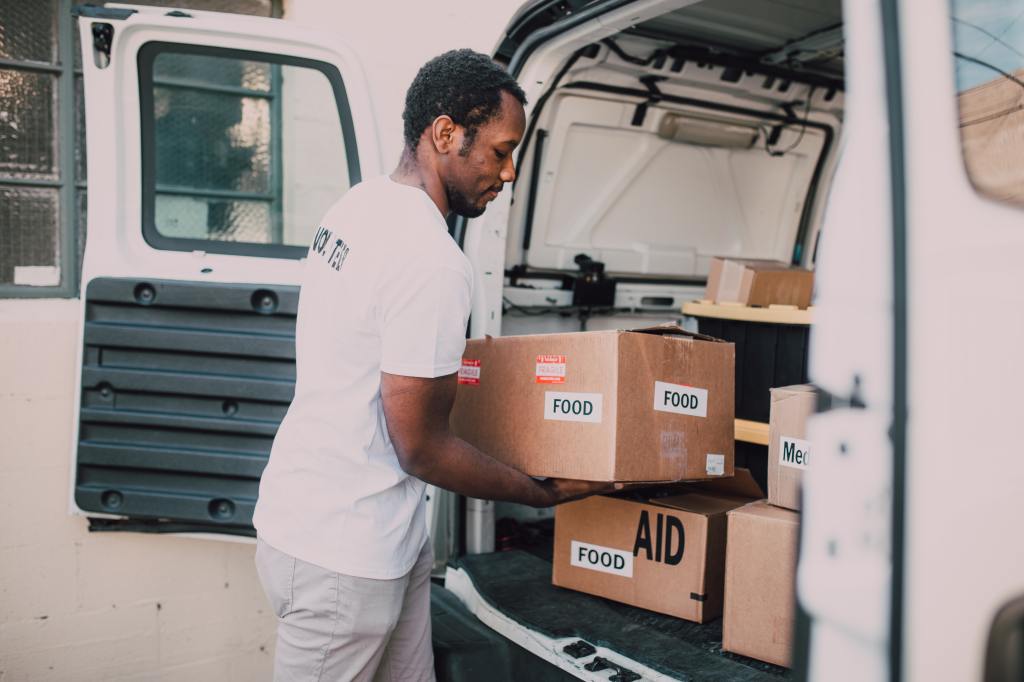
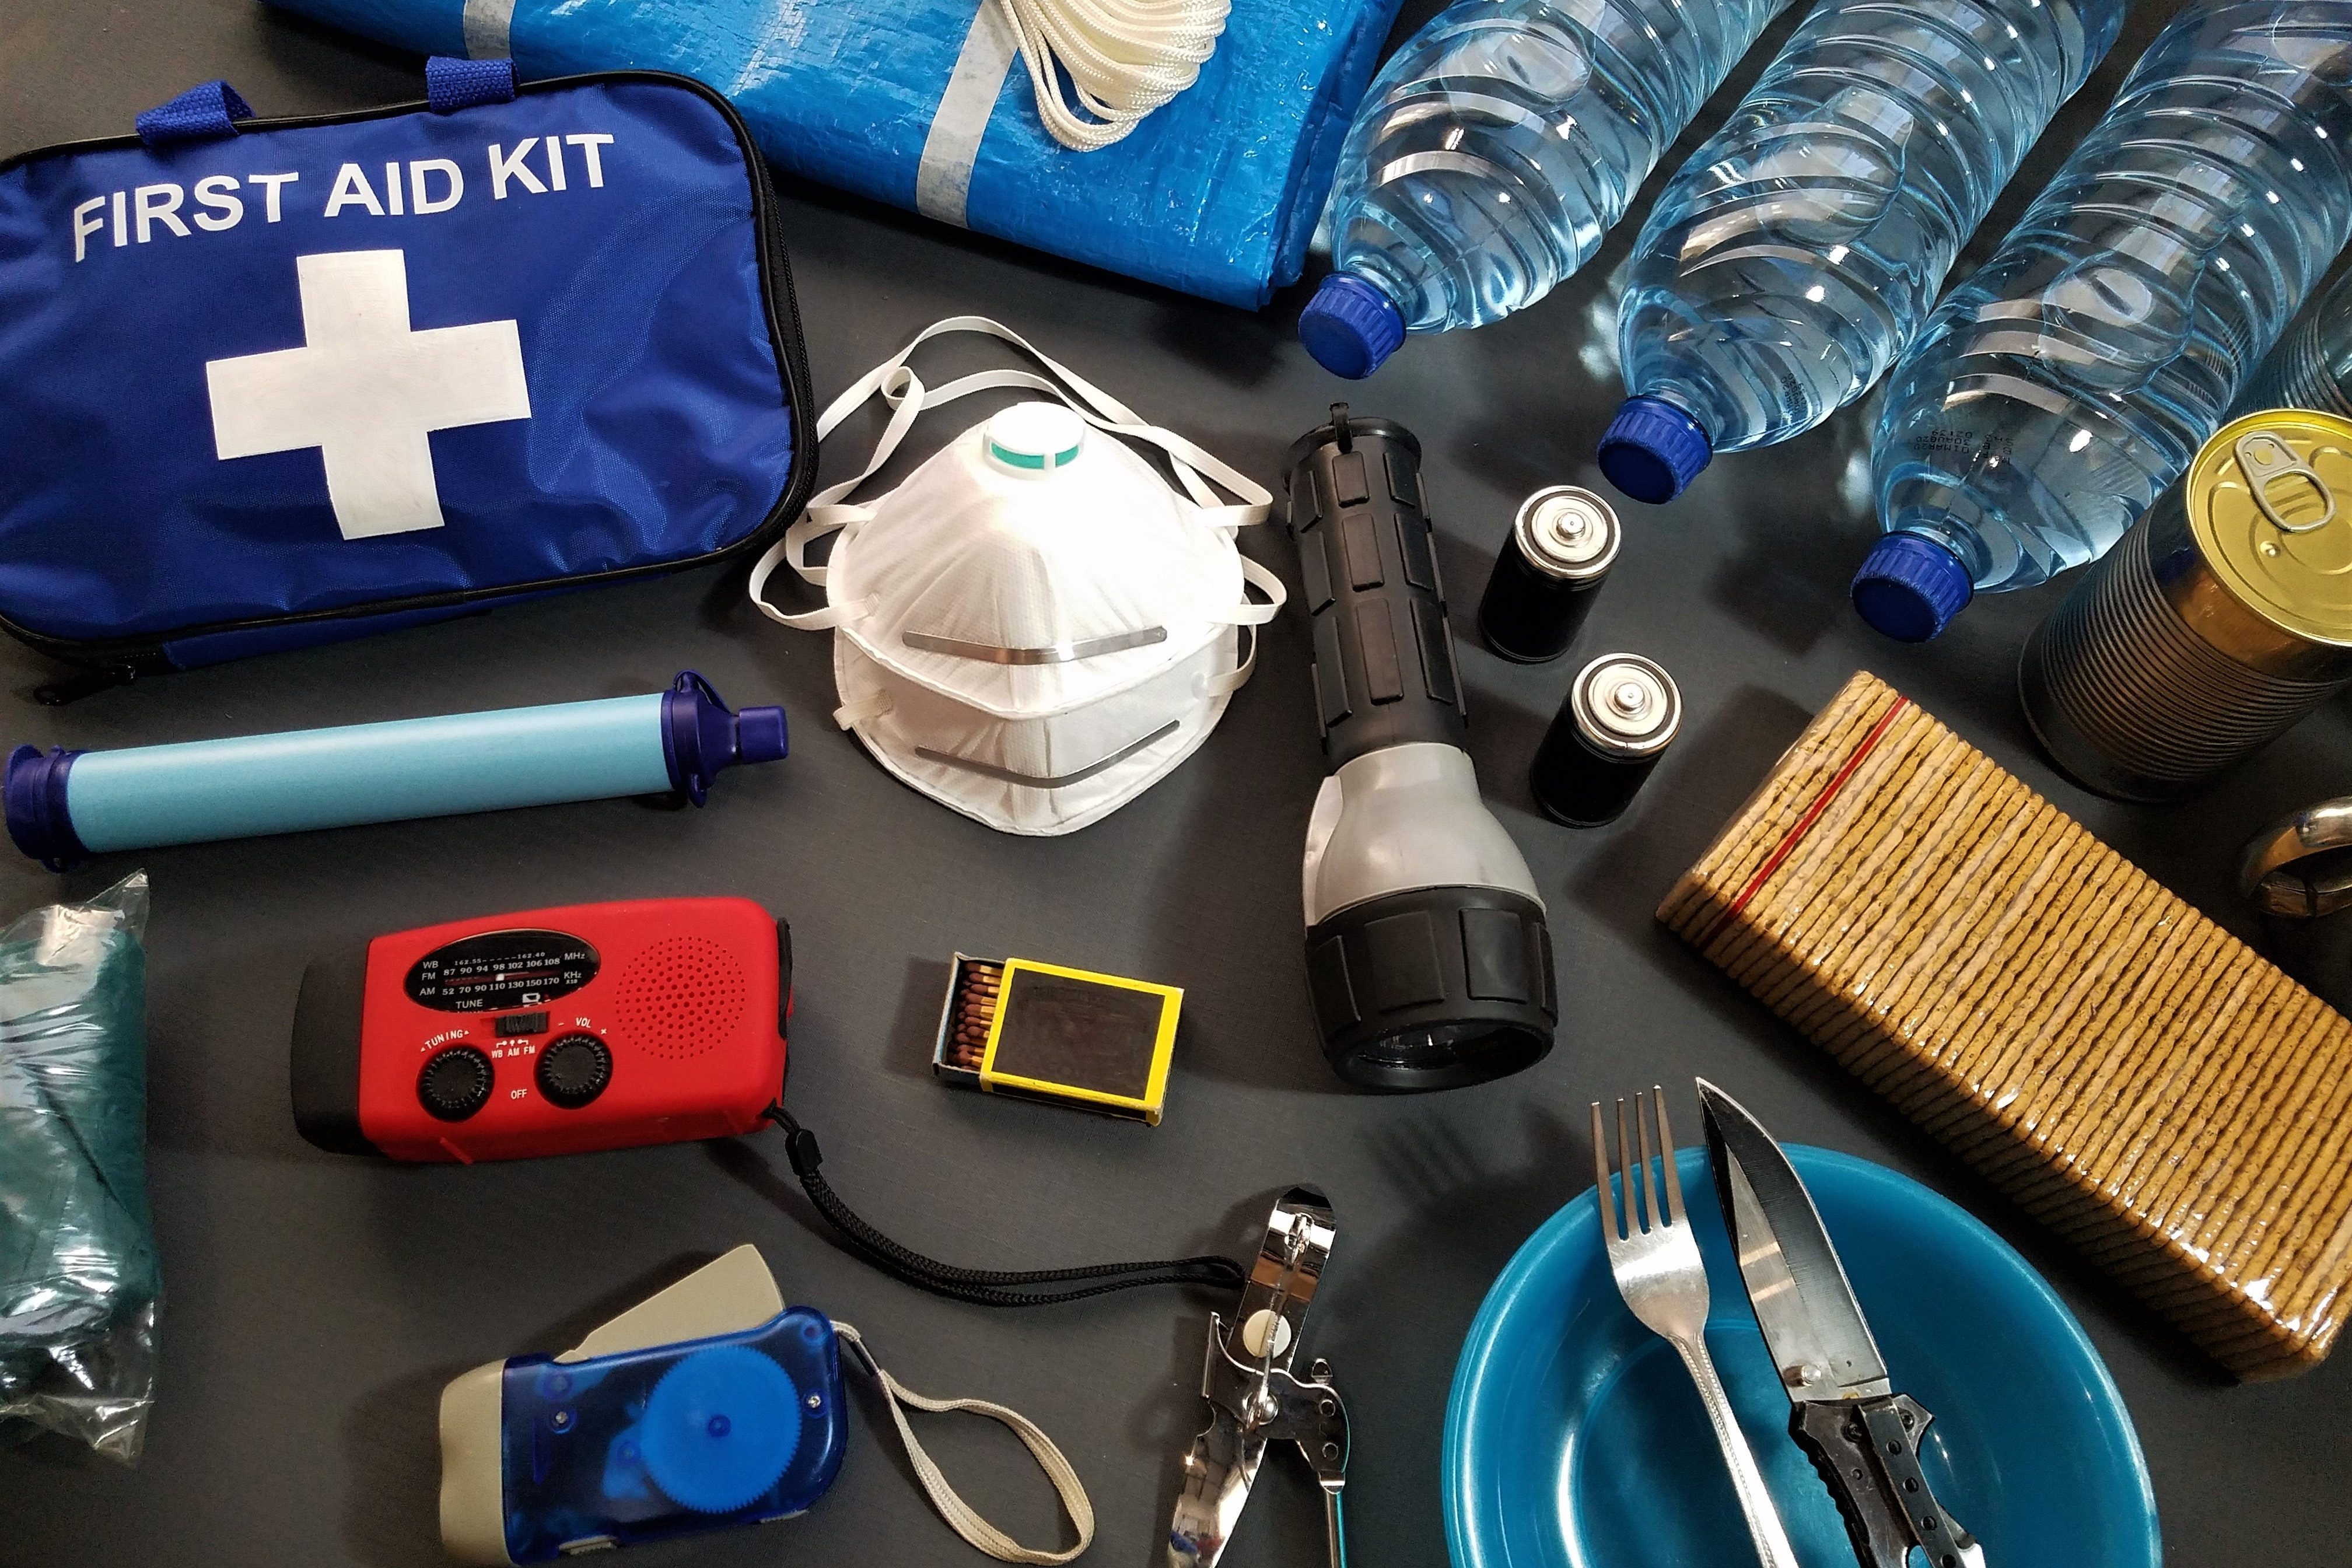
Resource inventory.
A resource inventory involves taking stock of the resources you have on hand and identifying any gaps in your preparedness.
This includes:
Food,
Water,
Medication
Weapons and ammunition
Other essential items.
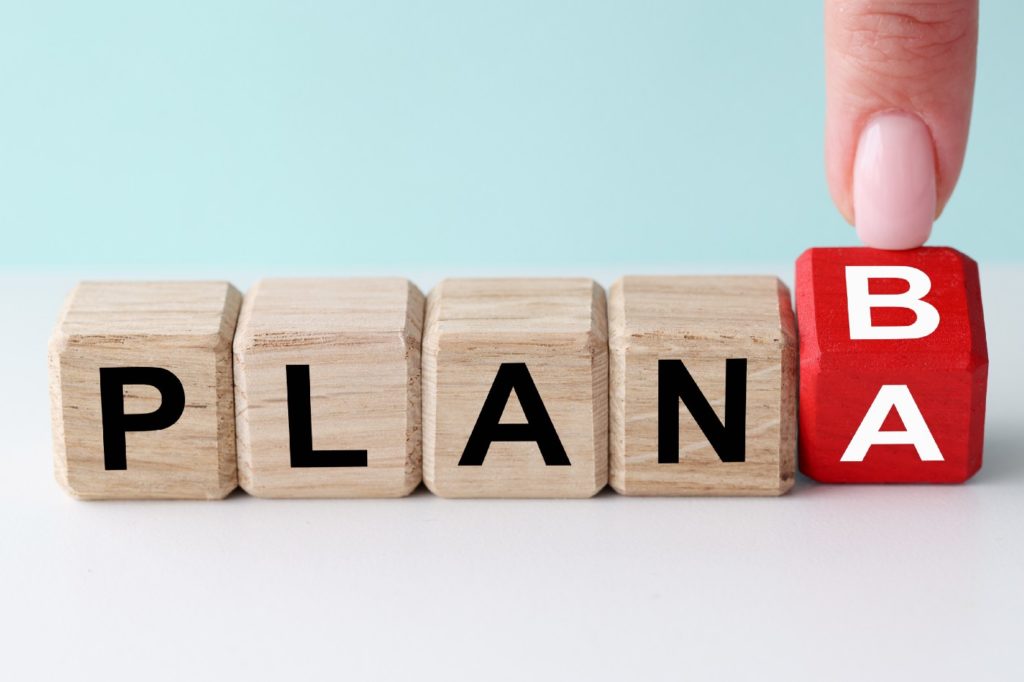
Contingency planning.
Contingency planning involves developing a plan B in case your primary plan fails (Remember the storm example?).
This can include backup evacuation routes, secondary locations for shelter, or contingency supply sources.
By including these key elements in your prepping plan, you can be better prepared for a wide range of emergencies and increase your probability of survival.
Tips That Will Make This Easier
If you’ve read this far, you have probably realized that this will take some work.
But, remember, you are committed.
Which means that you are willing to do whatever it takes to become better at planning.
However, this doesn’t mean that you can’t use simple advice that will make this journey easier.
Start small.
If you are not an experienced prepper, it is easy to become overwhelmed.
Start with a simple plan for a specific scenario, such as a short power outage.
This will help you build confidence and develop your planning skills.
Once you feel ready, move on to harder challenges, such as natural disasters.
Set goals.
Determine what you want to achieve with your prepping plan.
And set realistic, measurable goals to help you stay motivated and on track.
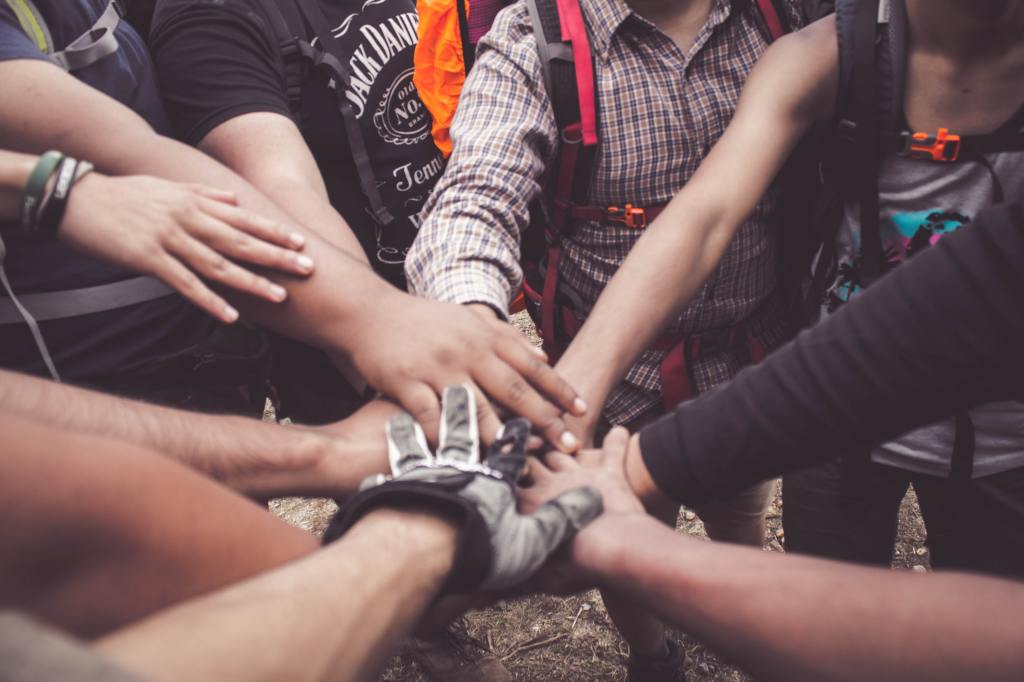
Involve your family.
Doing everything alone is tough. And definitely not fun.
If you involve your whole family in the prepping process, everything will proceed much smoother.
Plus, everyone is going to be on the same page so they will know what to do in emergencies.
Stay organized.
Keep your prepping plan and items organized and easily accessible so you can quickly respond to emergencies.
You can use checklists, journal entries, or your preferred way of taking notes.
Continuously review and update your plan.
The risks we face are constantly changing.
So it’s important to regularly review and update your prepping plan to ensure that it remains effective and relevant.
Planning is a crucial part of prepping.
And can make a huge difference in ensuring your family’s safety.
By developing this skill, you will be in a much better position to survive any emergency.
If you have been trying to prepare for emergencies, then you have probably come across the same roadblock that most preppers have… practice.
As a prepper, it is very difficult to put your prepping skills to the test.
Emergencies simply don’t happen that often.
So you can’t know whether your preparations are up to the task or not.
Practice, however, is a crucial aspect of every skill we develop.
They say that the first step to getting better at anything is to suck at it first.
And to identify your flaws, try to fix them, and improve over time.
But how can you do that with prepping?
Well, with little imagination, you can take steps to test your prepping techniques and stay prepared for any eventuality.
I’ll show you how to do that in a minute.
First, you need to…
Understand Your Prepping Needs
I wish I could give you a clear-cut path that you should follow.
But depending on where you live and your current situation, you need to develop the appropriate skills.
Before testing your skills, though, you need to understand what you need to test.
There are several ways to do that:
Identify Potential Emergencies
The first step is to understand what types of emergencies are most likely to occur in your area.
Look at your town’s history, or ask the local residents what the most dangerous disaster that they had to go through was.
Additionally, consider factors such as natural disasters, power outages, and other events that could disrupt your family.
Assess Your Resources
Take stock of what items and resources you currently have on hand and identify any gaps in your prepping plan.
Consider things like food, water, shelter, clothing, and medication, as well as any tools or equipment that you may need.
Determine Your Priorities
With a clear understanding of your needs, it is easier to prioritize what skills and items you should focus on first.
For example, if you live in an area prone to hurricanes, your priority might be to have a solid evacuation plan in place.
Putting Your Prepping Skills To The Test
It is finally time to test your skills.
You first need to find a safe and controlled environment.
This is where you will be pushing yourself to find flaws in your survival plan.
There are several ways you can do that.
Simulated Emergency Scenarios
One effective way to test your prepping skills is to create simulated emergency scenarios that mimic real situations.
This allows you to see how well you can handle different types of emergencies using your equipment and skills.
For example, you could simulate a power outage, and see how well you can respond to the situation.
We actually make a game out of this in my household and even have the kids evolve in the prepping process.
Practice Essential Skills
This is a simpler one to execute. But it is also time-consuming.
You just try out your essential skills.
This includes building shelters, starting fires, purifying water, and more.
Regularly practicing these skills will help you feel more confident using them in real situations.
And most importantly, it will help you identify any areas that may need improvement.
Seek Feedback From Other Preppers
Sometimes we don’t see an obvious mistake we are making until someone points it out to us.
Just last week, a buddy of mine told me some of my emergency foods had expired.
I had forgotten to look!
Speaking to other preppers can help you see your skills and equipment from a different perspective.
I go over my emergency plans with my friends very often.
And I suggest you do too.
Engage in Community Preparedness Efforts
Your local community can give you tons of chances to test your prepping skills.
Many communities hold emergency preparedness drills and exercises.
These can be excellent times to test your skills and learn from others.
By actively participating in these efforts, you can ensure that you are fully prepared to handle any emergency situation that may arise.
Stay Up-To-Date With Modern Developments
What works nowadays is different from what worked 10 years ago.
The prepping community is always evolving and advancing.
So it is important to stay informed about the latest developments and advancements in the field.
This can include:
Researching and learning about modern technologies and gear.
Stay informed about the latest gear and technologies available to preppers.
There is always different stuff coming out.
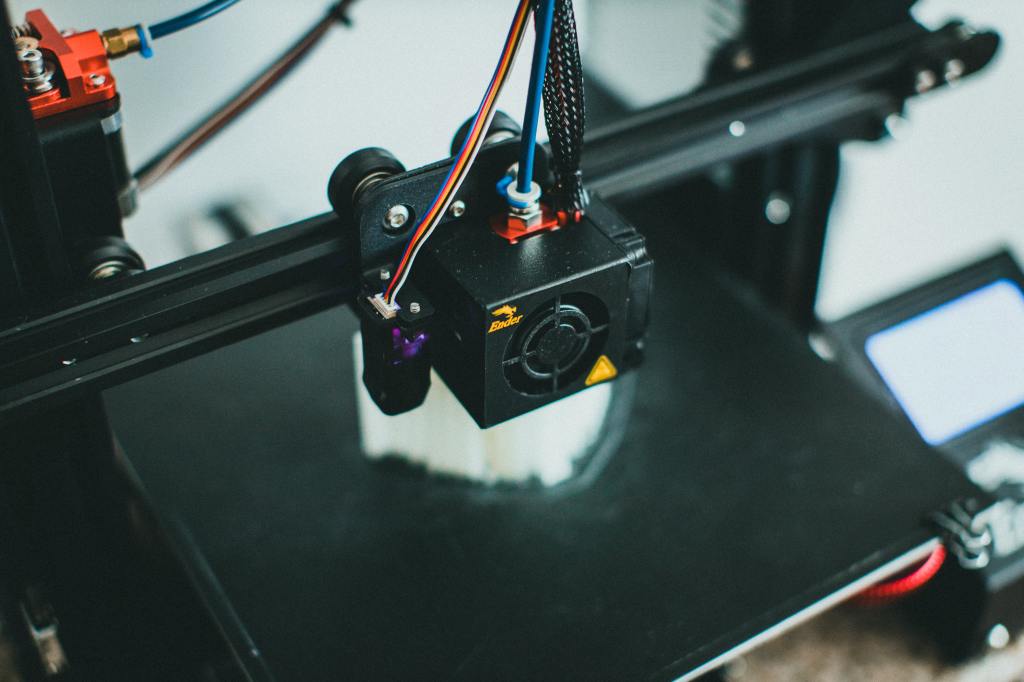
Just recently, for example, I learned that 3D printers are incredible for preppers.
Staying informed about current events.
Information is one of the most crucial aspects of prepping.
Keep up with current events and news that may impact your preparedness.
If there is an occurring strain of a disease or a major flood, for instance, you should be aware of how these events could impact your area and your preparedness plan.
Practice and Maintain Your Prepping Skills Regularly
Prepping is not a goal. It’s a way of living.
You need to regularly evaluate your plan and change it depending on the circumstances.
This is why prepping should be a regular part of your routine.
This could mean setting aside time to practice your skills, update your equipment, and reassess your plan.
Your skills are not ever going to be flawless.
As you learn about different technologies and gear, incorporate them into your survival plan.
This can help you stay prepared and up-to-date with the latest developments.
Socrates said that unexamined lives are not worth living.
Same goes for prepping.
An unexamined plan is not worth having.
You need to constantly reassess your prepping plan to ensure that it is still relevant and effective.
Putting your prepping skills to the test is an essential part of being truly prepared for an emergency.
Prepping is not just about having gear and a plan.
It’s about actively practicing and refining your skills so that you are ready for any situation.
Remember, being prepared means being ready for the unexpected.
So take the time to test your prepping skills and continually improve your preparedness.
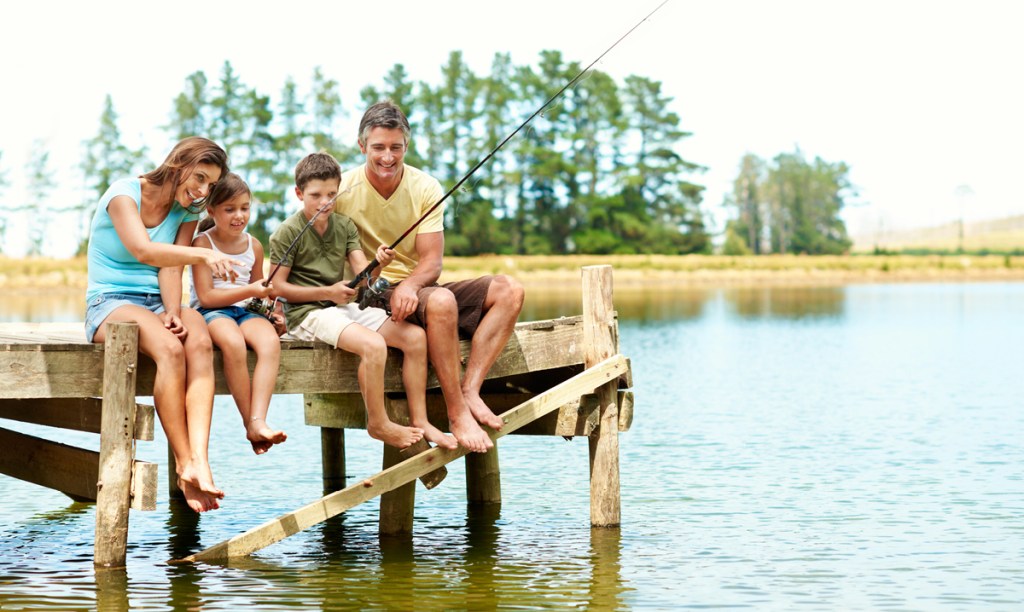
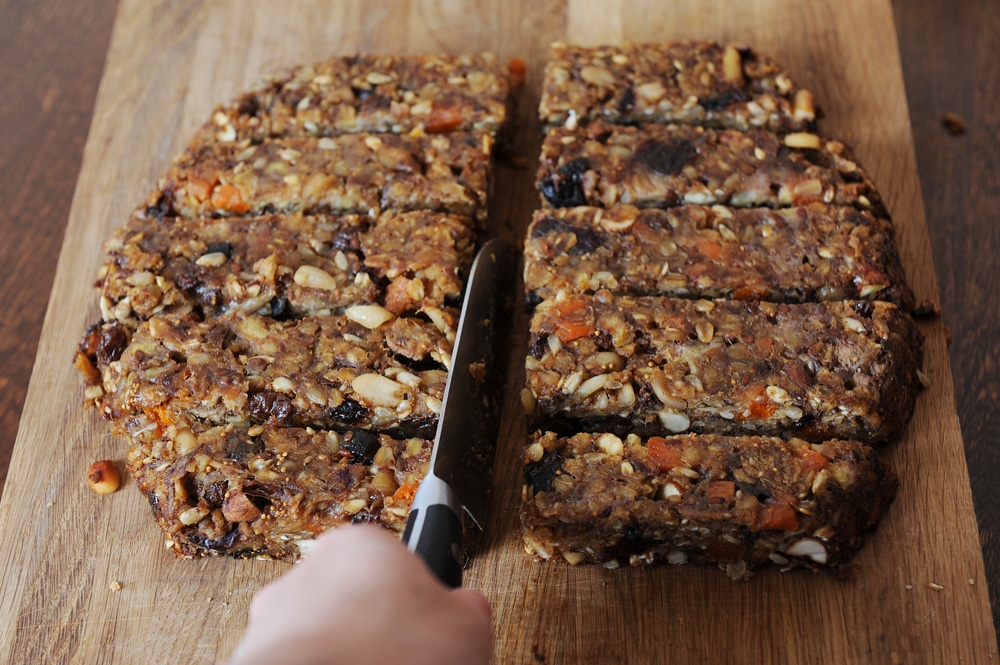
Having Fish available is one of the best ways of getting your daily protein intake during an apocalyptic situation. There’s plenty of water around, but only a few have the skills to fish for their survival. Having a distinct advantage sets you apart from others and might come in handy down the line.
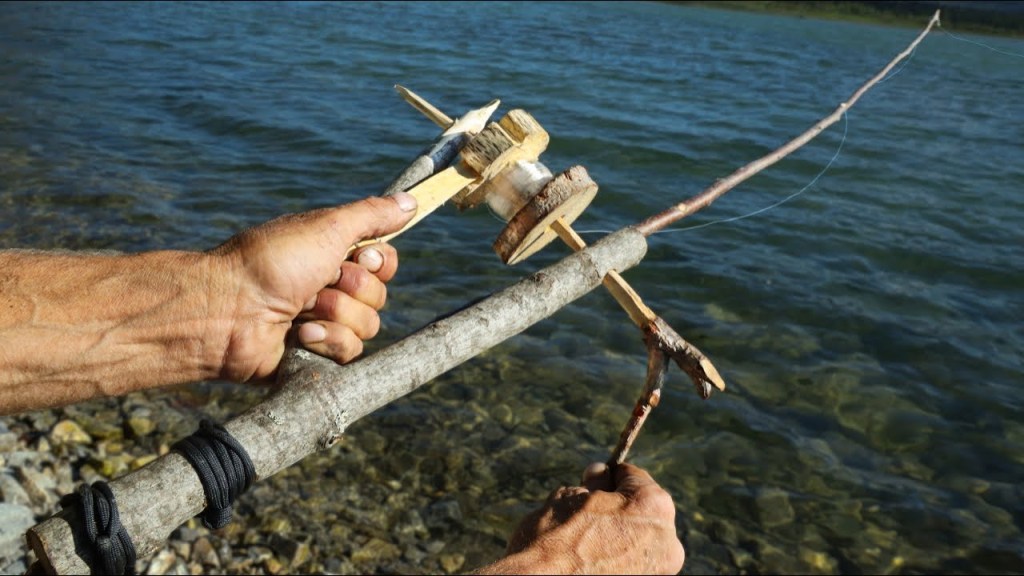
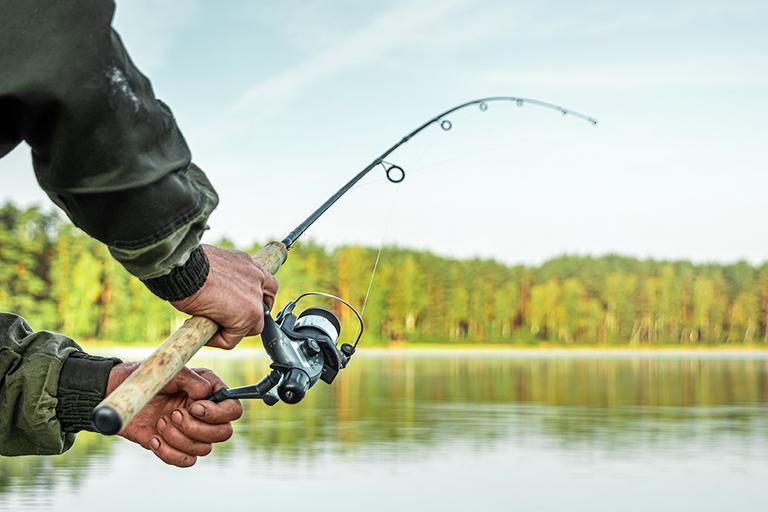
If it comes to fishing for your survival, there are a couple of different options. Like many non-preppers, you can take the more common approach and use rods and reels, but then there’s the storage issue, replacing broken equipment, and let’s not forget the cost of maintaining them. Or you can do what many other preppers prefer, which is a more raw yet simple method for survival fishing.
We’ll talk about both.
Your Fishing Gear
Start by collecting the gear you need to catch fish, this will make it more budget-friendly to stockpile the items needed over time. For your first purchase, I would go with a survival fishing pole. They are easy to store and lightweight, but not the most effective for catching fish.
I can tell you this though, they’re way better than a stick, rope, and hook.
As for your reel, go with whatever you can afford. In a survival situation, it’s not going to matter what brand your reel is or where you got it from. You just need to make sure it gets the job done.
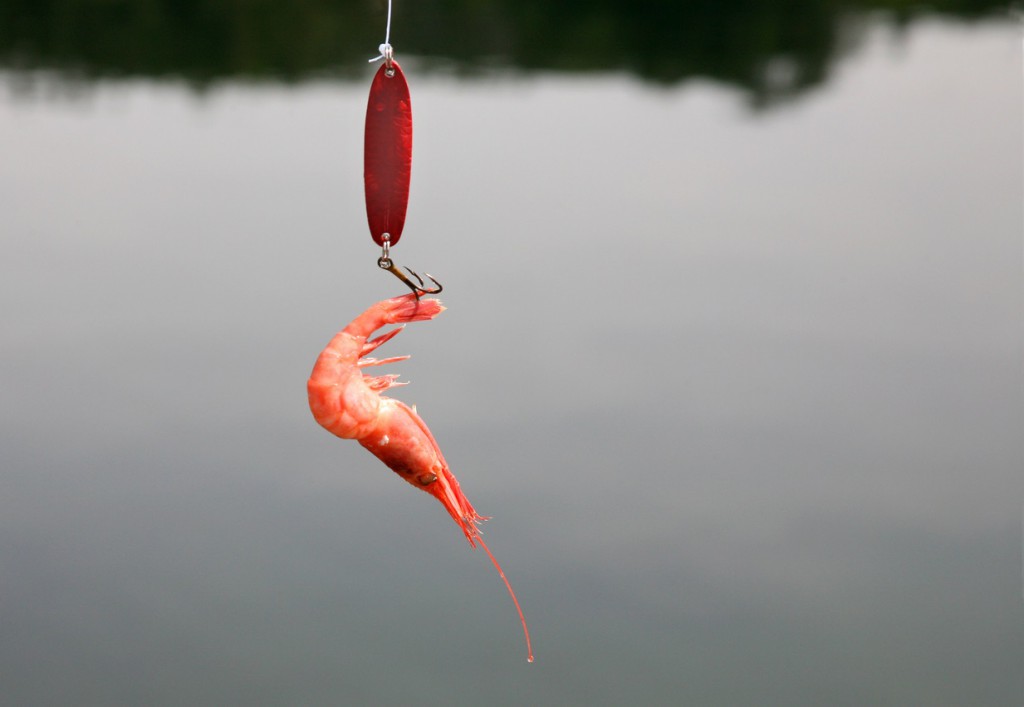
Live Bait Vs. Artificial Lures
Honestly, you want to go with the most basic option possible if you’re choosing artificial lures. All that matters is you being able to catch fish, and it needs to be quick and efficient. Also, make sure you have a variety of sizes in lures anywhere from 1.5 inches – 6 inches in length. If you come across a small stream, the small lure would be perfect to catch something quick to eat. Regardless of if you’re trying to feed an entire family or just yourself, your focus needs to be on quantity over quality and on finding ways to make the fish last.
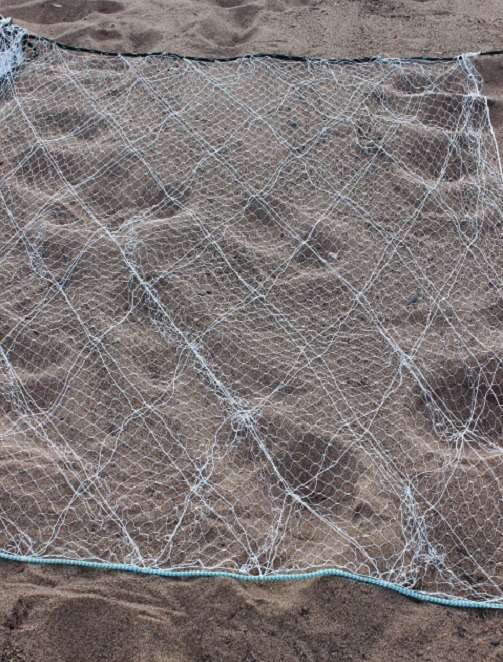
Netting
If want to take a more simple approach, there are plenty of options. Netting or trapping for one, and there are a number of different nets you can use. This is a passive form of fishing which is preferred because it allows you to do something else while you’re fishing in most cases.
Here are some options for netting:
Trotlines – One of the most primitive and passive ways of survival fishing. You attach a mainline on both sides of the river or pond and then hang secondary lines down into the water with bait on them. The secondary lines get weights, so they rest near the bottom of the water, and the baited hooks will stay in place until you return to see if you caught anything.
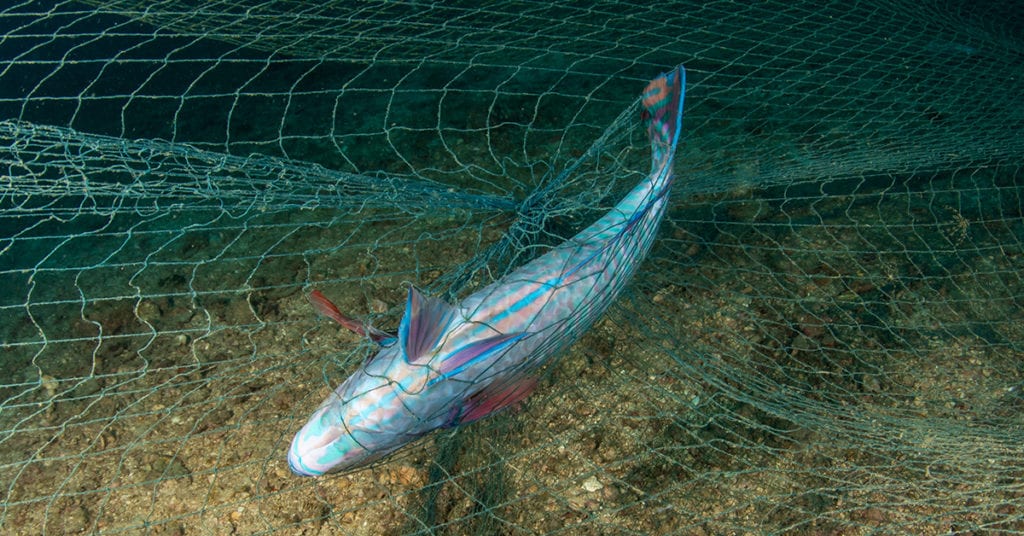
Gill nets – A nylon net with large enough openings for the fish to swim through until they reach the gills. Making it the perfect passive fishing strategy because while you’re getting other things set up, you can check on the net at any time. This important method is great when you need to provide food for more than one person.
Drift nets – A drift net functions in a similar way but requires you to have a vessel to pull the net. The net is moving through the water, it will also grab anything that passes through it. Using this method, you’ll want to bug out near a popular river or stream system.
Killing and cleaning your catch
As a part of the “circle of life”, we need to appreciate and respect our catch, especially for situations where our survival depends on it. Here is a simple way of cleaning your fish if you don’t have any other way:
Find a rock with sharp edges.
Put the fish on a hard flat surface
Use one hand to secure it in place
Use the rock to strike it right above the eye with a large amount of force
This will stun the fish but not kill it, be sure to repeat this a few times
Fishing during a survival crisis is a great way to source rich in protein foods in the event of a food shortage or power grid failure. Learning skills that we can rely on is essential during emergency situations.
Always remember, it’s always better to prep in advance rather than wait until it’s a SHTF situation.
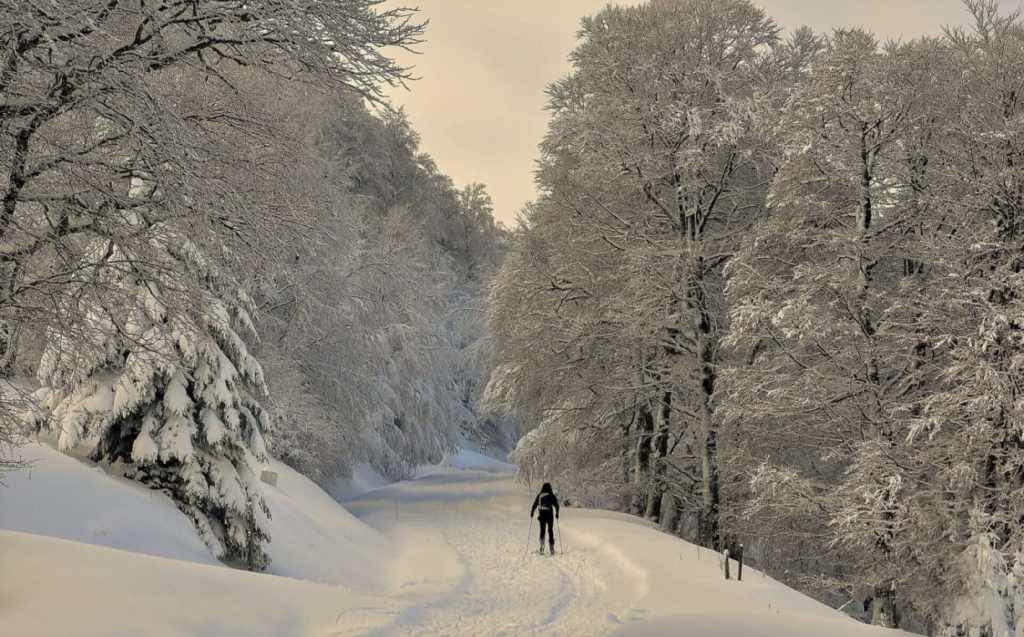
Whether you’re camping, backpacking, living off the grid, or in a survival situation, you’ll need to consider your options for staying warm in all kinds of weather. That’s tougher than it sounds when you’re far from civilization.
How to Dress Up for Winter Survival
Clothing is your first level of protection in this harsh weather, so make sure you’ve got proper layers on.
Your base layer should be made of wicking fabric to keep sweat and moisture off of your skin. Merino wool is an exceptional kind of fabric that keeps you warm and dry when it’s cold and keeps you cool when it’s hot out. Synthetic fabrics like polyester do well as a base layer, too. Stay away from cotton as it absorbs a lot of moisture. It will stay soaked when it gets wet, and that could lead to hyperthermia.
People who live in arctic climates have used animal hide and sealskin to fend off the cold, so take it from them to keep warm if you’re in the same terrain. Prevent heat from escaping your head by wearing hats and scarves.
Finding Your Way and Getting Help
Navigating in the winter, when trails can be obscured by snow and daylight is painfully short, is no easy feat. The combination of thick snow, biting wind, and poor visibility can pose a challenge, even when you’re familiar with the terrain.
A map or even a GPS device will be of great help in finding your way back to safety. Avoid avalanche-prone areas like steep inclines and areas with scarce trees. If you can’t find a trail, try looking for other signs and watching for landmarks.
Sat phones will come in handy when you’re trying to reach for help. Fire, smoke, and mirror distress signals can be helpful, too. Anything dark or that contrasts with the white backdrop (like branches forming an SOS over the snow) can serve as a signal for help.
Pick the Right Location
Picking the right location is crucial to building your fire. Choose one with natural protection against the wind; a large rock, boulder, or log would do. These natural windbreakers can also act as heat reflectors. Dig beneath the snow and keep the area clear from it. Don’t build your fire beneath trees — their branches are laden with snow that can melt and put your fire out.
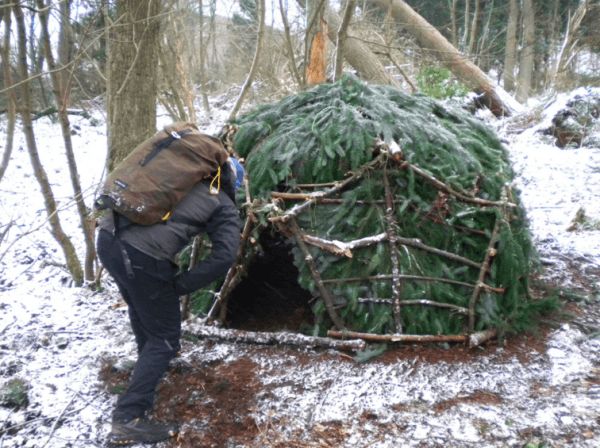
Build a Winter Shelter
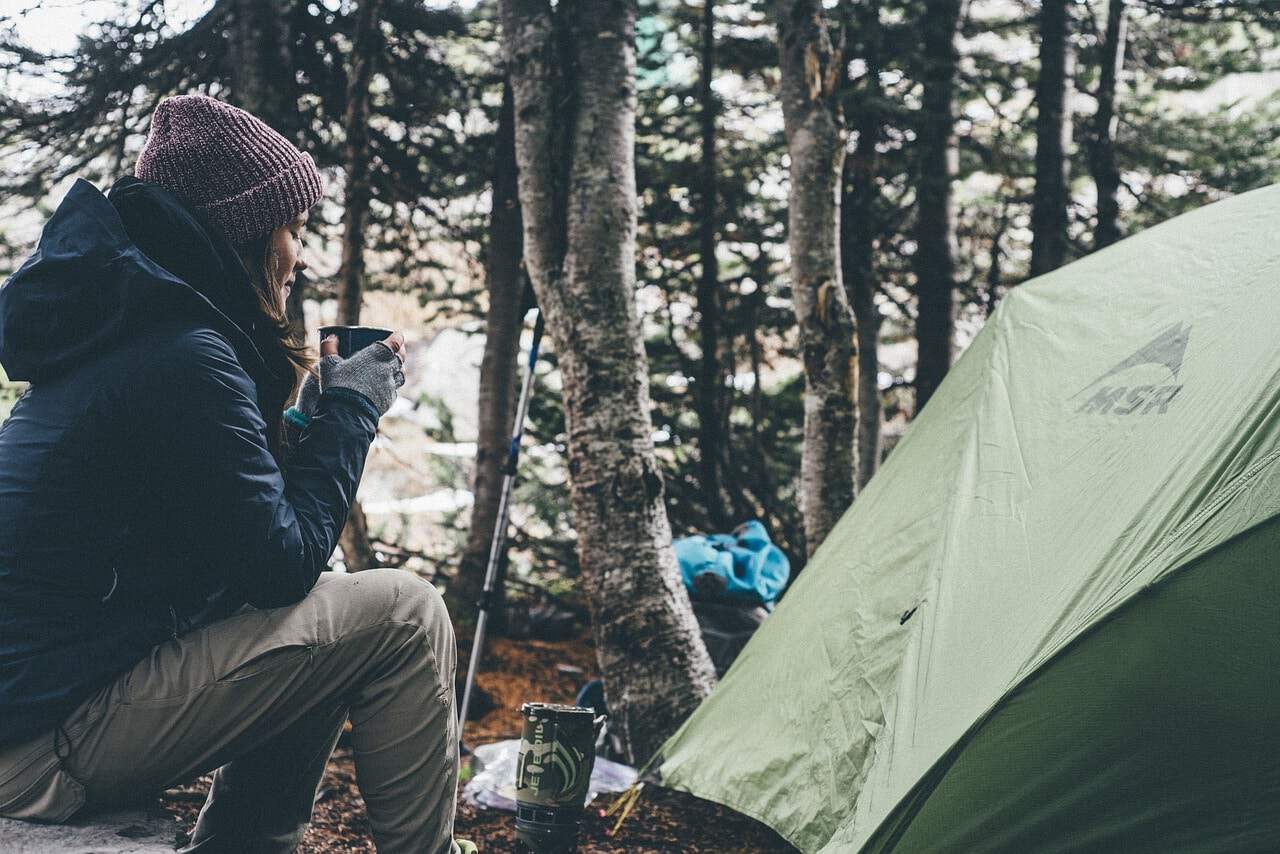
You gotta keep in mind that not all tents are suitable for the winter, so pick one that can withstand the biting cold.
Many cold-weather shelters and specialty tents are large enough to accommodate you and your gear and have ample space for wood-burning stoves to keep you warm.
Basic seasonal tents are usually made from nylon, while cold-weather tents are typically made of silicone and polyurethane to keep cold and moisture out. However, these types don’t accommodate wood-burning stoves very well. They can be bulky and heavy as well, so take the fabric’s weight and durability into account when you’re choosing a tent. You also have to make sure that the tent has enough ventilation.
Another great addition to your winter tent is a space blanket. Also known as an emergency or mylar blanket, this item helps reflect heat to the body. It’s also lightweight and widely available so that you can bring one or two in your backpack. Tarps also do a good job of keeping the rain out of your camp.
On the off chance that you find yourself without a tent, space blanket, or tarp, there are various emergency shelters that you can build using natural materials like poles, branches, foliage, and some cordage.
Sometimes several feet of snow can be a good thing as it allows you to build snow caves. Snow caves are made by excavating snow and forming a shelter to protect people from the wind.
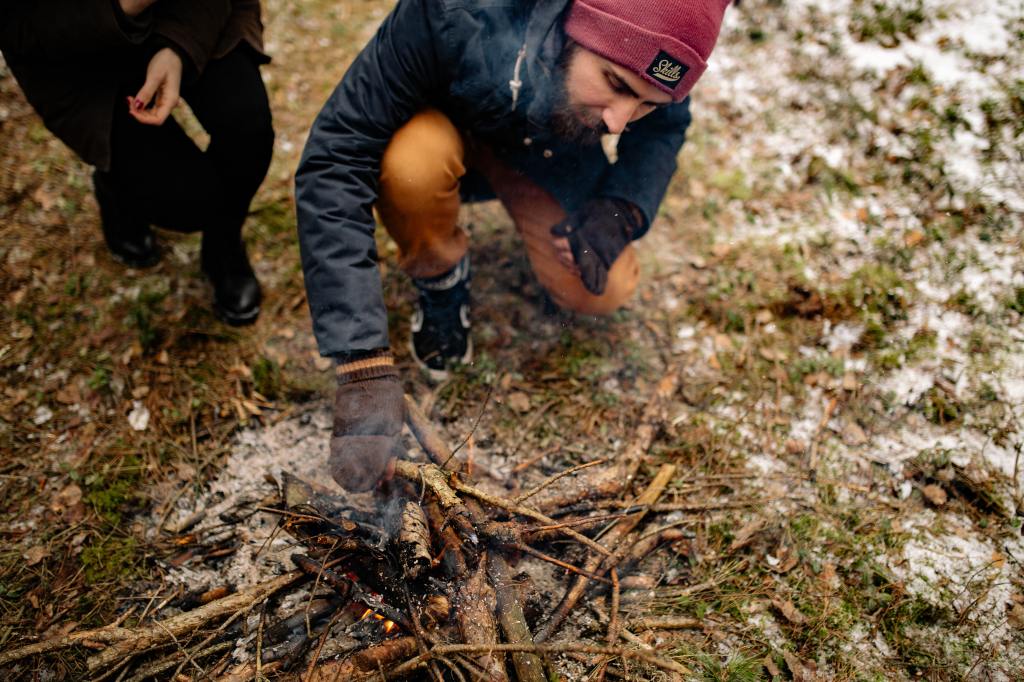
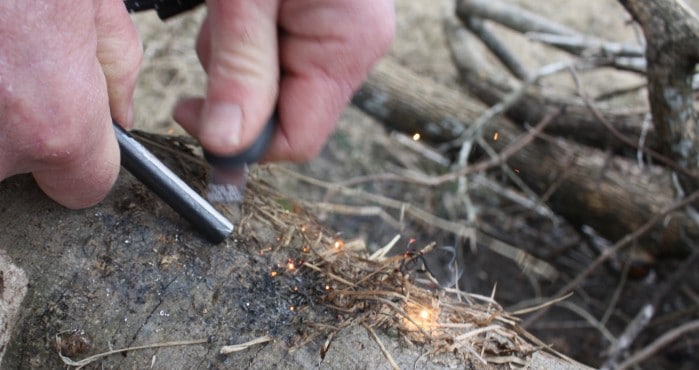
Carry Multiple Firestarters
Why stick to one when you can have a bunch? It’s always great to have an array of firestarters within your reach — when one doesn’t work, you’d still have other options to light your fire with.
If you’ve suffered from a wreck, you can use the oil to start a fire. Char cloth is also a handy firestarter that you can keep in an Altoids tin. You can also pack some DIY egg carton firestarters in a waterproof Ziplock baggie.
Make sure you’ve got more than one way to light that fire. Your matches can easily get wet and soggy, so don’t forget to pack a Ferro rod, firesteel, and a couple of trusty BIC lighters in your kit as well.
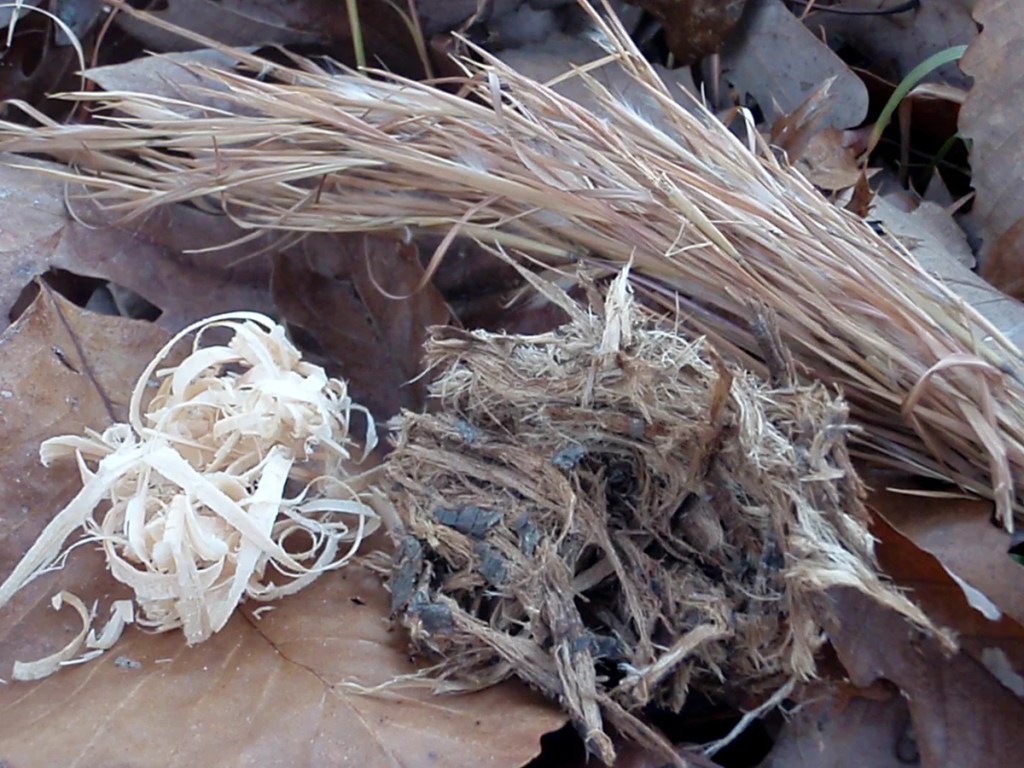
Find Dry Tinder
Trying to find dry tinder in the winter can be a challenge as everything will be damp from the snow. Your knife will be your best friend; you can use it to whittle down dead branches until you get rid of the damp bark and find dry wood. Pine and birch bark also work nicely.
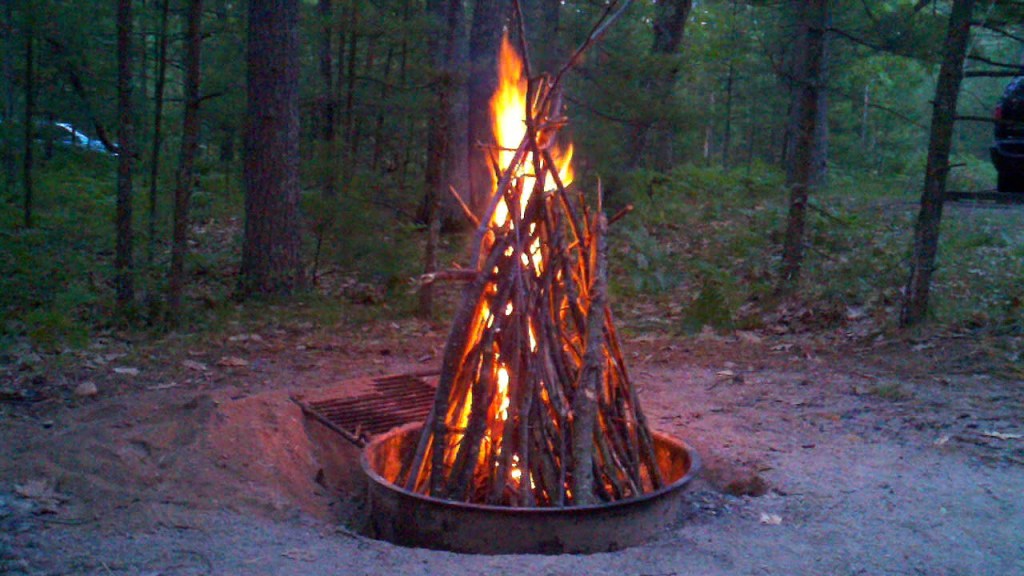
Keep That Fire Burning
Making a fire in the winter is tricky, but not impossible. The cold, damp, and windy conditions will be a challenge, so have a lot of patience…and dry tinder on hand.
Use the Right Type of Firelay
Using the right firelay can keep your fire burning for a longer period. Ideal firelays for winter are the log cabin and upside-down firelays, as they can burn for a long time with minimum supervision. You can also try to build a long fire or this self-feeding fire that can burn for 14+ hours.
Close up Shot of a Camper at the Forest Cooking for Something Using Portable Stove on the Ground.
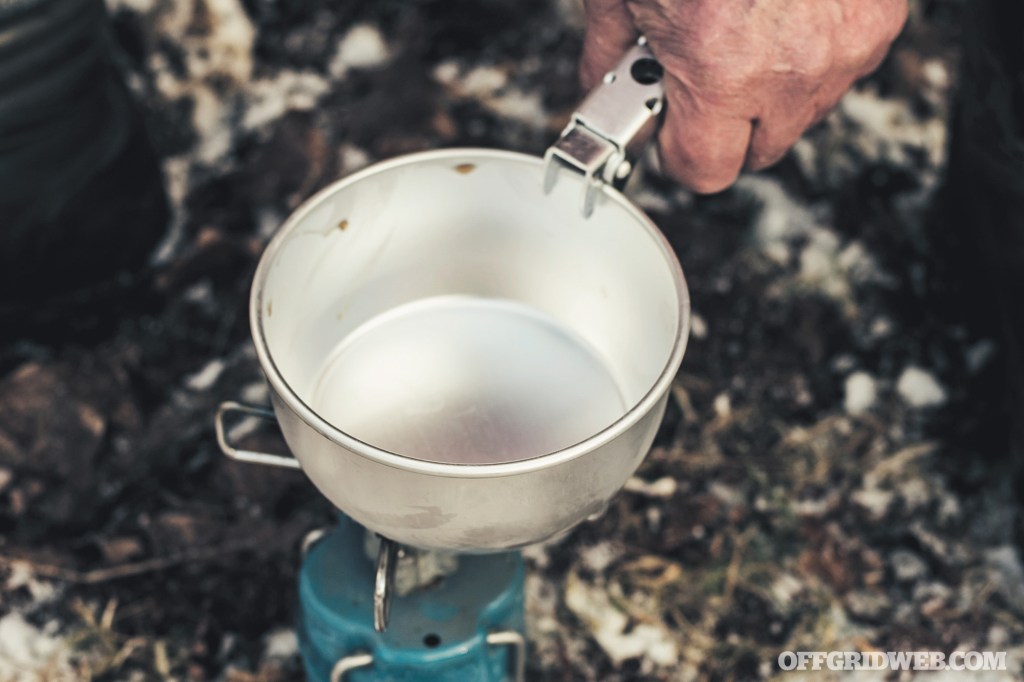
Stay Hydrated (But Don’t Eat Snow)
Just because it’s cold out doesn’t mean you don’t have to replenish lost liquids. It’s also a way to protect yourself from hypothermia and possible frostbite. Fortunately, finding water during the winter is not a problem as long as you have the means to melt it.
Under no circumstances are you to ingest snow.
Doing so would decrease your core temperature and will bring all sorts of trouble, starting with hypothermia. You want to pack that snow tight into a container to get rid of any excess air before putting it over the fire to melt. The heat also kills microorganisms and other nasties from your drinking water.
How to Find Food and Keep Your Energies Up
It’s important to keep your energy up during the winter. Your body is working twice as hard to keep you warm, so it will need all the fuel it can get. Hypoglycemia (low blood sugar) is a real threat during these cold times, and it can often lead to confusion, headaches, and dizziness.
Drinking plenty of water will help reduce the hypoglycemic effect. Foods like apples, molasses, licorice roots, and wild yam are also particularly effective in combating hypoglycemia.
Other foods that can tolerate winter temperatures include wild nuts like acorns, berries, plums, cattails, and mushrooms.
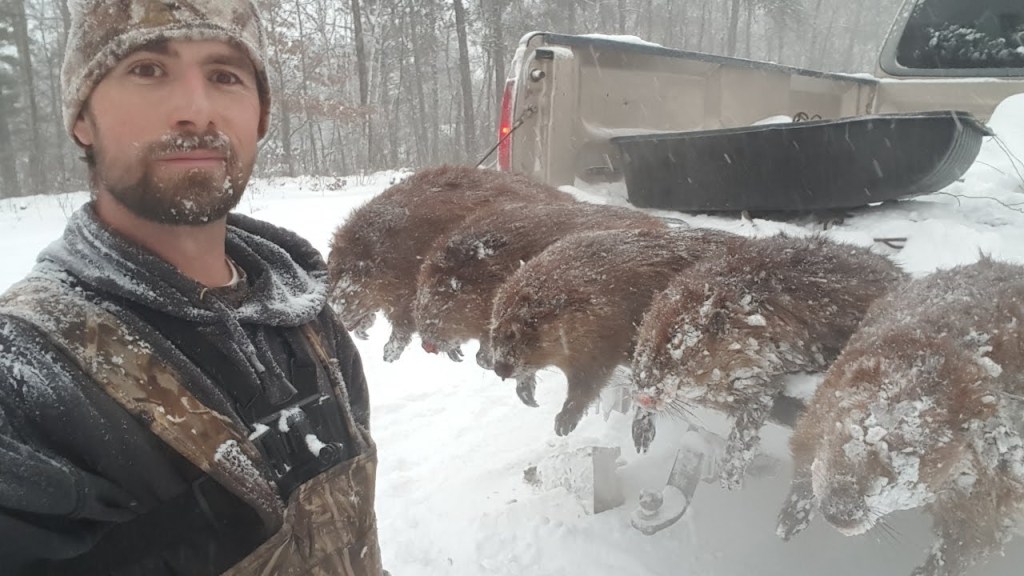
Trapping is an efficient way to find some meat. Rigging multiple traps and snares saves you a lot of time and energy compared to hunting. Rabbits and squirrels are available even during the winter. Their meat is pretty lean and won’t lend a lot of fat, but it should sustain you in a survival situation. Other meatier game includes beavers, raccoons, and deer, but you’ll have to hunt for these acts.
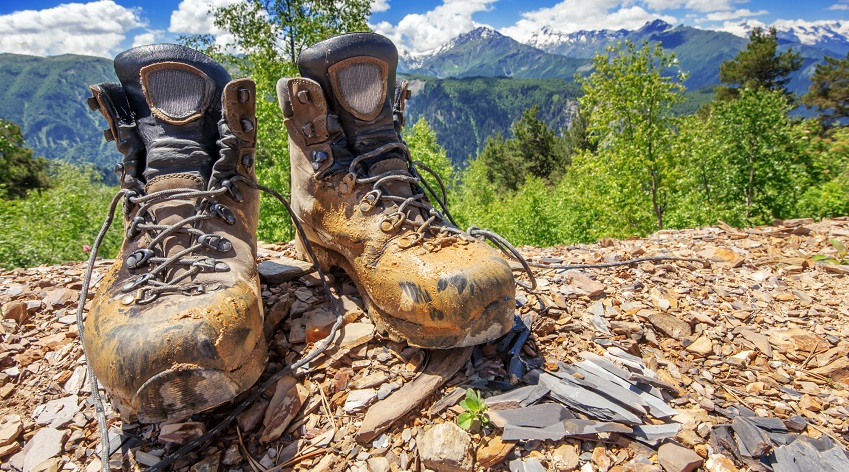
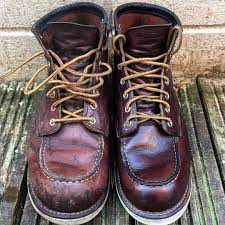
While it might not be as exciting or sexy as some of the survival gadgets on the market today, a good pair of boots is an essential piece of survival equipment. If you ever find yourself bugging out, forget your tennies, they won’t survive. You’ll need a good pair of hiking boots or work boots to help you on your trek through the wilderness.
Good boots are an investment. Properly cared for, they will last. But if you don’t care for them, then you can count on their life being considerably shorter. That could very well leave you in a position where you don’t have any footwear; not something you want to contemplate in a survival situation. Going without good footwear in such a situation could see your feet cut to ribbons.
Of course, a lot depends on the quality of boots you buy. Like many other things, you tend to get what you pay for with boots. Good ones are better made, with higher quality materials and greater comfort. But the quality of the boots themselves doesn’t matter as much as how well you take care of them. Proper care can add years to the life of a pair of boots.
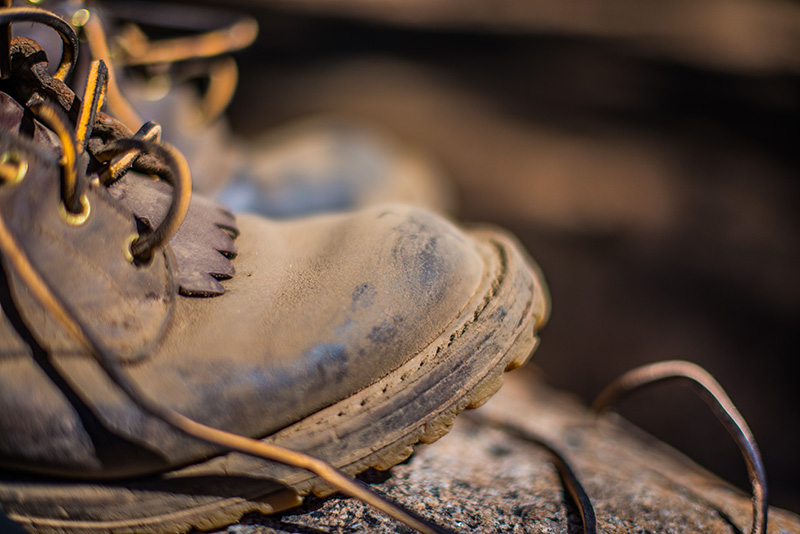
Break Them In
Break them improper break-in may not add years to the life of your boots, but they will add years to the life of your feet. Actually, it will help your boots to last too, as painful feet cause people to walk improperly, causing unnecessary wear on soles and heels.
Breaking in should be done in small stages. Don’t try to wear your boots for a whole day, until you’ve got them well broken in. Until then, only wear them for a couple of hours at a time. That will give your feet a chance to recover so that you don’t end up limping or walking improperly.
Some boots are made with harder, stiffer leathers. If there is a part of the boot in which your foot needs to be flexible, it can help to work that area by hand, bending it over and over to remove the stiffness from the leather. Do this as you are oiling the boots, and it will do a world of good for your feet.
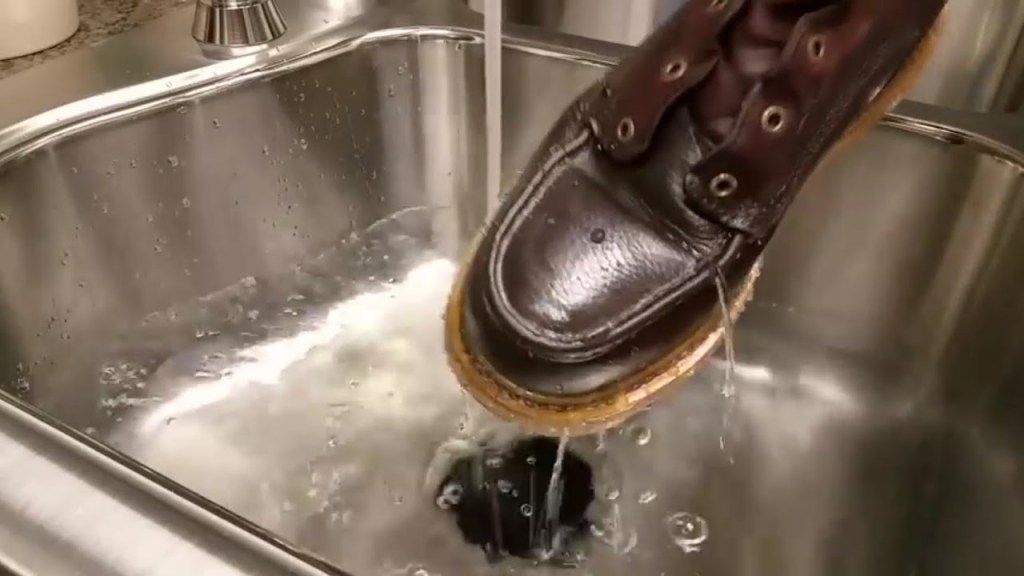
Waterproof Them
Waterproof boots need to be waterproofed; they don’t come that way from the factory. Even if your boots say that they are waterproofed, don’t believe it. The sprays they use at the factory aren’t very good and will wear off quickly.
Waterproofing is either done with wax or oil, depending on the way the leather was tanned. If your boots are made of oil-tanned leather, then you’ll need to use oil to waterproof them. If they are chrome-tanned, you’ll need to use silicone spray or shoe wax to waterproof them. One of the best products around for waterproofing boots is mink oil. This paste product works for both oil and chrome-tanned types of leather, as it is a combination of oils, lanolin, and silicone.
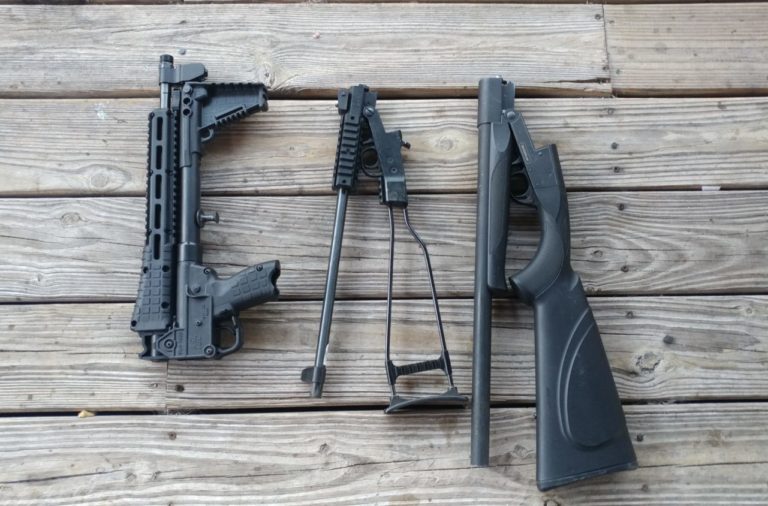
If you’re in a survival situation, lost in the wilderness, you’ll need survival weapons of some sort to get you through.
Firearms
Firearms are often the first and most obvious choice for many people when selecting a survival tool. Guns are widely available, relatively easily procured, and easily used and carried. They also provide a level of security against dangerous animals and would-be human assailants that is hard to beat.
They are able to be quickly deployed and, in the case of handguns, can effectively be used with one hand if necessary. For those of us who conceal carry, carrying a handgun is a part of daily existence. You’ll have to decide which caliber and which style of handgun you prefer–revolver or semi-automatic–based on a number of considerations.
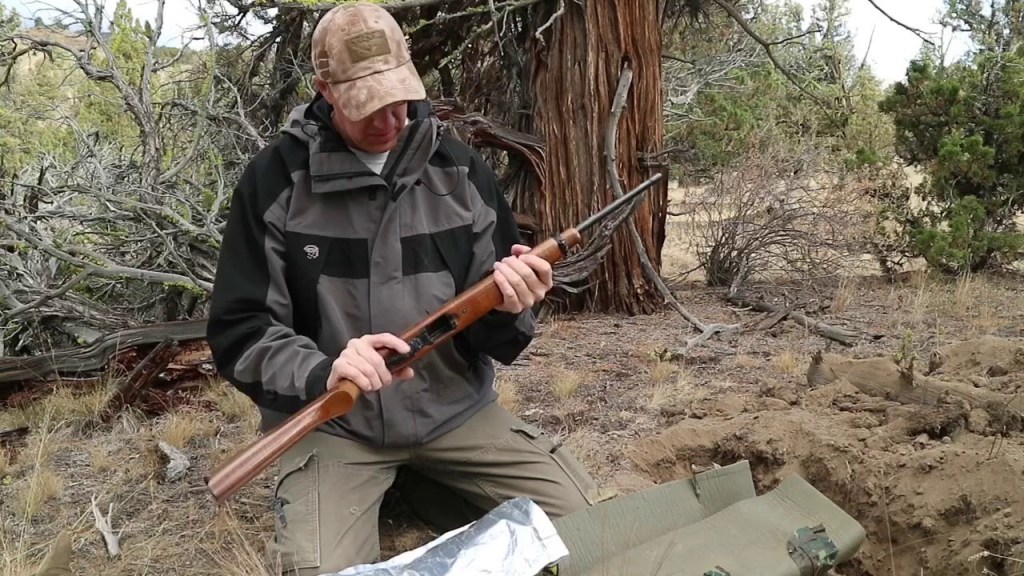
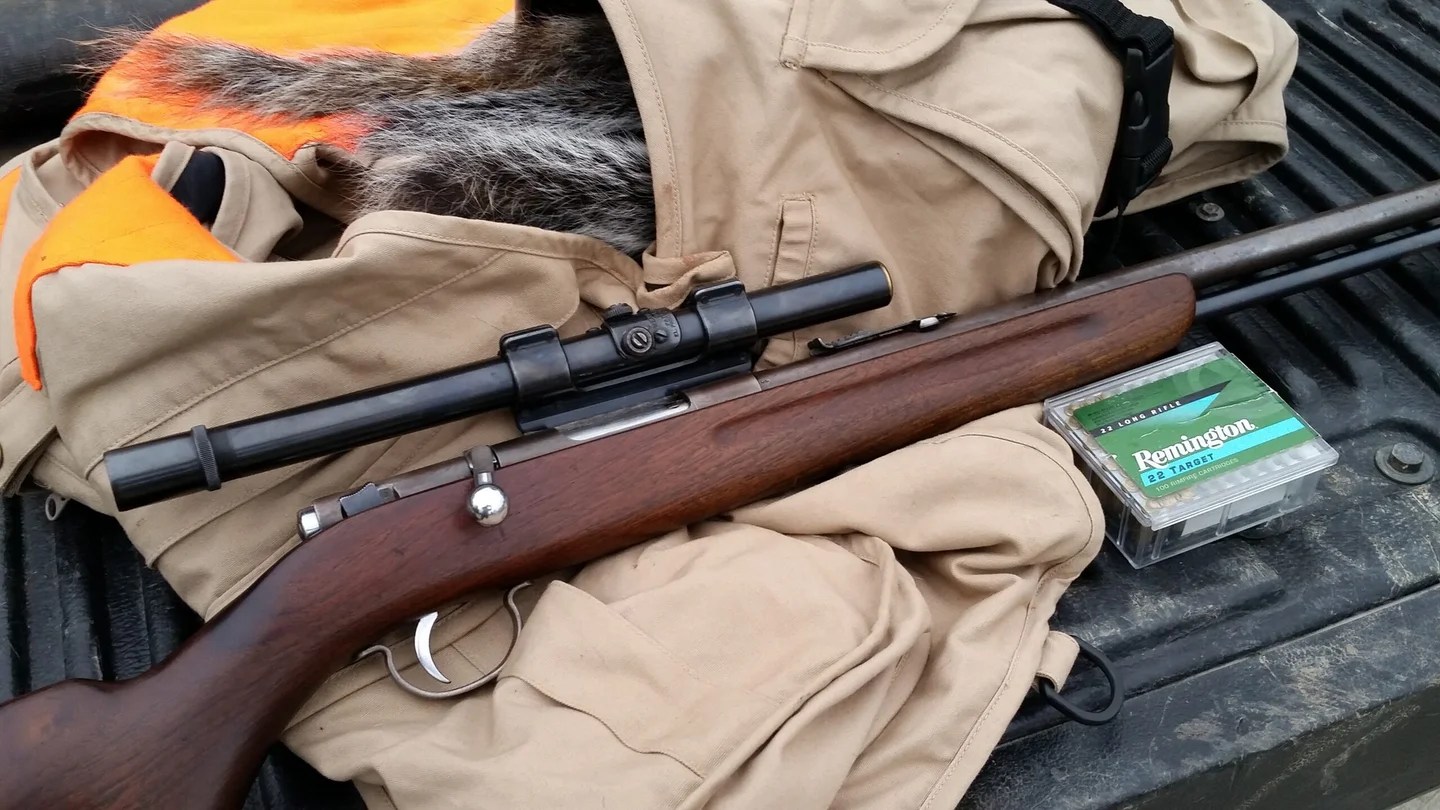
I’d suggest a .22 rifle as an all-around wilderness or urban survival gun, as it’s lightweight, reliable, easy to use, and clean, and the ammunition it uses is cheap, easily affordable, and small. You can kill deer and larger game with a .22. Its report isn’t too loud, which could be a disadvantage if you’re trying to signal someone. I’d also suggest carrying a larger caliber handgun, something akin to a .357 Magnum or .44 Magnum, for self-defense and peace of mind.
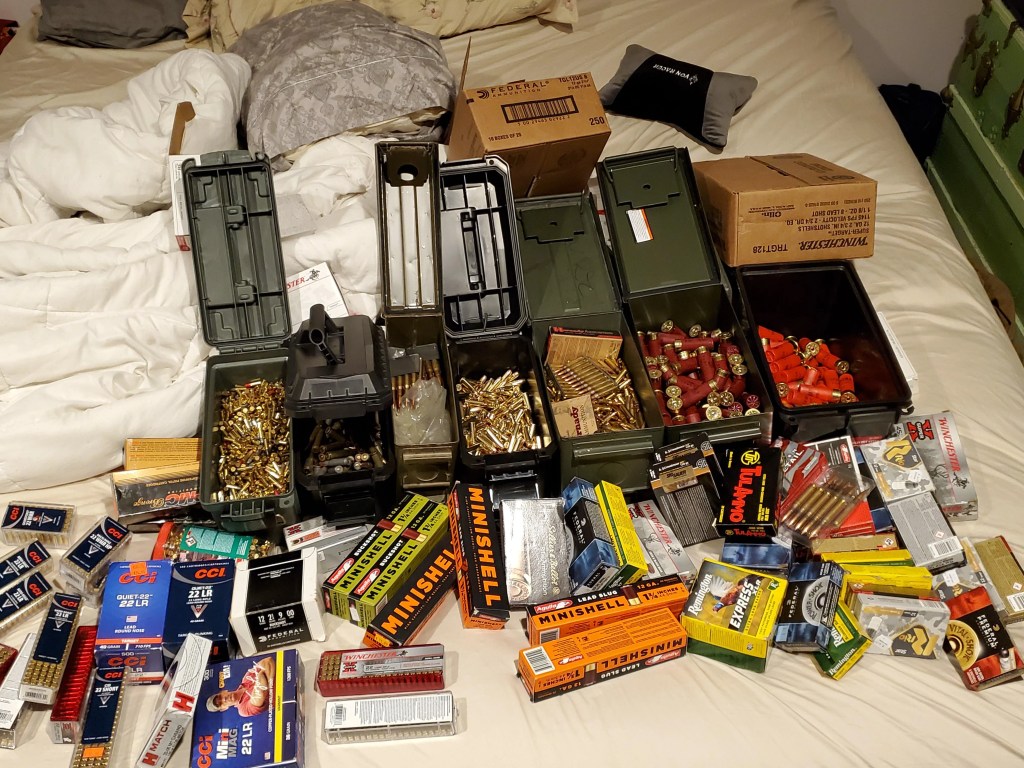
Of course, you should also carry an adequate supply of ammunition, which brings up another disadvantage associated with firearms. Once you run out of ammo, they’re basically useless, with the possible exception of scaring off would-be human attackers.
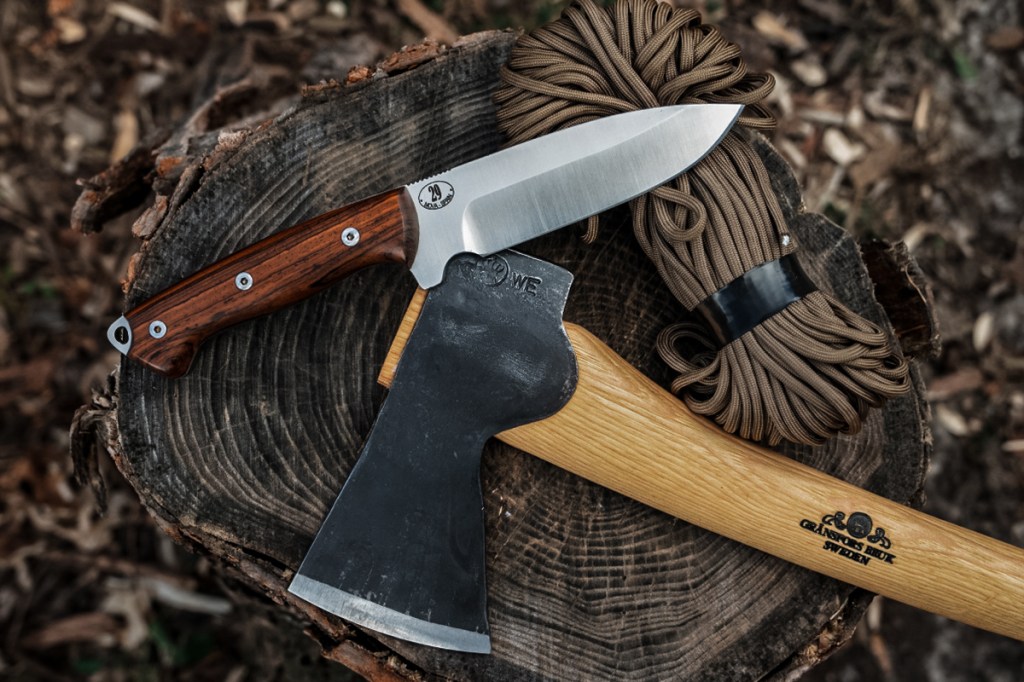
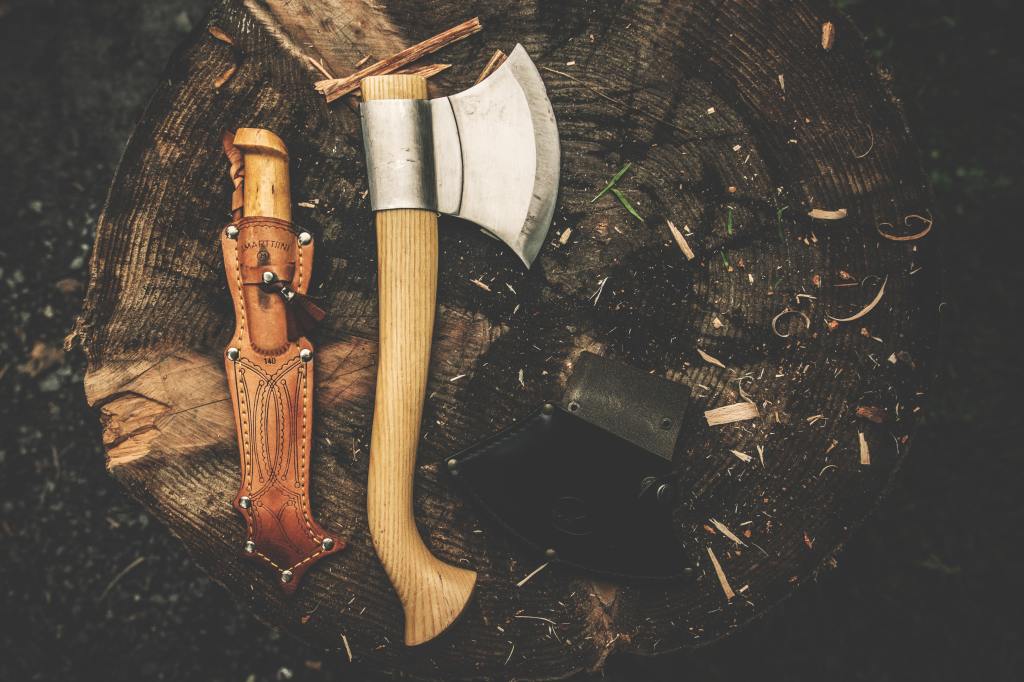
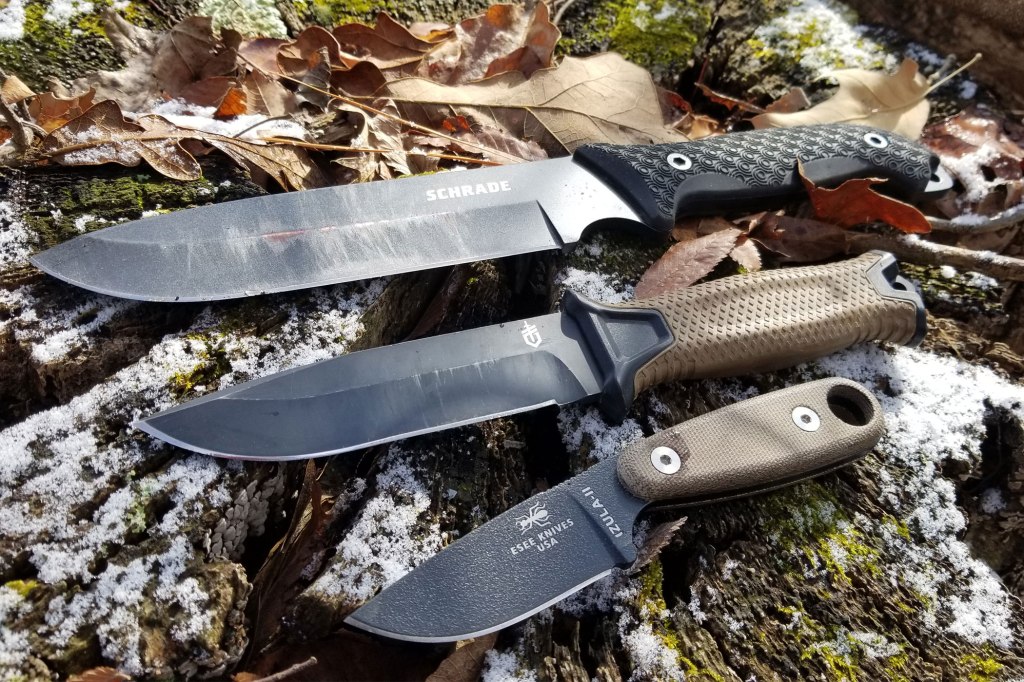
Knives
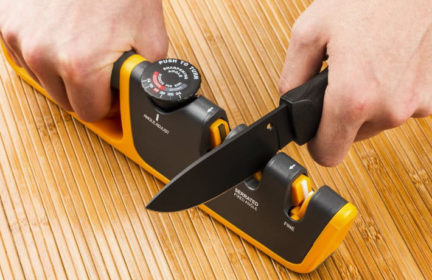
A knife should be considered a must-have survival tool. Carrying at least one knife, and probably more, is a given in any survival situation. Knives are the single most versatile “multitool” you can have. With a knife, you can make other tools and DIY weapons, build a shelter, build a fire, procure food, make clothing, open a can of beans and defend yourself. You can even just whittle away the time when you’re bored waiting for the rain to stop.
There are many good survival knives on the market today. I won’t go into all of the attributes you should look for when choosing a survival knife. I will, however, a mid-sized fixed blade knife and a folding pocket knife are the knife style you should be carrying. Folding knives aren’t as sturdy as fixed blade knives, but their compactness makes them easy to stow away until needed. Knives are generally lightweight enough that you can easily carry more than one.
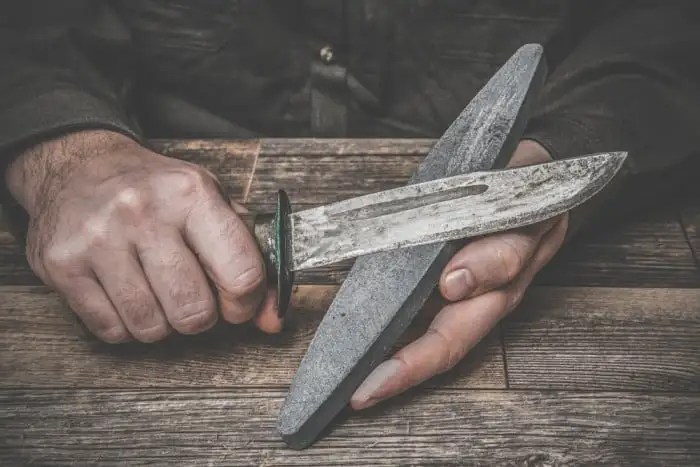
You’ll also probably want to carry a sharpening stone with you in order to keep your knife edge keen. The sheath you choose for your fixed blade knife can also be a source of additional survival tools. For instance, you can have a knife sheath made that’ll also hold fire steel, a whetstone, a compass, and any other tidbits you might find useful in a survival situation.
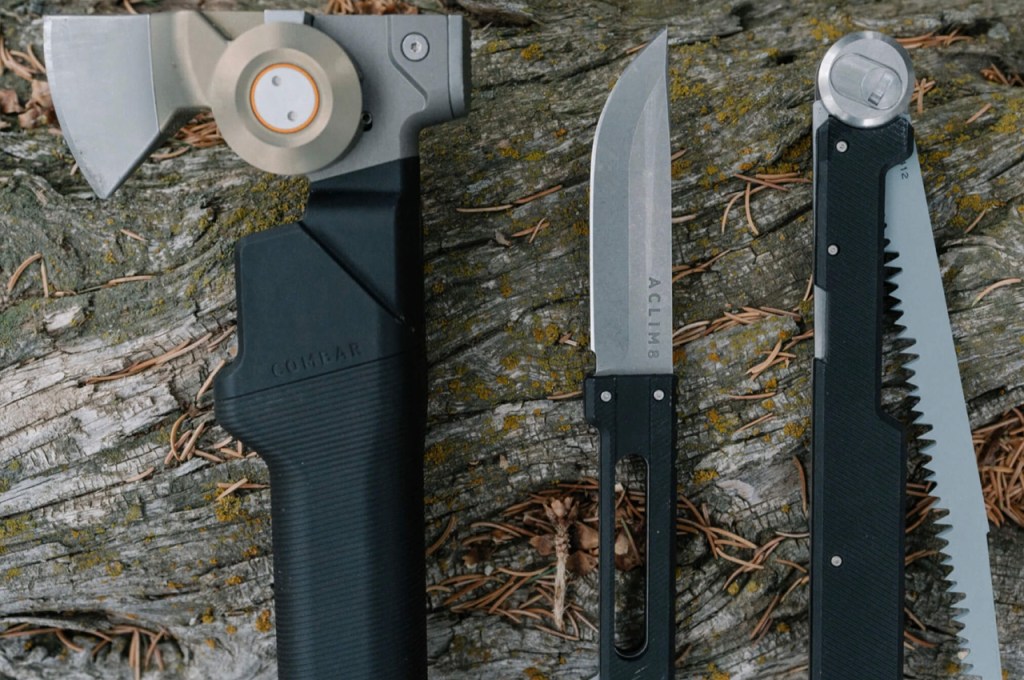
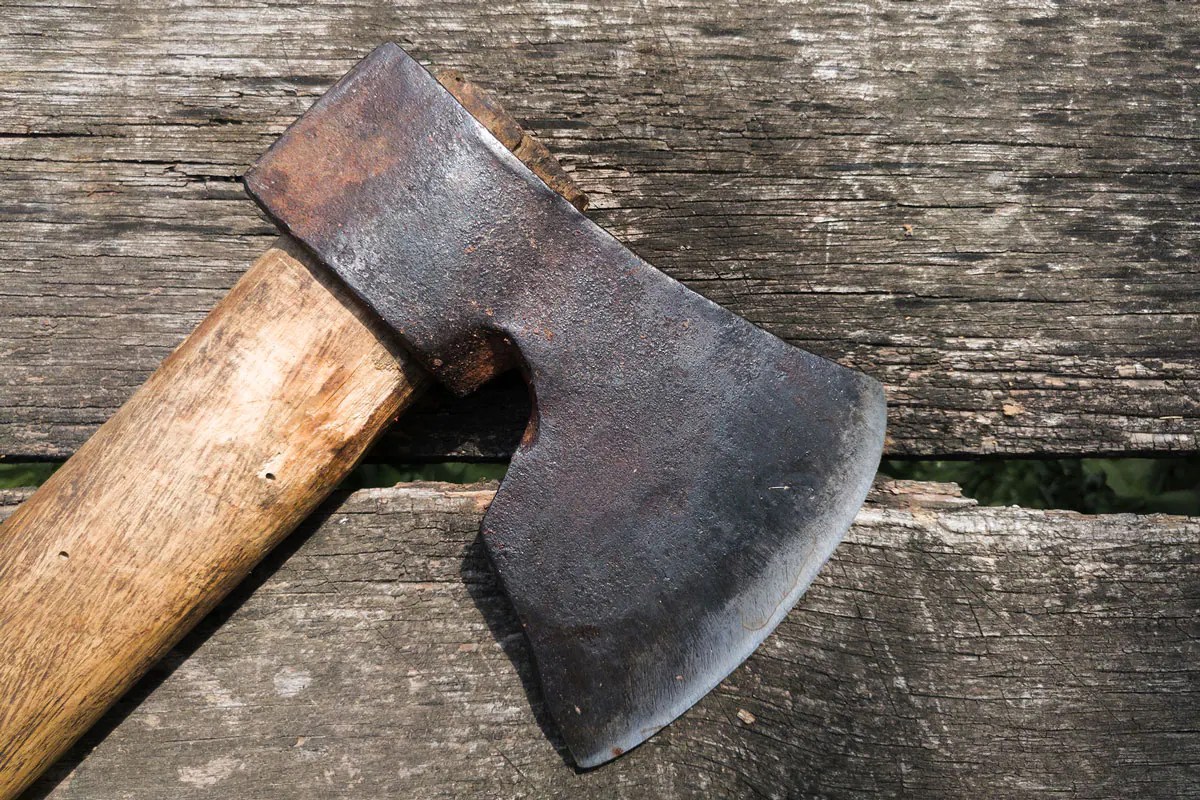
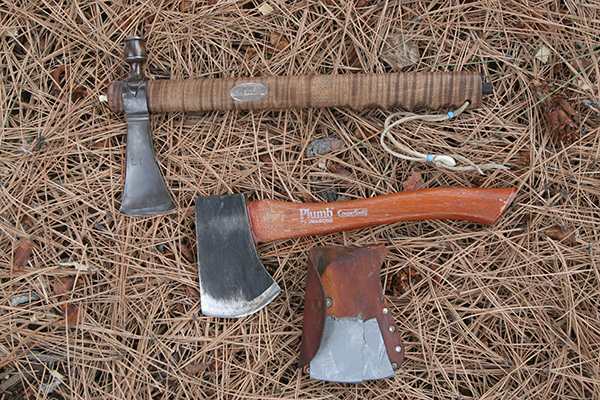
Hatchet
The benefit of carrying a hatchet is that it’s both a functional tool and a self-defense weapon. A hatchet or stout tomahawk can be used to chop wood or small trees, carve a spear, clear brush, and more. It can also put a little more distance between you and a would-be attacker or dangerous animal in close quarters should you need to employ it in that regard.
In a survival scenario, I would definitely want to carry a knife and a hatchet. If you’re able, you should also consider carrying a small file with you to touch up the edge of your hatchet when necessary.
If you can comfortably carry or stow an actual, full-length ax, all the better. The weight of carrying such a tool may be prohibitive, however. You can do a lot more with an ax that might unduly tax a hatchet, but a good, sharp hatchet is a great choice. It’s relatively lightweight and can perform multiple tasks with ease.