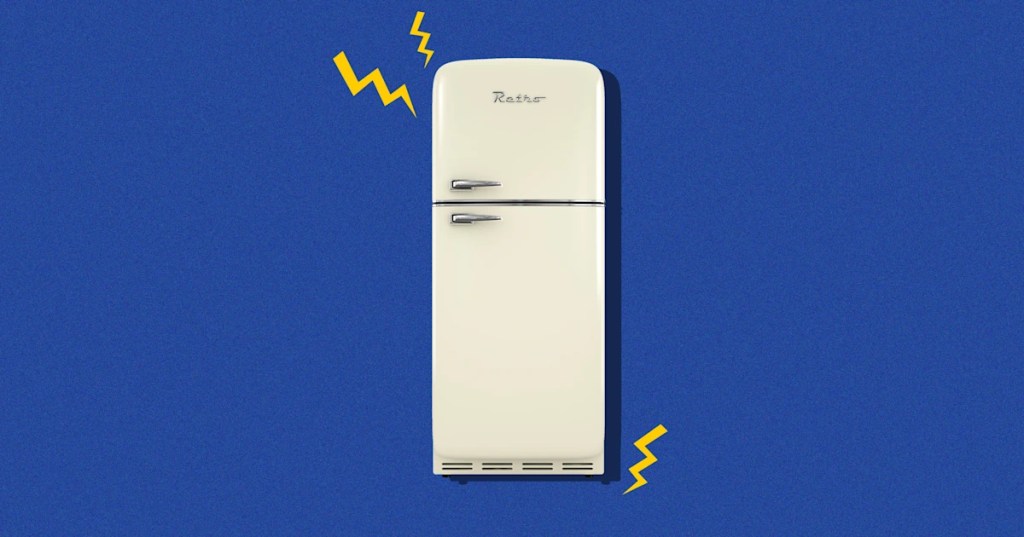
One of the first problems that we face during a grid-down or emergency scenario is the loss of electricity and the failure to keep food from spoiling.
Equipment like generators and other off-grid power options can keep a refrigerator running for a while but drain the battery capacity that could have been used for other important resources.
Setting up an electricity-free refrigerator will assist in preserving battery and fuel stores.
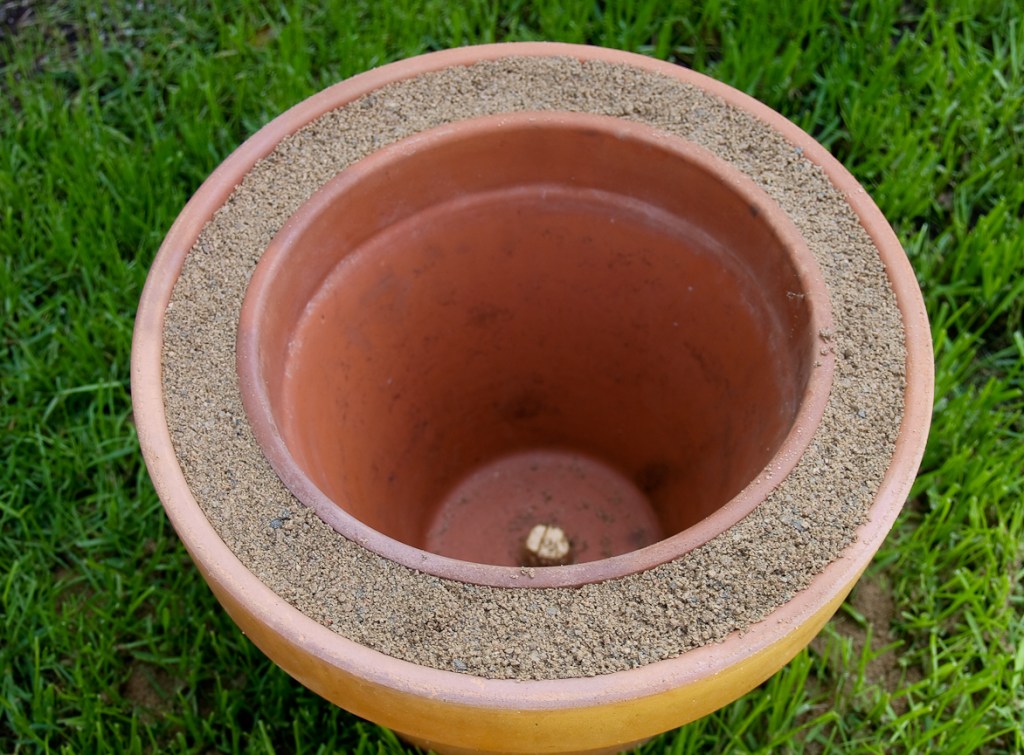
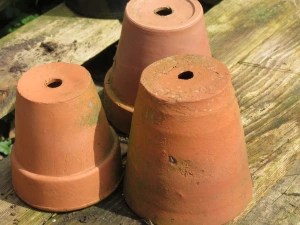
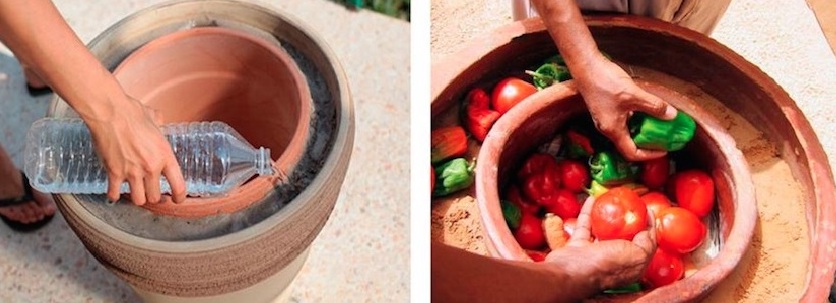
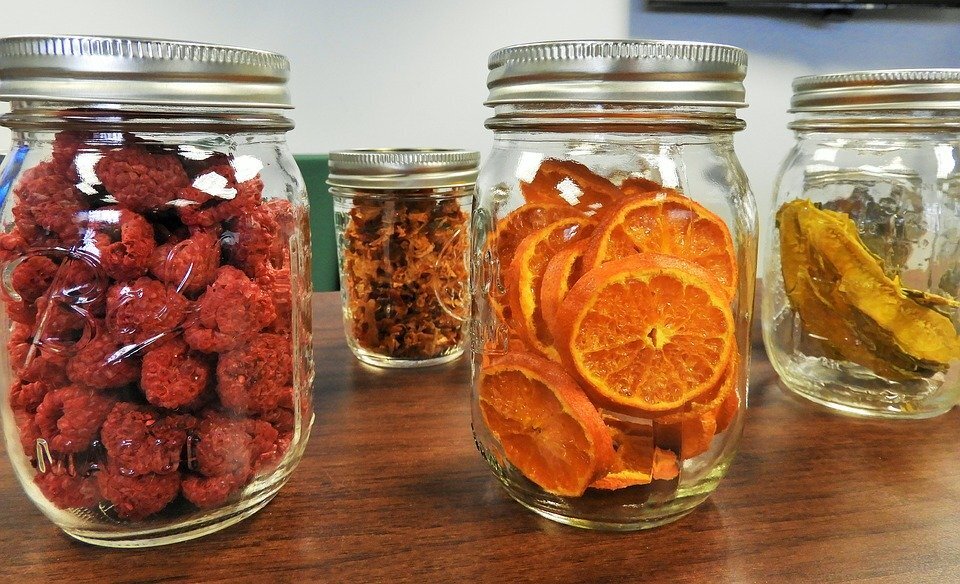
Zeer Pots
Is a pot in another pot refrigeration system, using two unglazed clay pots. These pots are different sizes; the smaller one should fit inside the larger one leaving a gap of about an inch or so.
The inner pot is where the food you want to keep cold goes, and the outer pot serves to contain the sand that will fill the gap between the pots.
Through the process of evaporated cooling, Zeer pots can keep the food in the inner clay cool. As the water evaporates, it absorbs heat to turn the liquid water into vapor. While the water vapor absorbs the heat, it will replace the cool air that will settle in the inner pot.
If you’re interested in making your own Zeer pot, a simple google search will show you how easy it is and it only takes about 20 minutes to make. I’ve made life a little easier by providing step-by-step directions below!
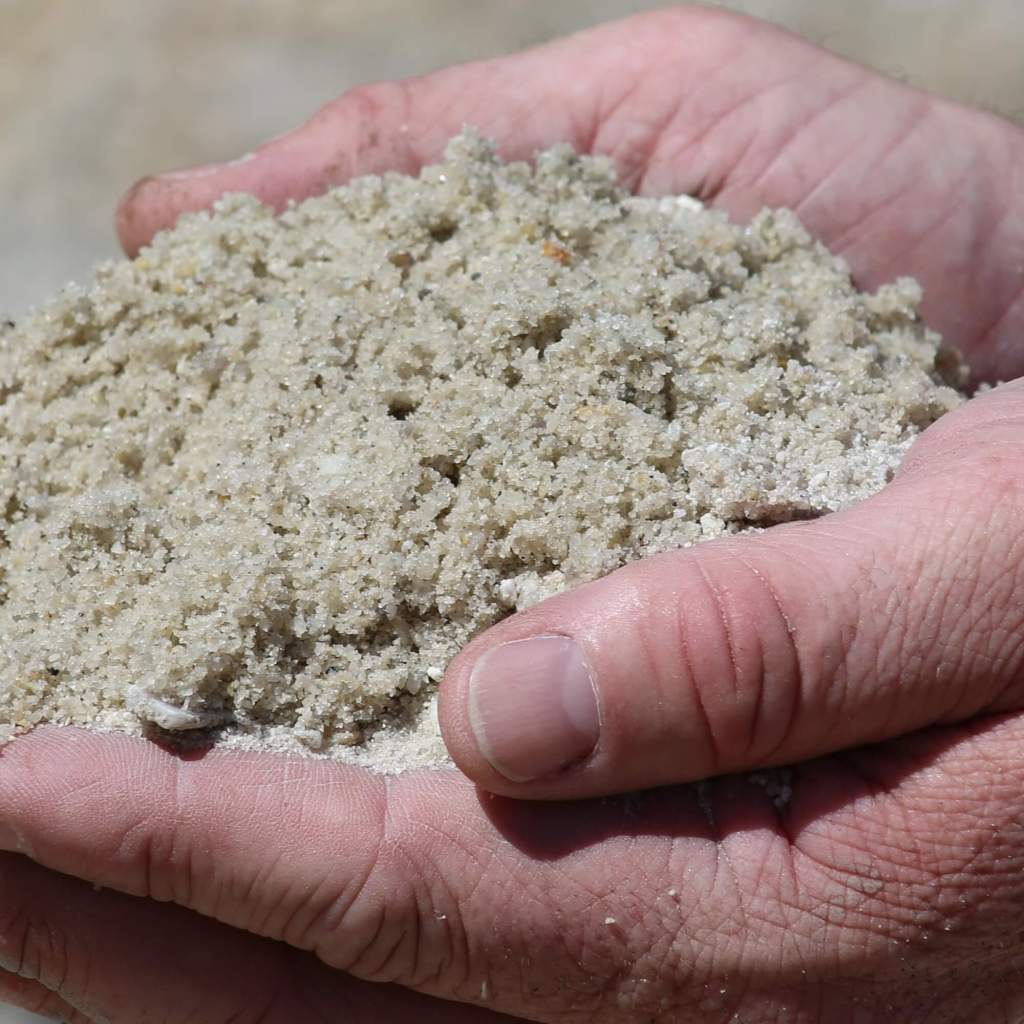
Get two unglazed ceramic pots—one that will fit inside the other—plus some sand and water.
Fill the bottom of the larger pot with a couple of inches of sand.
Put the smaller pot in the larger one.
Fill the space between the pots with sand.
Pour water into the sand.
Cover the pots with a ceramic lid or wet cloth.
That’s it! You’re ready to store food inside. Just remember to add water to the sand every day, like mentioned earlier, it uses evaporation to cool food.
As water evaporates through the clay, it releases energy into the air and cools the space inside the pot. It’s like splashing water on your face on a hot day; the water evaporates off your skin, cooling it in the process. Refrigerator coolant actually works in a similar way, using evaporation to draw heat out of the fridge itself. That’s why the back of your Frigidaire is so warm.
I want to end this blog with an important reminder. KEEP YOUR FOOD COLD!!! Keeping food cold without electricity is tricky. You have to keep your food at a consistent temperature to avoid the spread of bacteria. Make sure you have a thermometer to monitor proper food safety temperature.
Have you ever made a Zeer Pot refrigeration system? If so, what are some tips and tricks that have worked out for you?
Thank you for sticking through another important and informative SHTF situation and I hope this information was helpful.
Please remember to subscribe to my page and let me know which posts you have found most useful in your survival prepping.
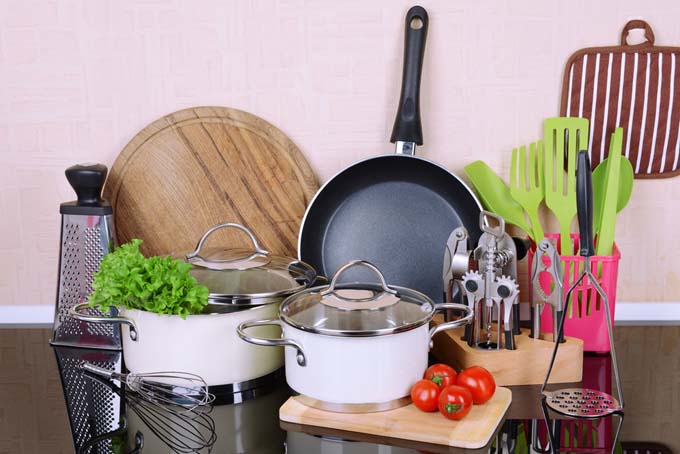
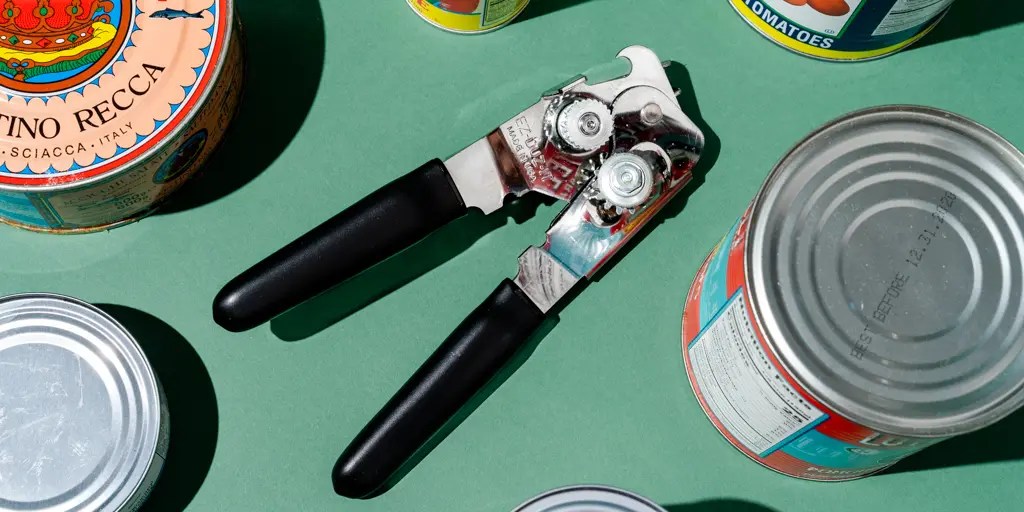
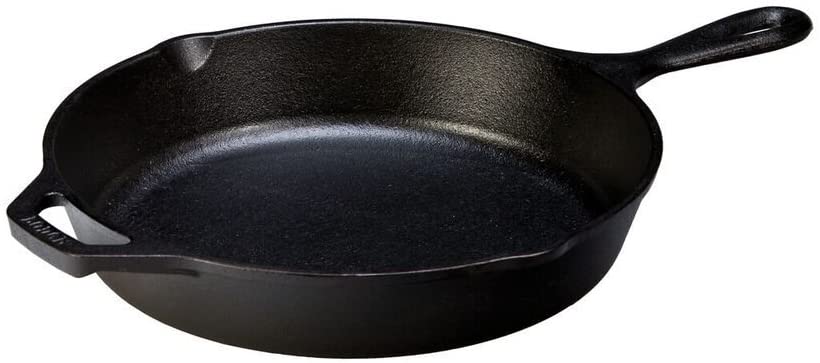
As a prepper, you have most likely spent money on various supplies for your survival stockpile. When SHTF, feeding your family will be on the top of your list of priorities. Worrying about not being able to cook food during a long-term blackout, make sure you have non-electric kitchen items like a cast iron skillet and a can opener.
These 10 non-electric items will really come in handy after a crisis situation.
1. Butter churn and molds
If you make your own butter correctly, it will last for several weeks with little in the way of refrigeration.
2. Chef’s knife
You need a high-quality and sharp chef’s knife for food prep. This knife can be used to process various meats and for more gentle tasks like peeling, dicing, and mincing.
3. Fridge pot
A “fridge” pot or Zeer pot is an old tool used to chill food using a nesting set of clay pots with a layer of wet sand sandwiched between them.
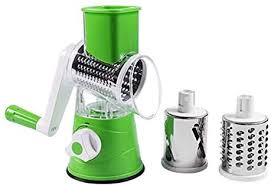
4. Manual Vegetable Slicer
You can save a lot of time during meal prep with a manual vegetable slicer.
5. Reversible Grill Pan and Griddle
A reversible grill pan and griddle has a deeply ridged grill surface for grilling or roasting meat and vegetables. The other side is a smooth griddle perfect for making breakfast.
6. Solar Oven
Solar ovens can be used to bake anything you would in a regular oven but they don’t use electricity! They’re affordable to purchase or there are some excellent in an SHTF situation. There are so many DIY options that could really help with the shelf life of some foods.
7. Water Filter (Very Important)
A quality water filter can help ensure your family is getting clean drinking water, and water for hygienic or medical reasons. Whether you’re sourcing water from a pond, stream, or well on your property without clean water your survival experience will become 10X harder and more dangerous (especially if water is needed for medical reasons.
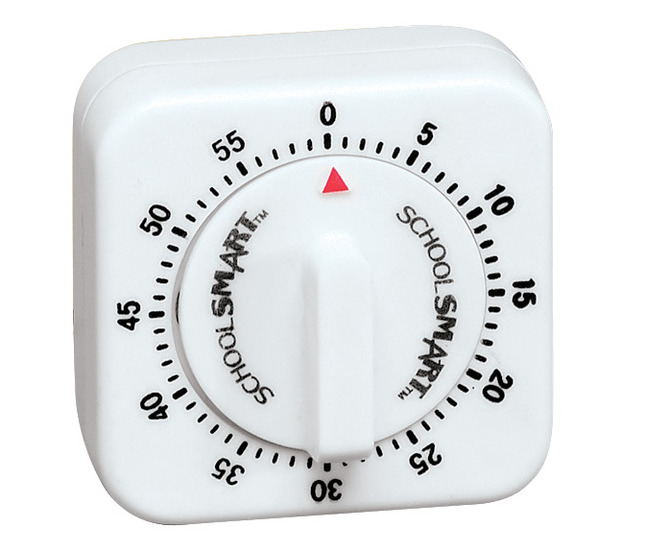
8. Small Timer
Everyone is used to having a timer easily available on their oven or microwave, but when you’re working with powerless appliances it’s handy to have a small wind-up timer.
Conclusion
Now the list goes on what you might need but it’s always better to be prepared and prepped before and survival situation suddenly strikes! Also, every family’s needs and survival criteria are different. It helps if conversations have started prior to any bugging in or out. In my previous posts, I have also shared how to preserve your favorite meals to cut down on a lot of time and equipment needed once the time comes. Another positive for staying proactive is being able to share and trade what you have with your fellow friends, neighbors, or anyone that is in need. Being kind will always be free and good for the soul! I hope everyone has a relaxing Sunday and a great week to come! Thank you for checking out my blog, and please, like, share, and subscribe!
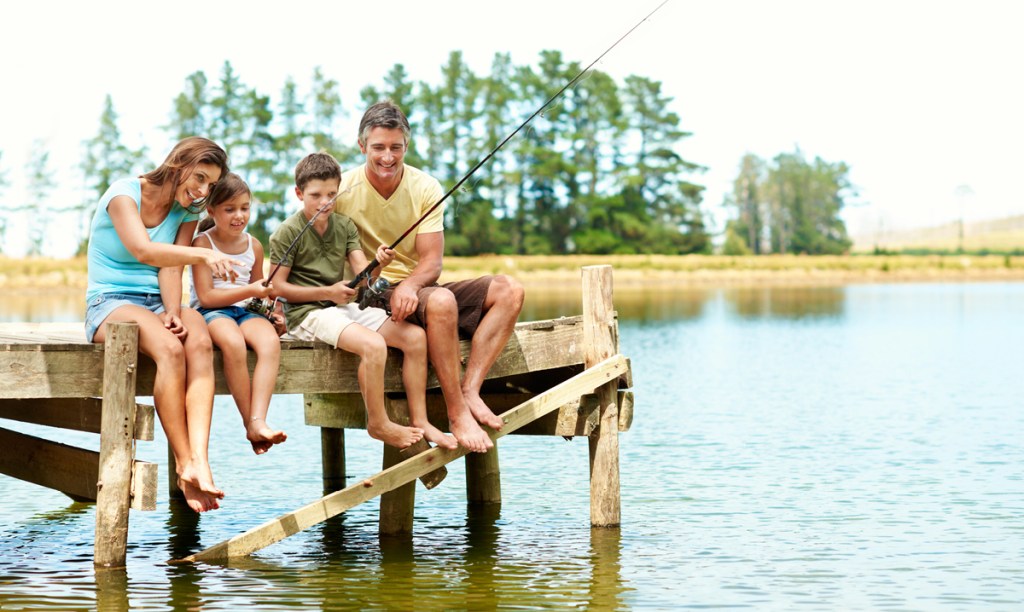
Having Fish available is one of the best ways of getting your daily protein intake during an apocalyptic situation. There’s plenty of water around, but only a few have the skills to fish for their survival. Having a distinct advantage sets you apart from others and might come in handy down the line.
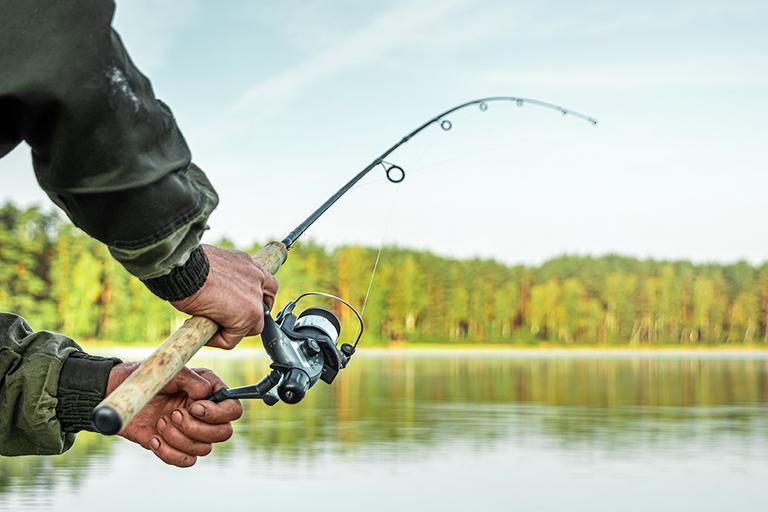
If it comes to fishing for your survival, there are a couple of different options. Like many non-preppers, you can take the more common approach and use rods and reels, but then there’s the storage issue, replacing broken equipment, and let’s not forget the cost of maintaining them. Or you can do what many other preppers prefer, which is a more raw yet simple method for survival fishing.
We’ll talk about both.
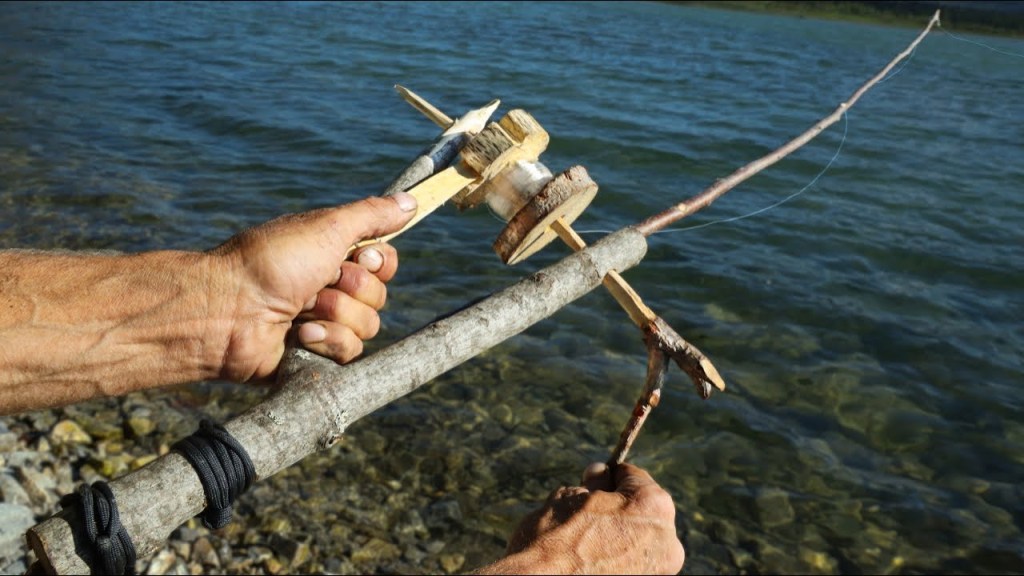
Your Fishing Gear
Start by collecting the gear you need to catch fish, this will make it more budget-friendly to stockpile the items needed over time. For your first purchase, I would go with a survival fishing pole. They are easy to store and lightweight, but not the most effective for catching fish.
I can tell you this though, they’re way better than a stick, rope, and hook.
As for your reel, go with whatever you can afford. In a survival situation, it’s not going to matter what brand your reel is or where you got it from. You just need to make sure it gets the job done.
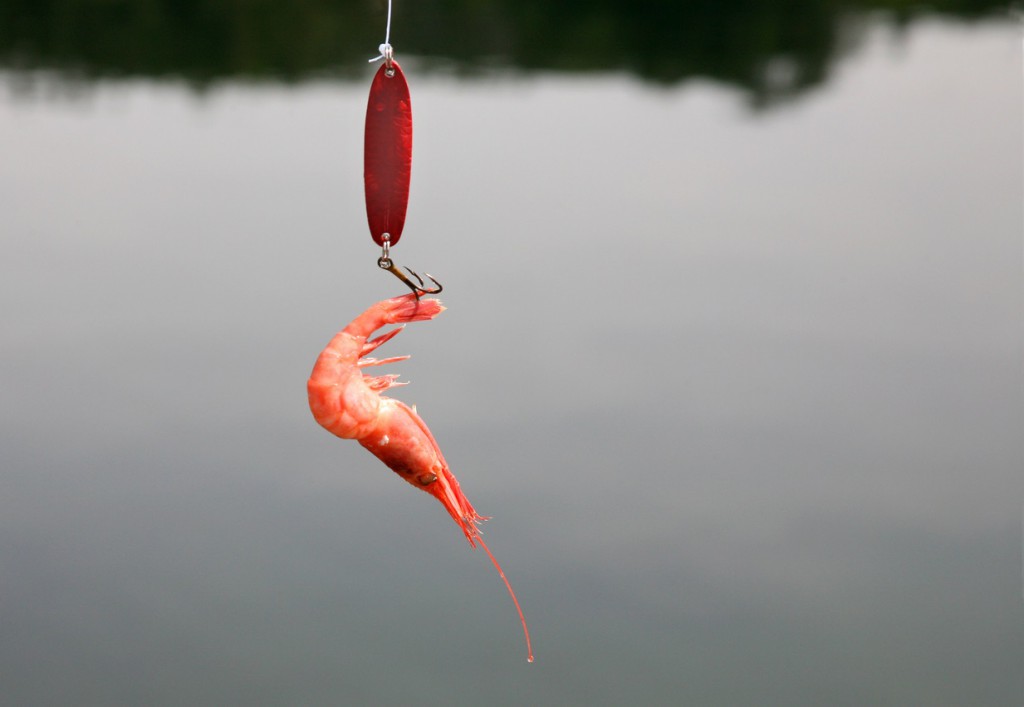
Live Bait Vs. Artificial Lures
Honestly, you want to go with the most basic option possible if you’re choosing artificial lures. All that matters is you being able to catch fish, and it needs to be quick and efficient. Also, make sure you have a variety of sizes in lures anywhere from 1.5 inches – 6 inches in length. If you come across a small stream, the small lure would be perfect to catch something quick to eat. Regardless of if you’re trying to feed an entire family or just yourself, your focus needs to be on quantity over quality and on finding ways to make the fish last.
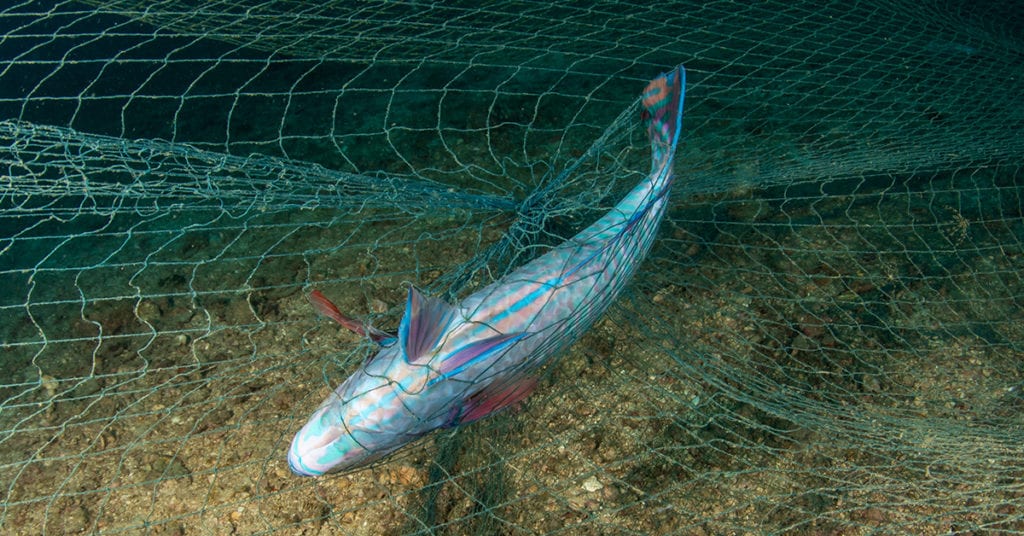
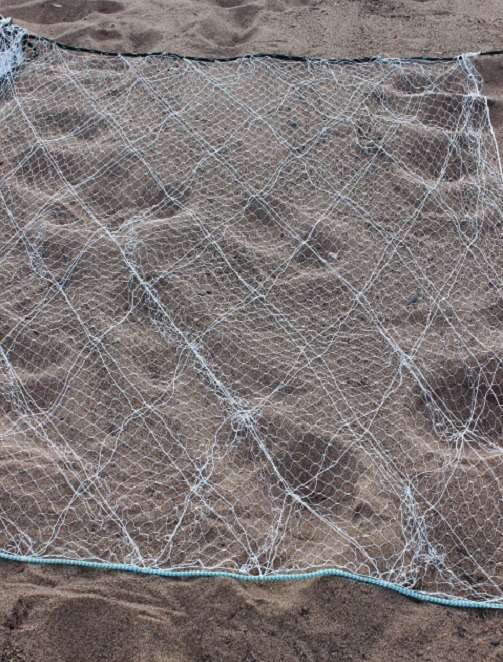
Netting
If want to take a more simple approach, there are plenty of options. Netting or trapping for one, and there are a number of different nets you can use. This is a passive form of fishing which is preferred because it allows you to do something else while you’re fishing in most cases.
Here are some options for netting:
Trotlines – One of the most primitive and passive ways of survival fishing. You attach a mainline on both sides of the river or pond and then hang secondary lines down into the water with bait on them. The secondary lines get weights, so they rest near the bottom of the water, and the baited hooks will stay in place until you return to see if you caught anything.
Gill nets – A nylon net with large enough openings for the fish to swim through until they reach the gills. Making it the perfect passive fishing strategy because while you’re getting other things set up, you can check on the net at any time. This important method is great when you need to provide food for more than one person.
Drift nets – A drift net functions in a similar way but requires you to have a vessel to pull the net. The net is moving through the water, it will also grab anything that passes through it. Using this method, you’ll want to bug out near a popular river or stream system.
Killing and cleaning your catch
As a part of the “circle of life”, we need to appreciate and respect our catch, especially for situations where our survival depends on it. Here is a simple way of cleaning your fish if you don’t have any other way:
Find a rock with sharp edges.
Put the fish on a hard flat surface
Use one hand to secure it in place
Use the rock to strike it right above the eye with a large amount of force
This will stun the fish but not kill it, be sure to repeat this a few times
Fishing during a survival crisis is a great way to source rich in protein foods in the event of a food shortage or power grid failure. Learning skills that we can rely on is essential during emergency situations.
Always remember, it’s always better to prep in advance rather than wait until it’s a SHTF situation.
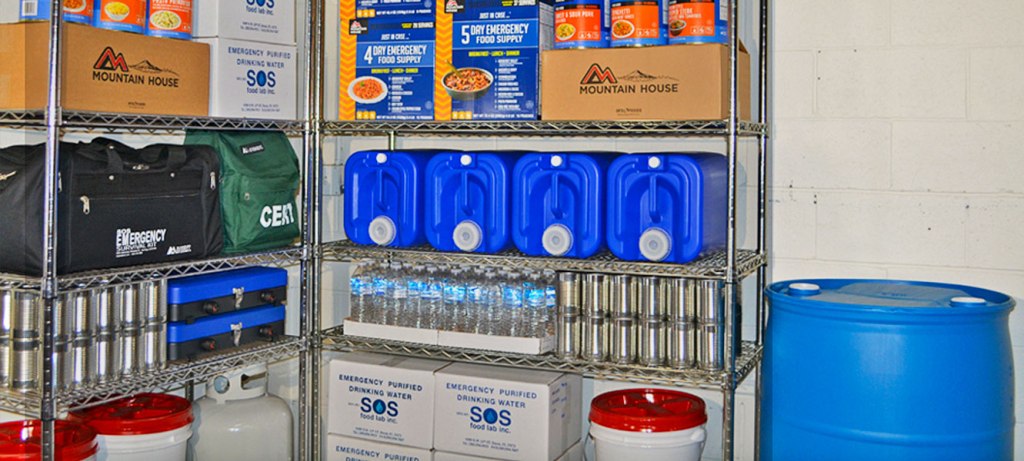
As a Prepper, you will store many things in case of an emergency – first aid, power, gas, tools, and water. However, shelf-stable food storage is by far one of the most important pieces of the puzzle. For reasons that we will outline below, Freeze Dried food is the Best Survival Food choice for Preppers and others thinking of long-term storage.
The types of Prepper food that you have stored can make all the difference in a survival scenario. There are a number of different benefits that come from storing the right foods. Aside from not having to leave your home and face the disaster to eat, the right foods can provide your family with a level of comfort and security for many years.
When analyzing the best food storage options for Preppers consider the following shelf life for various long-term food storage:
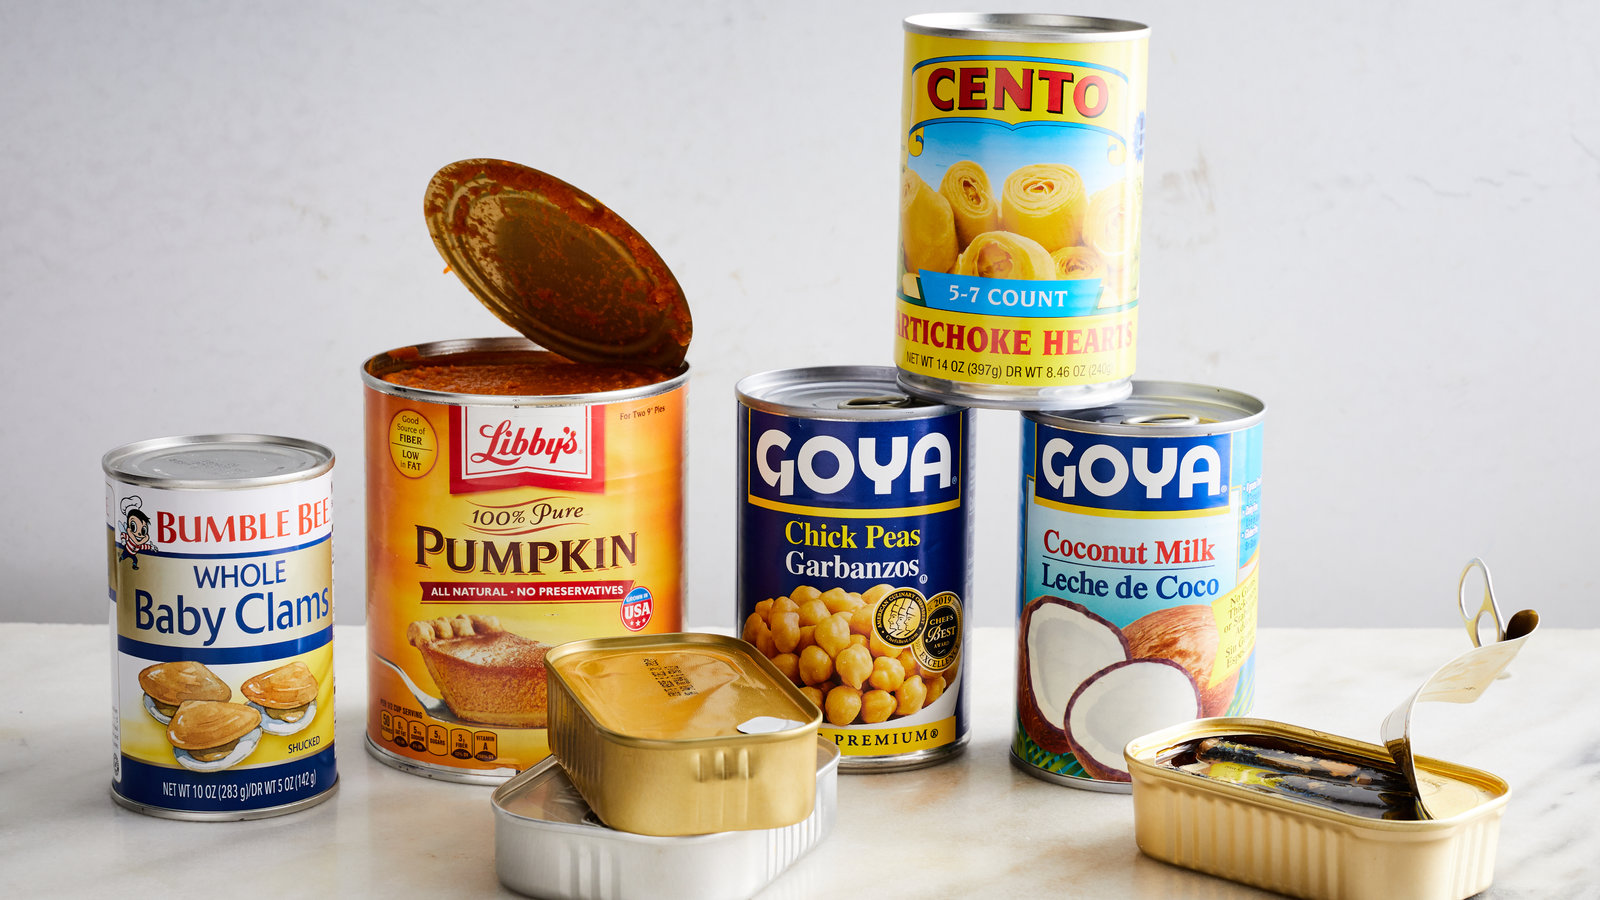
Canned food (low acid) – 2 to 5-year shelf life (per USDA)
Canned food (high acid) – 1.5 to 2-year shelf life (per USDA)
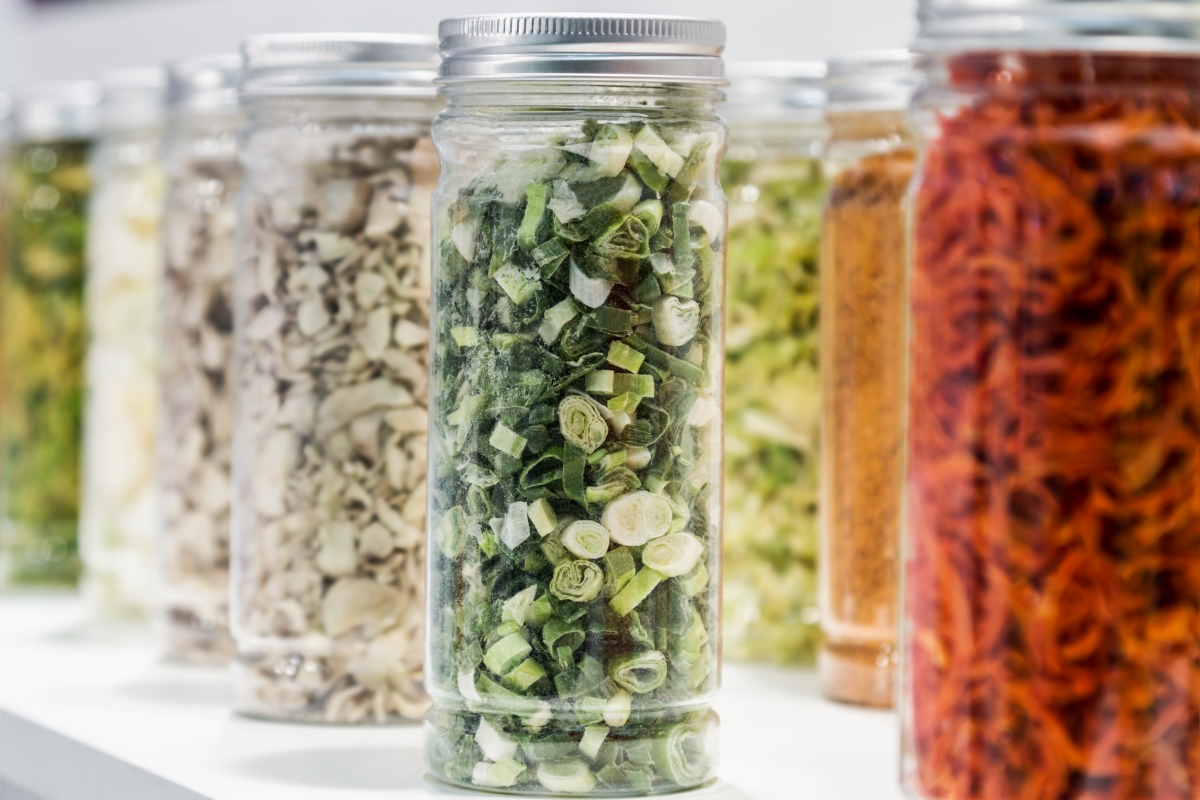
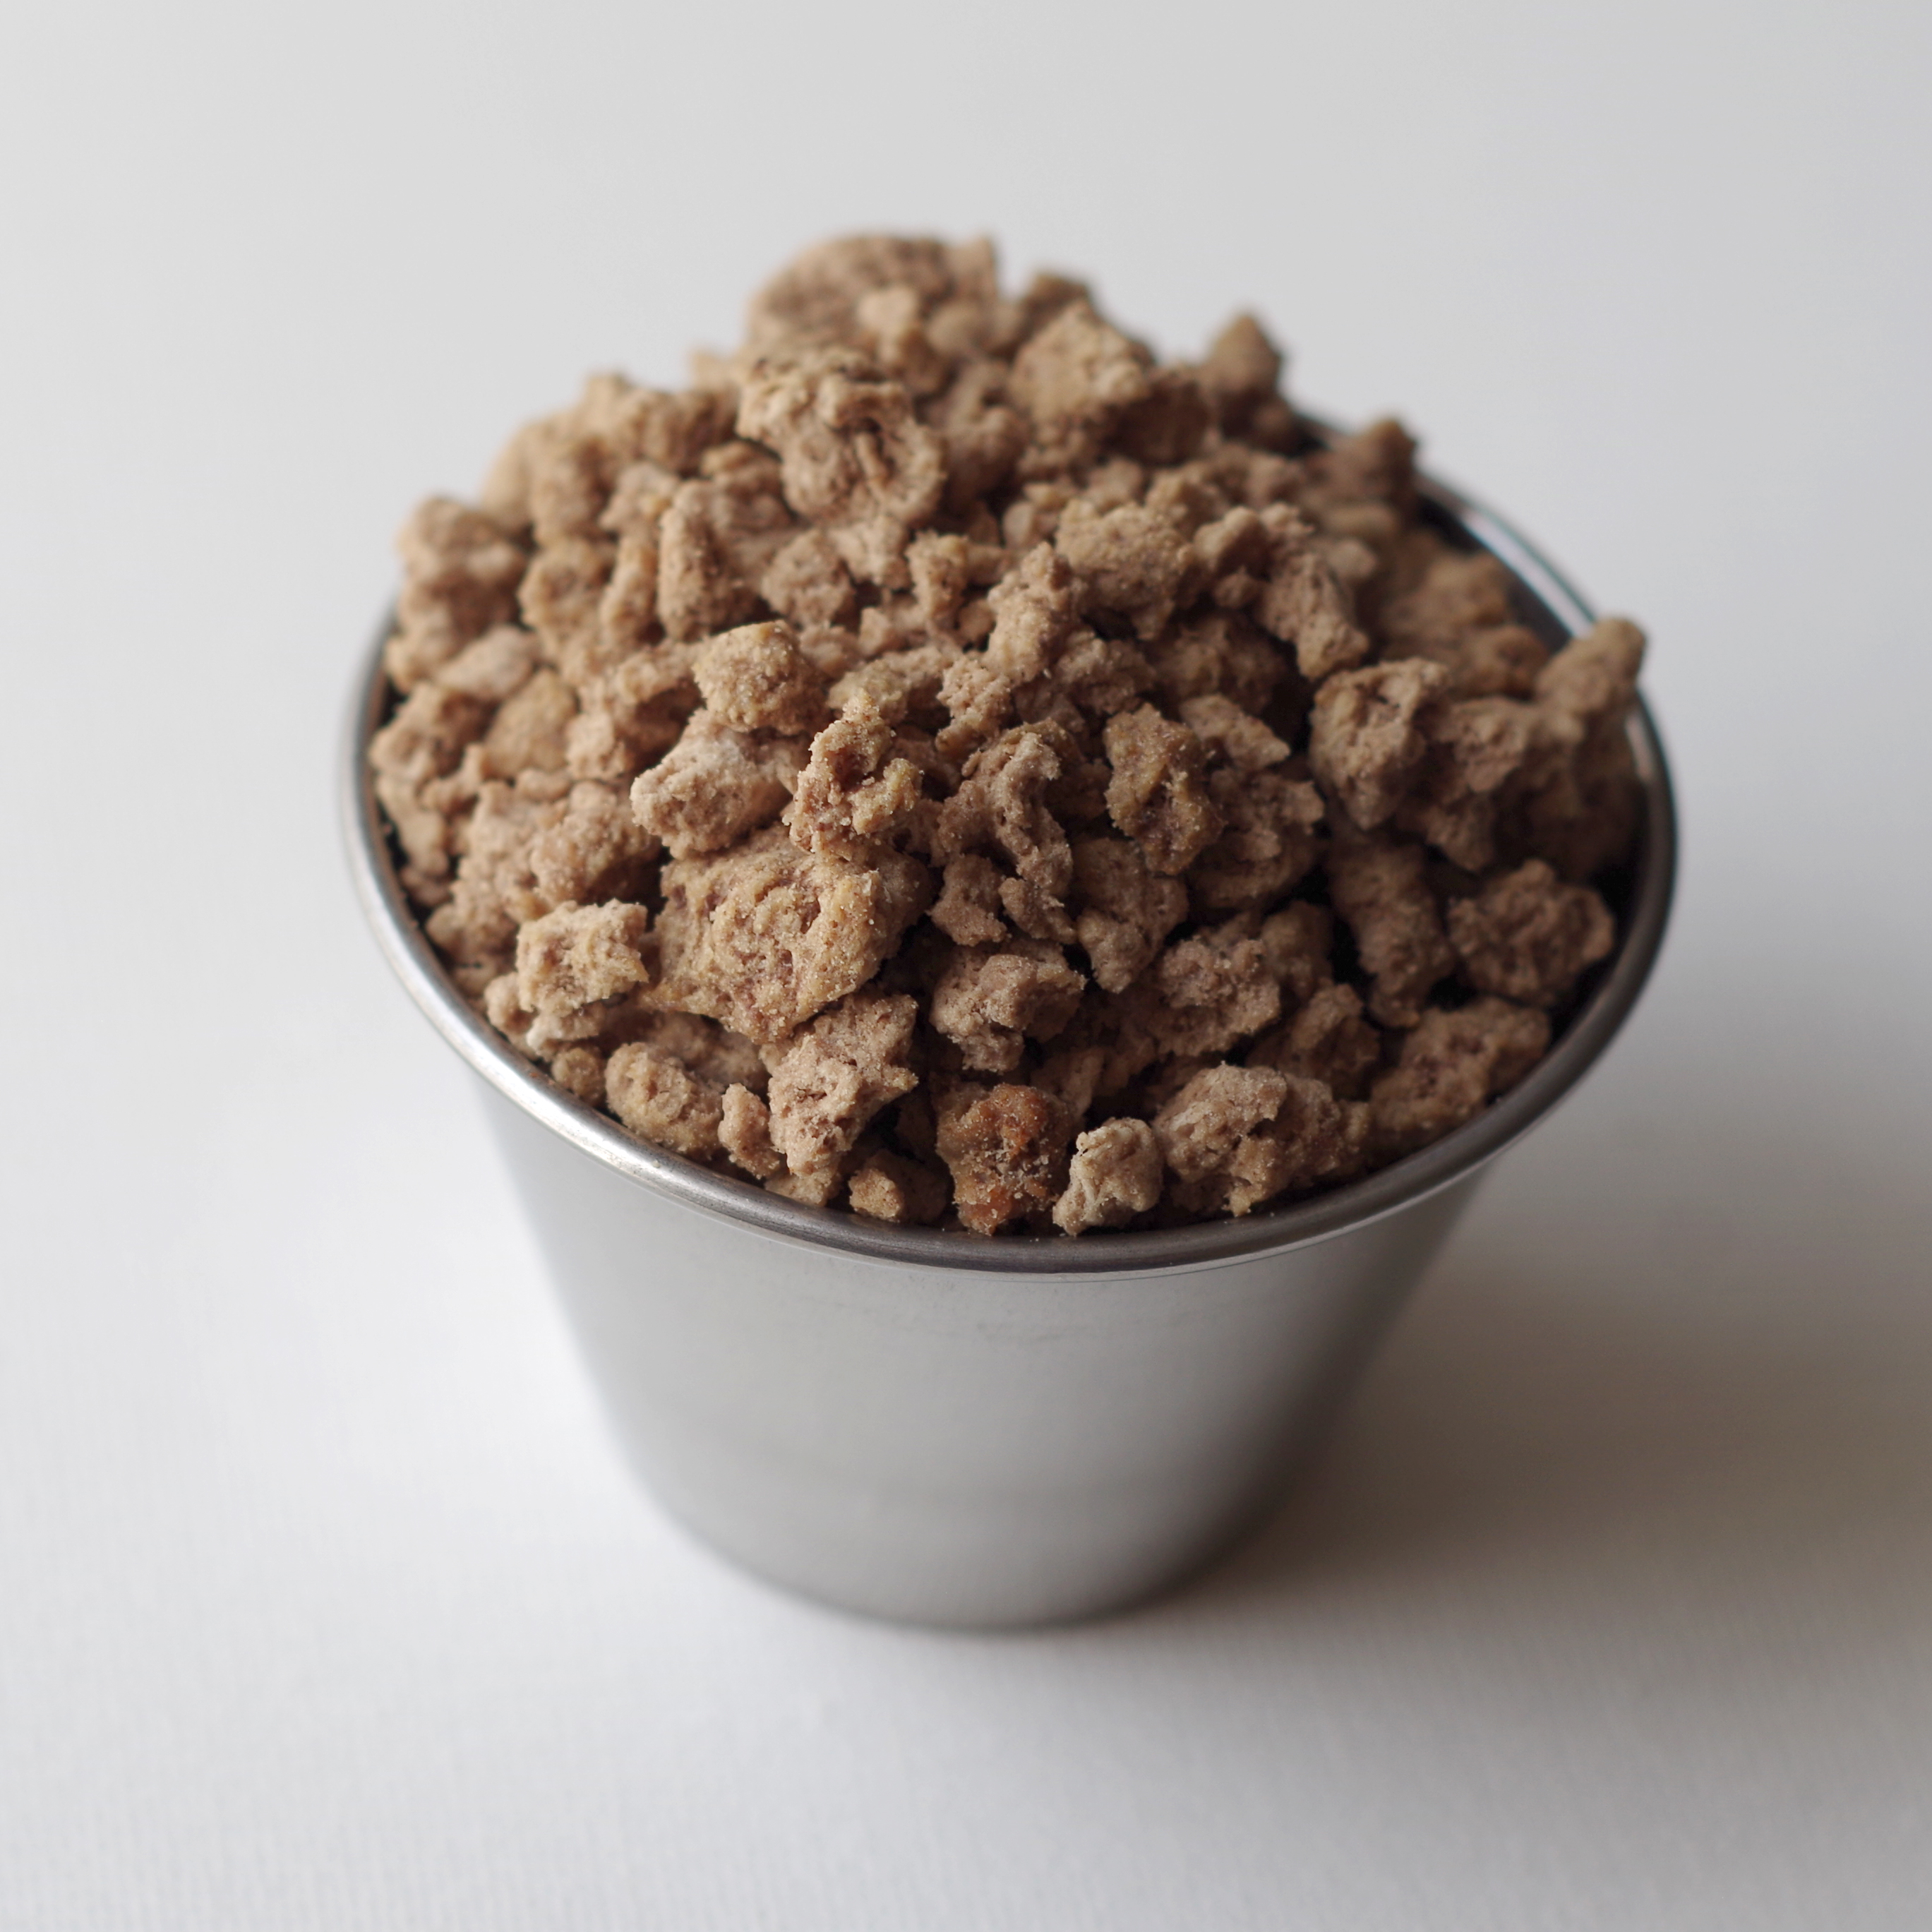
Dehydrated food – up to 15-year shelf life
Freeze-dried food – up to 30-year shelf life
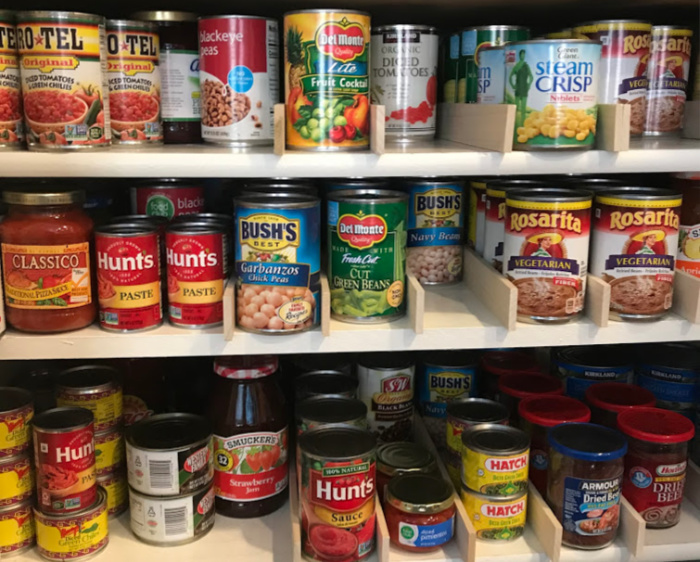
While canned goods are easy to pick up at the grocery store and stock in your cabinet, for true Prepping needs, canned goods are not good enough.
Yes, canned goods can last way longer than the recommended date, but I would much rather invest in high-quality food that will last for up to 30 years myself! Check out why Freeze Fried food is superior to Canned Food below!
The canning process takes foods in a fresh state and preserves them in an, often, salty brine and a vacuum-sealed environment that is void of oxygen. It is in this state that bacteria are starved of oxygen and cannot grow rapidly. This makes the food last longer.
Most canned foods can last for a few years. There are even lengths behind the best by the date that canned goods can last. This makes them a great option for long-term food storage. Canned foods can also be found at deep discounts and you can often buy 10 canned food items for less than $10.
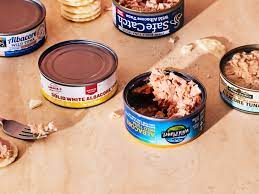
You can find most anything canned! Some of the best options for prepping and long-term food storage are things like canned meats, beans, vegetables, fruits, soups, and sauces.
The basic process of freeze-drying starts with taking fresh or cooked foods and cooling them to a temperature of -40 degrees Fahrenheit. These foods are then subjected to a powerful vacuum that surrounds the food. Then, as the food is slowly and carefully warmed the ice turns to vapor and is removed.
This process is more thorough than canning and creates a product that can be packed with a desiccate to last for as much as 30 years.
The types of foods that freeze-dry well are a combination of fresh and cooked foods. Freeze-dried meats do well, as do fresh foods. They retain much of their texture and flavor, which is an added bonus.
While many people will echo the fact that freeze-dried food comes with that incredible shelf life, there are a tremendous amount of benefits outside of just being able to store freeze-dried foods for a couple of decades, in most cases. Let’s have a look at some of those overwhelming benefits.
TEXTURE AND TASTE OF FREEZE-DRIED FOODS
Canned goods were responsible for stocking peoples’ pantries all over the world! They made it so that everyone could have carrots, asparagus, cream of mushroom soup, and beef stew whenever they wanted. However, because of the deterioration and cooking of vegetables required, they also turned a whole generation off to vegetables. The idea was that these foods were mushy and flavorless.
Fresh fruits and vegetables that are freeze-dried maintain much of their taste and keep a crunchy texture in the dried state. This makes the fruits and vegetables great little snacks. When rehydrated they still look like vegetables and taste like them as well.
NUTRITION
The freeze-drying process assures that these foods maintain much more of their nutrient profile than foods that are canned and stored in a brine. These vitamins and minerals will make an enormous difference in a survival situation.
LESS ROTATION COMPARED TO CANNED GOODS
While less acidic canned goods can last up to 5 years past the best by date, freeze-dried foods can last up to 30 years if stored in the right conditions. This means you do not have to concern yourself with rotation as much as you do with canned goods. Maybe 1-2 rotations in your lifetime – How crazy is that?!
SPACE AND WEIGHT
One of the biggest benefits of freeze-dried foods is that they take up so little space and weigh next to nothing because all the moisture has been removed from them. This means you can get really creative about storage and the places you can shove a little extra.
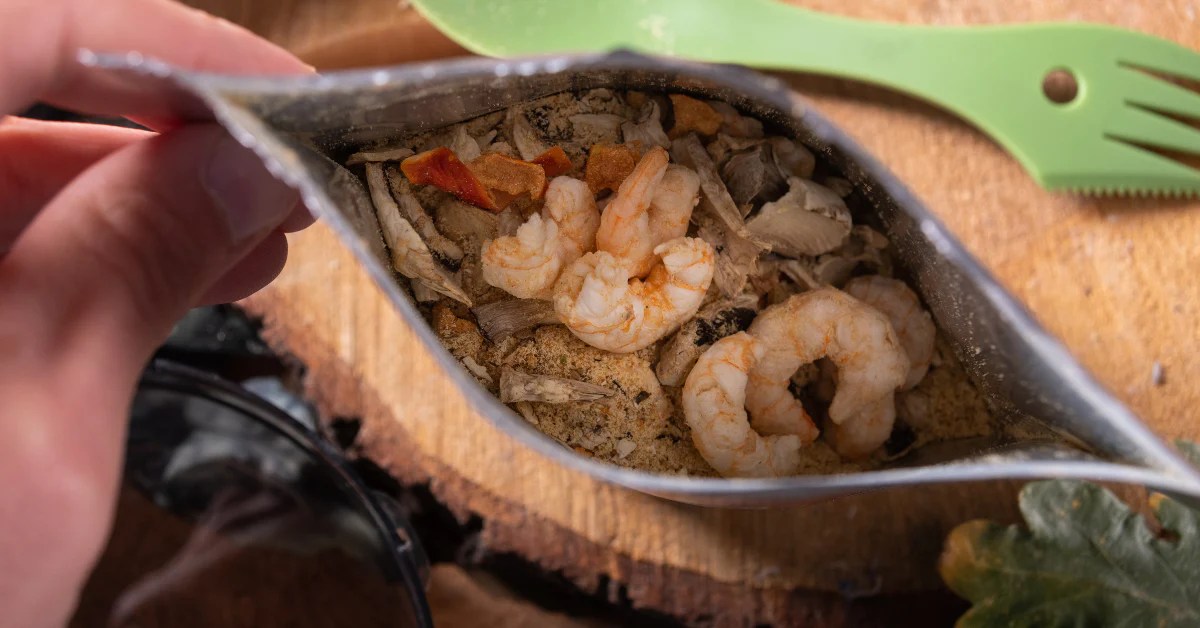
BUILDING MEALS USING FREEZE DRIED FOOD
You can combine freeze-dried foods to create meals and store these foods for quick solutions that just require hot water. Think of it as making your own backpacking meals. These mixes of ingredients can be stored in ball jars and used to make quick meals in a hurry or in a disaster.
You will be able to fill your pantry quickly, easily, and affordably with canned foods. That being said, freeze-dried foods are the superior product for Preppers and long-term storage, and you should consider incorporating them as the foundation of your emergency food storage plan!
With summer approaching and high temperatures once again breaking records. It’s safe to assume there will be some crisis. Or, in some cases, the electrical companies must turn the power off during extreme weather events like wildfires or rolling blackouts.
Prepping does not have to cost you an arm and a leg. The only thing you should be preparing for is maintaining your basic needs. After all, once the power goes out, you risk your health, food, and overall livelihood. Tbh, there are many ways you can survive a short-term disaster with very minimal inconvenience. In this post I wanted to strictly focus on water resources and storage.
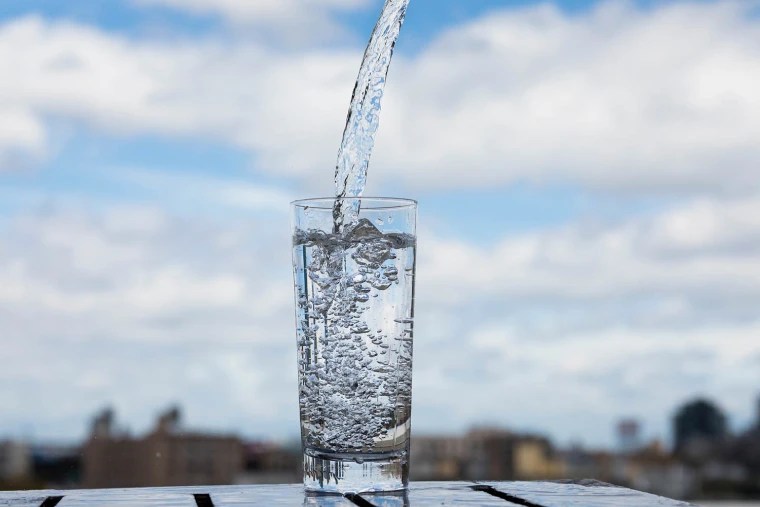
Keeping Water On Hand For Emergencies
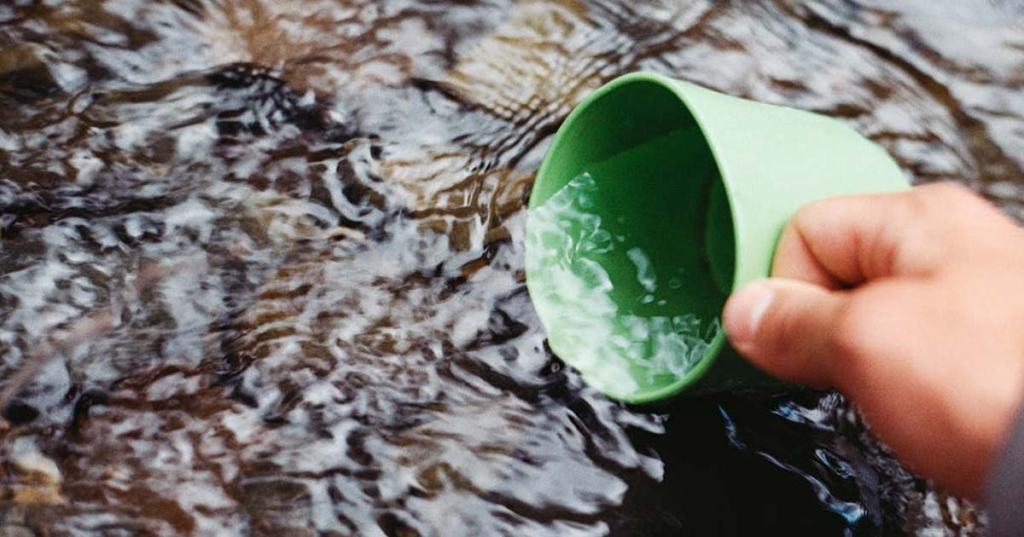
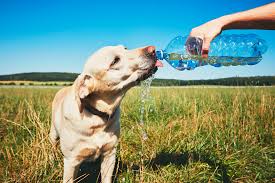
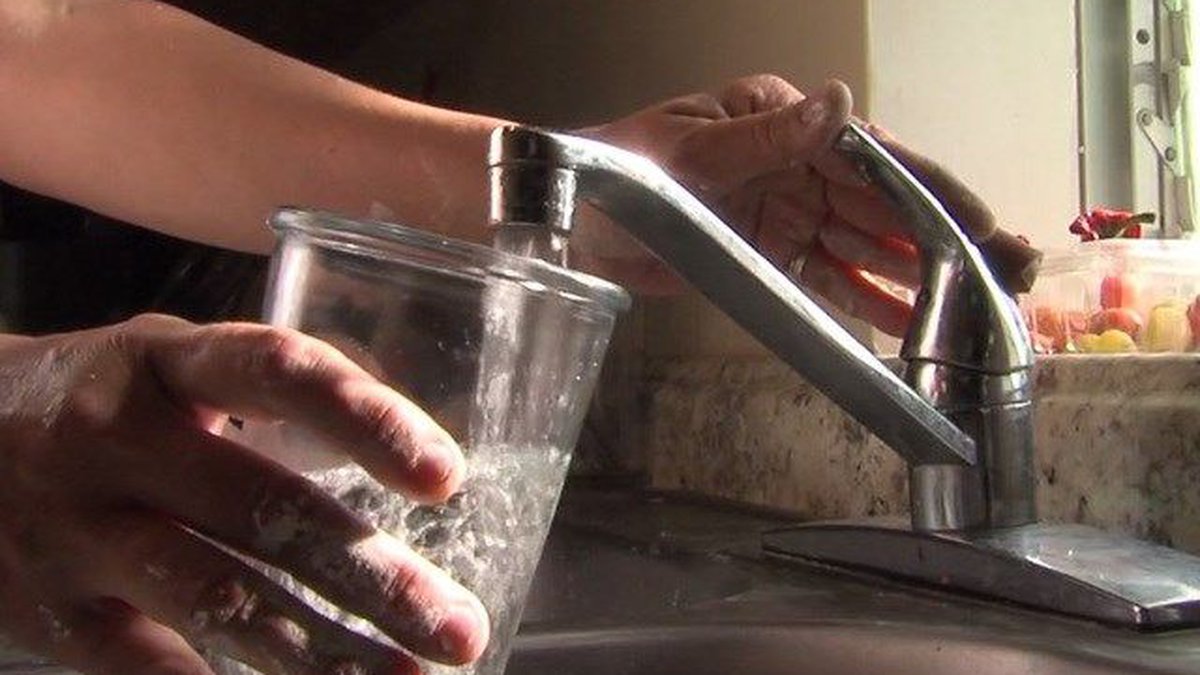
When the power goes out, you can bet so do the water treatment facilities. Because they use electricity to pump the water, once the power is out, your water may no longer be safe for drinking, personal hygiene, or cooking. When that happens most will turn to boiling water or other resources, having water stored ahead of time can circumvent this situation.
If we follow the recommendation of emergency organizations, each person will need a gallon per day per person. That means a family of 4 would require 28 gallons a week! Can you imagine what the grocery stores would look like if a crisis were to strike now? Well, we don’t need to imagine it, we’ve been living it on and off for the last couple of years. It’s so much easier to pick up a few gallons every time you’re heading to the grocery store, rather than wait for a disastrous situation.
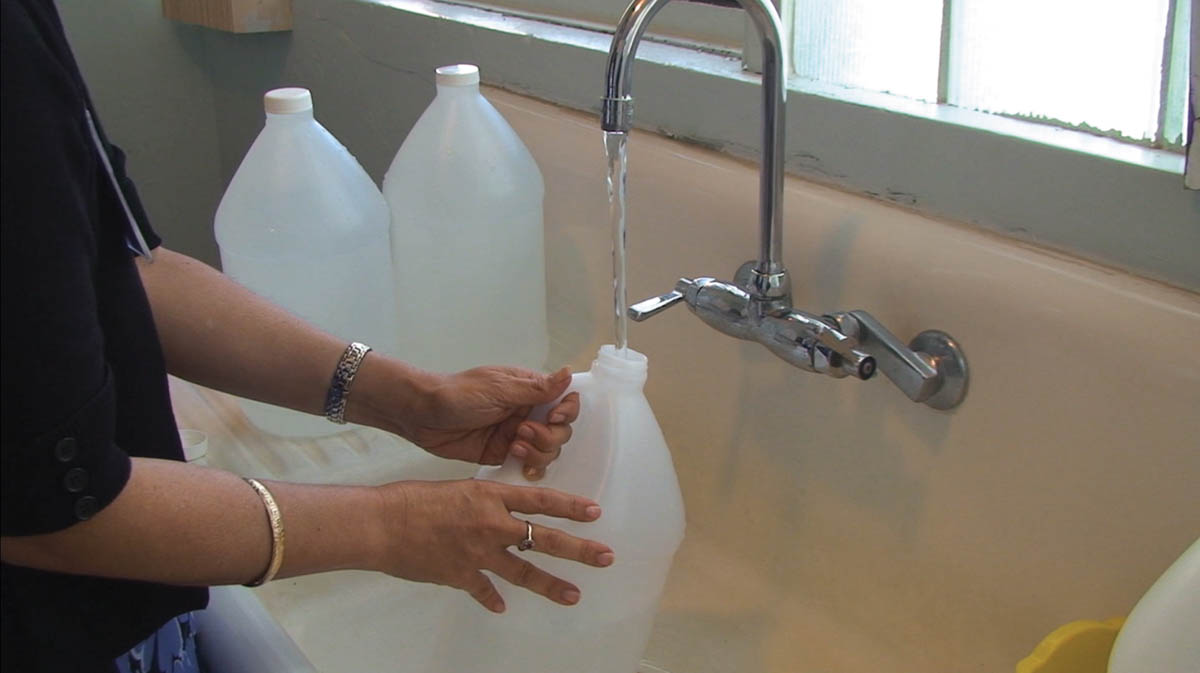
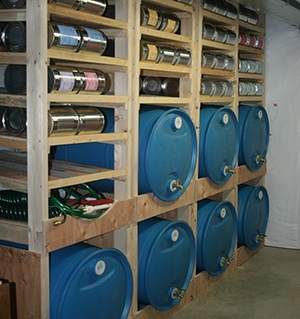
Building An Emergency Water Supply
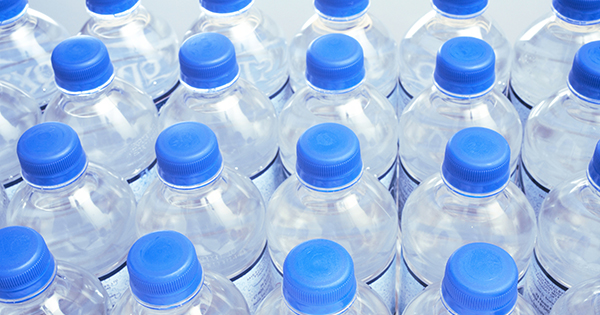
To start, you really need to think about what type of container would be the safest for long-term storage. Plastic containers that are polyethylene-based plastics, or plastics #1, #2, and #4. All food-grade plastics are made of High-density polyethylene (HDPE) #2. You can also use glass bottles as long as they haven’t stored non-food items. Stainless steel is another option, but keep in mind you won’t be able to treat your stored water with chlorine, as it wears down steel. It’s important that you seal and label your water stating what it’s used for and the expiration date. Store the containers in a cool, dry, and dark place for up to 6 months. Though its flavor can change over time, it’s still considered safe to drink if properly stored.
Store Bought Water
Although buying pre-packaged water would be the easiest route to stock up on your emergency supply, it is slightly more expensive (depending on the brand) than using tap water. It’s also cleaner, well-sealed and already comes in food-grade plastic. More importantly, bottled water is highly portable, which comes in handy if you need to bug out. This is a great option if you have limited space in your home or apartment. All you need to do is buy a bunch of packages and store them under beds.
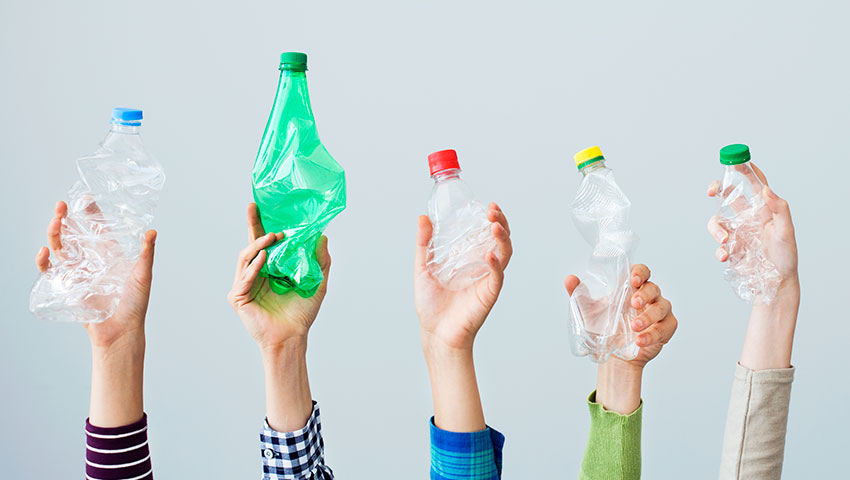
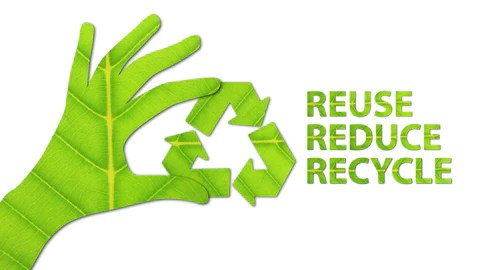
Reuse, Reduce and Recycle
If you care about the environment and are not interested in purchasing more plastic. A great alternative is using old soda and Gatorade bottles, so as long as you properly wash the previously used bottles. It’s a great way to recycle, and you’re getting the very same benefits without making the initial purchase.
Larger water jugs (in the 5-7 gallon region) that you would normally take camping are also a great option for water storage, and the blue water jugs have an added bonus of restricting light, which will help prevent the growth of algae.
The Conclusion
Certain chemicals found in plastic can leach into bottled water over time, which could potentially damage your health. Therefore, it’s probably best to avoid commercially bottled water that’s far past its expiration date.
Always remember to practice good habits regarding water storage and consumption for you and your family’s safety.
When severe weather strikes, there’s no time to think. It’s easy for people to believe that a summer power outage is easier to deal with than a winter outage. However, a summer power outage carries its own set of problems. They are primarily heat-related illnesses and a higher possibility of spoilage for your food. You need a heat wave emergency kit to be better equipped in handling what is being described as a dangerously record-breaking heat wave. With summer approaching and temperatures about to go through the roof, you need to make sure you’re prepared in advance with a grab bag packed with a heat wave emergency kit.
Before a Blackout:
Build or buy an emergency preparedness kit, including a flashlight, batteries, water, and first aid supplies.
Make sure you have alternative charging methods for your phone or any device that requires power. A solar-powered- anything charger is a good alternative to battery-powered ones.
Know where the manual release lever of your electric garage door opener is located and how to operate it.
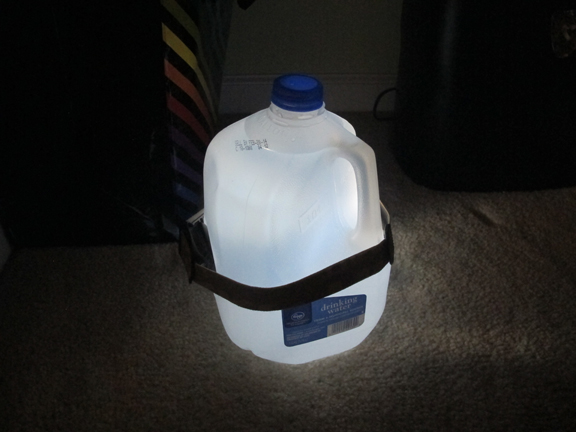
Purchase ice or freeze water-filled plastic containers to help keep food cold during a temporary power outage.
Keep your car’s gas tank full. Gas stations rely on electricity to power their pumps. If you use your car during a blackout to re-charge devices.
Learn about the emergency plans that have been established in your area by visiting your state’s or local website so you can locate the closest cooling and warming shelters.
Emergency Heat Wave At Home & Car Kit
Having an emergency kit in your car is smart. Even in mild weather, you can get stranded or stuck, and when a storm hits, your kit could be a life-saver. Here’s what to include in your kit:
Non-perishable and easy-to-prepare food items.
One gallon of water per person per day.
Flashlight with backup batteries (solar preferred), Cell phone, and chargers.
A battery-powered or hand-crank radio.
Personal documents such as passports, birth certificates, insurance papers, etc.
First aid kit and personal medications.
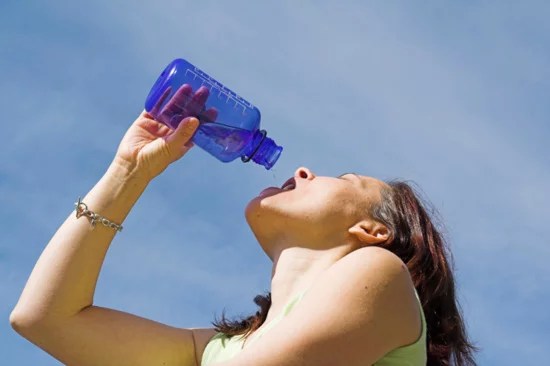
Beware of dehydration and heat-related illnesses
What is dehydration?
Dehydration is condition that occurs when the body loses too much water and other fluids that it needs to work normally. Dehydration is usually caused by severe diarrhea and vomiting, but it may also be caused by not drinking enough water or other fluids, sweating too much, fever, or urinating too much.
Avoiding Dehydration:
There’s one simple rude for survival hydration and food. If you have nothing to drink, then do not eat. Eating anything, even watery foods takes water from your system to create the slurry that will be able to move through your GI tract. Eating without drinking can lead to constipation, or worse, an intestinal blockage. If you are suffering from dehydration, and have watery foods available, try squeezing out the liquid through a cloth. Fruits like blueberries, raspberries, blackberries, and other watery wild edibles can be mashed and squeezed to make a juice that offers hydration and even a few calories and vitamins, without wasting the water it would take to pass all those skins and seeds.
Survival Clothes for Hot Temperatures
To survive in high heat climates you should consider wearing clothing that is lightweight, loose-fitting, and with colors that are on the lighter side of the spectrum since darker colors are known to absorb the sun’s heat. In areas of high heat and low humidity look for shirts with long sleeves and light colors. Cotton – is one of those fabrics that most people would suggest wearing in the heat because it soaks up all of the perspiration from your body and allows it to evaporate slowly.
While cotton is not a bad choice, there are other options out there. There have been some amazing advances in fabric technology. Some of the advances in polyester-based knits being used to make clothing these days you will find to do an excellent job at letting moisture from your sweat evaporates quickly which helps to stay cool throughout the day.
Avoid clothing made of fabrics like polyester, nylon, silk, rayon or wool as these fabrics are not very breathable and they will only retain your body odors that were acquired from sweating, giving you an uneasy feeling. Even though silk in particular has the ability to repel your sweat, this fabric isn’t too great at reflecting the sun.
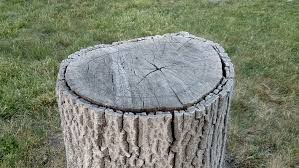
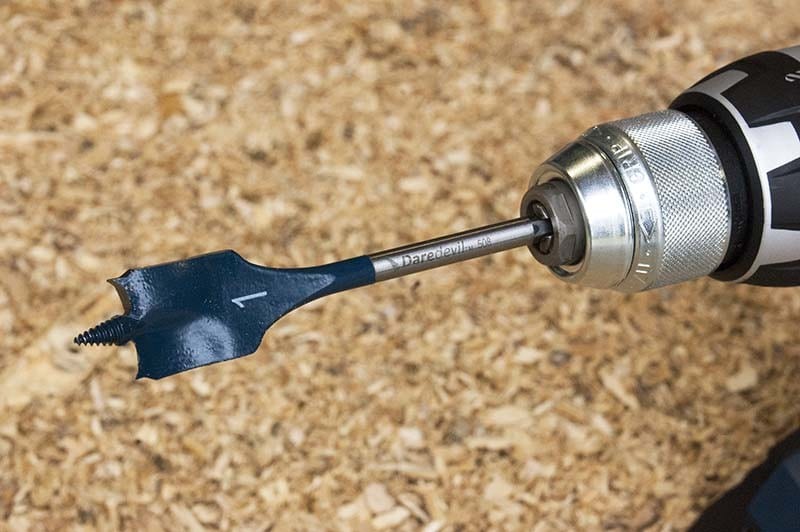
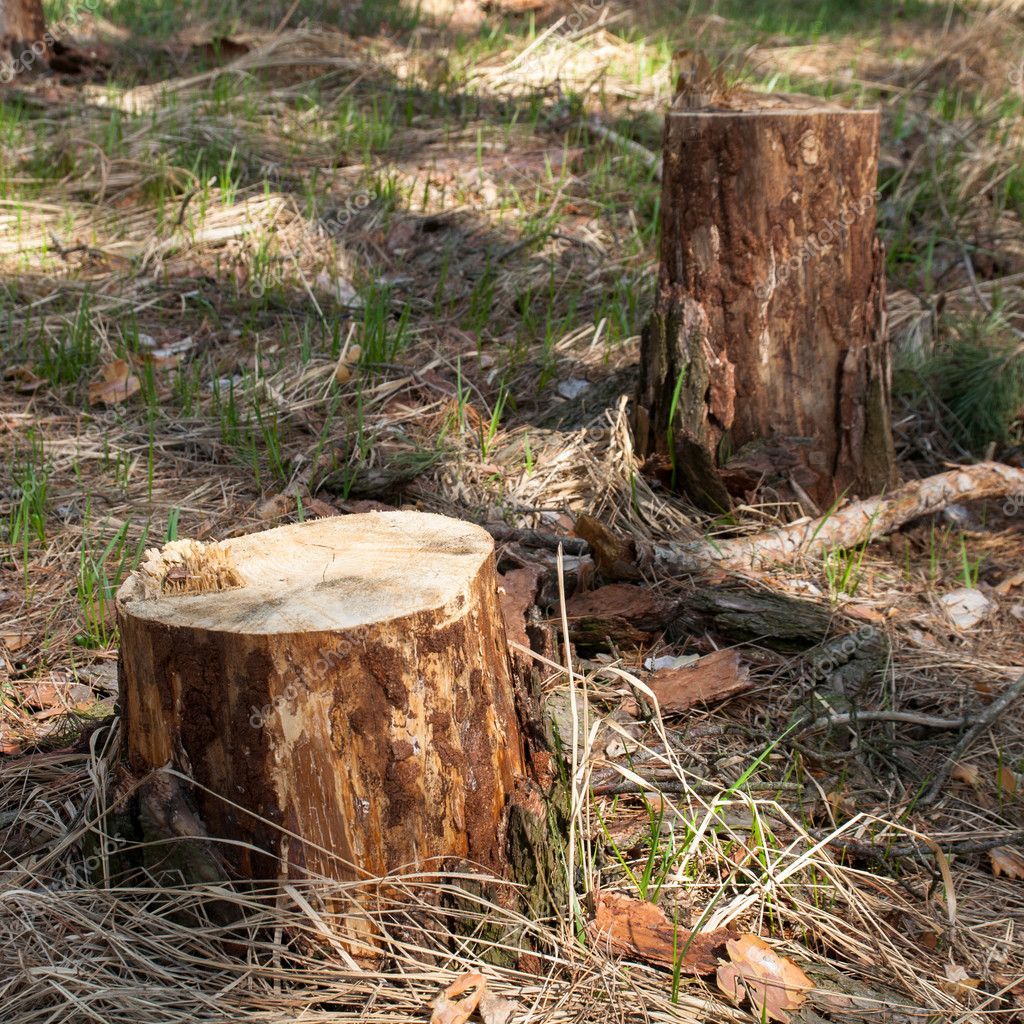
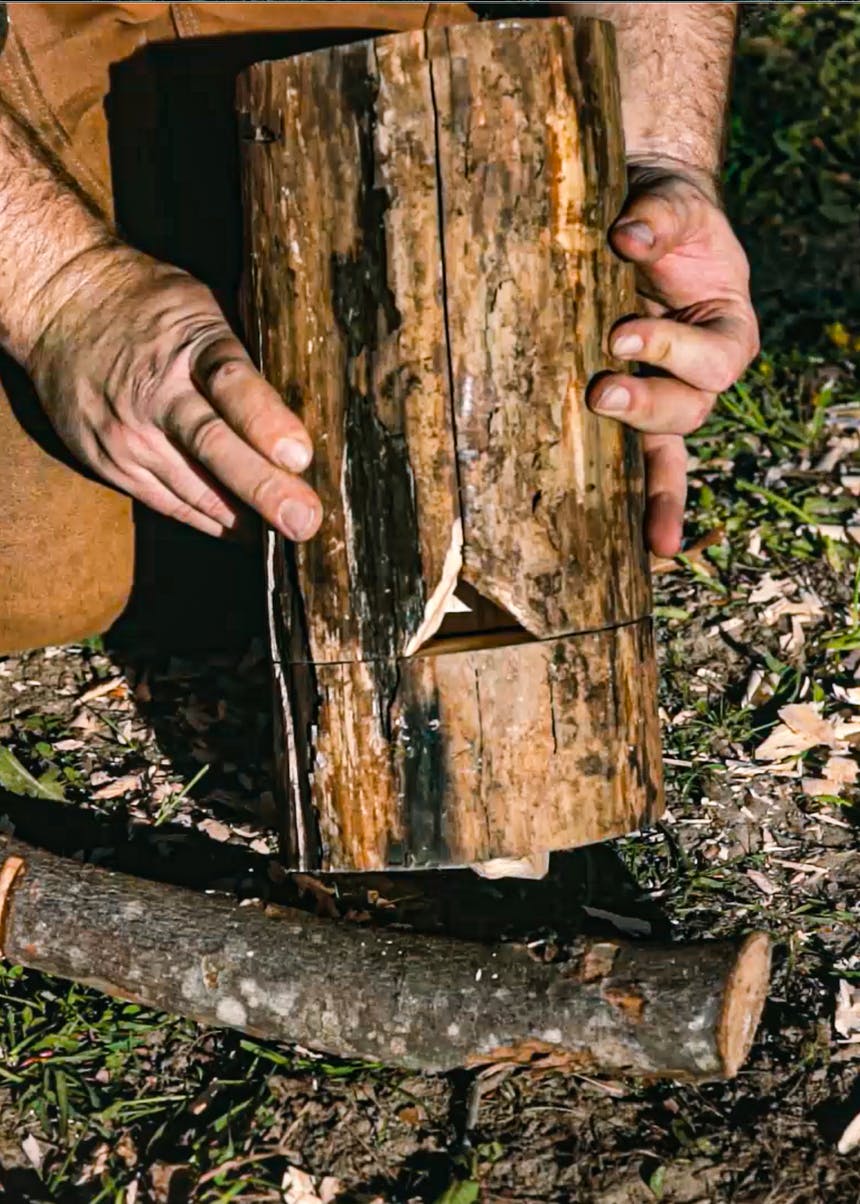
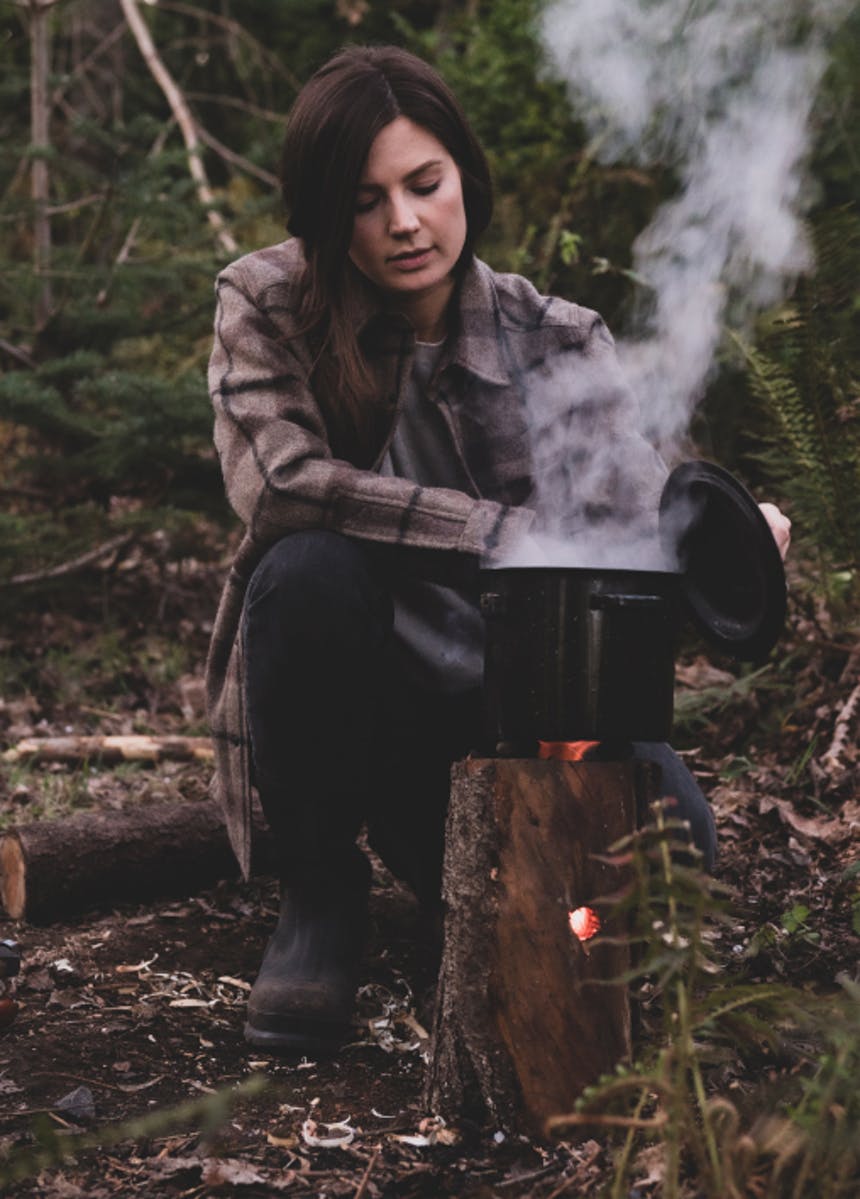
One of the biggest ‘AHA’ moments I’ve had learning about survival is when I learned about the Rocket stove from a tree stump. If you’re at all interested in survival, you need to learn about this simple trick. It may very well save your life someday.
If you are in an emergency situation and need a really easy-to-make stove, look no further than a hollow tree stump.
Before we get started, I’ll list out the items needed for this amazing life hack!
Items Needed:
Hollow Tree Stump
1 – 1.5 Spade Bit
Drill
Fire Starter
While you may not have an abundance of hollow tree stumps, chances are you’ll be able to find one if you really are in a survival situation.
Start out by drilling a hole through the top of the stump with your 1.5 spade bit attached to your drill. to act as a chimney and then drill another hole from the side to aid in airflow. The most important factor in this process is having a good dry stump, a drill powerful enough to drill a large diameter hole, and a large diameter bit long enough (5-6 inches) to make connecting holes in your stump making an “L” shape.
Now that you’ve made your stove, grab your kindling wood or your fire starter, light the wood and place it in the second hole to start your fire. There is no need to add more wood, it will burn by itself, and will easily last a couple of hours.
Whether you’re a master prepper or this is the first time because of the Covid-19 pandemic, there is no better time to set yourself up for success in case things get even worse.
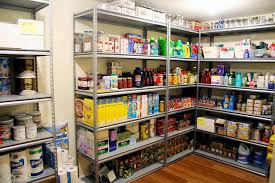
What really matters will always come down to the basics of food, water, shelter, and a means to protect yourself and your family. The following is a list of items to stockpile for emergencies and other survival situations. Including items that could be useful during weather emergencies and longer-term grid-down situations.
Must-Have Items to Stockpile
Water
Water is the most valuable item on this list. The human body can last weeks without food, but only 3- 5 days without water. The body is made up of 50-75% water. It is the basis of blood, digestive juices, urine, and perspiration. It’s important to know, that without water, your body will shut down. If you still need a little convincing, I’ve listed a few ways water provides us with essential nutrients.
Water is essential to most bodily functions.
The body has no way to store water and needs fresh supplies every day.
The best source of fluids is freshwater.
Dehydration can happen when the body’s fluids are low. It can be life-threatening, especially to babies, children, and the elderly.
Water loss needs to be replaced.
Maintain the health and integrity of every cell in the body.
Keep the bloodstream liquid enough to flow through blood vessels.
Help eliminate the by-products of the body’s metabolism, excess electrolytes, and urea, which is a waste product formed through the processing of dietary protein.
Don’t limit yourself to just water itself, though. Anything that can help locate, contain, or purify water will also be a huge hit. Try items like filters, water purification tablets, and desalination kits.
Food
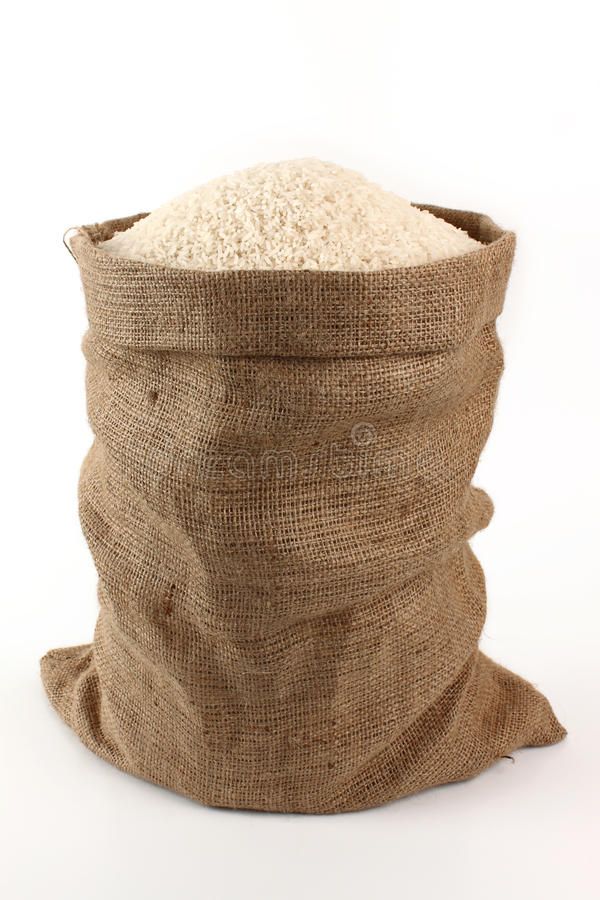
Food stockpiling is the second most important item needed for disastrous situations. At the very minimum, you should have a 30-day stockpile of food on hand. stick to dense foods like cans of beans and bags of rice, These items last longer and don’t take up as much space like a bag of potato chips.
Focus your attention on calorie-dense and processed foods that can last years. Dehydrated, freeze-dried, canned, and smoked goods will fetch a high price. Save lots of room for protein bars, and protein powder.
Meat is so incredibly difficult to have a long-lasting shelf-stable supply of. Traditional meat preservation methods have been lost because of the fear associated with food poisoning and spoiled meat. And if we are honest with ourselves, it is so easy to just store meat in the freezer.
Salt For Meat Preservation
No matter which meat preservation method you choose, you will need to keep salt on hand. Canning or freeze-drying are the only ways to preserve meat without salt, and it is actually recommended that you use at least a little bit. Salt draws out moisture and binds to the remaining water molecules in the meat. This creates an inhospitable environment for microorganisms.
Most importantly, salt actually kills many microorganisms that may be contaminating the meat through a process called osmotic shock. This basically causes a dramatic loss of water in their cells. If they don’t outright die, they certainly suffer and cannot grow as fast.
If you have the space and the ability, you can attempt to grow fresh foods. Carrots, potatoes, and wheat store the longest and have multiple uses. Consider saving seeds to insure a constant supply of your favorite fruits and vegetables. Got room for small livestock? Chickens are a great option if you have space. They’re hardy, surprisingly loyal, and great foragers and composters that’ll help with your garden. When they stop laying eggs, drop them in a pot and you’ve got dinner. Eggs and chicks are both invaluable bartering items.
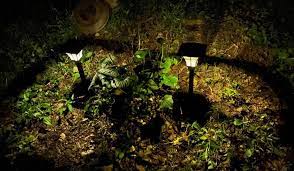
Heat or Light
Survival lighting is an often overlooked yet vitally important consideration for preppers. Overall, solar lanters, headlamps and electric lanterns are the safest and most useful types of survival lighting. However, these will eventually run out of batteries or need to be recharged, so you’ll want a backup option for long-term preparedness.
Ideally, you would get several types of survival lights to ensure all of your needs are covered.
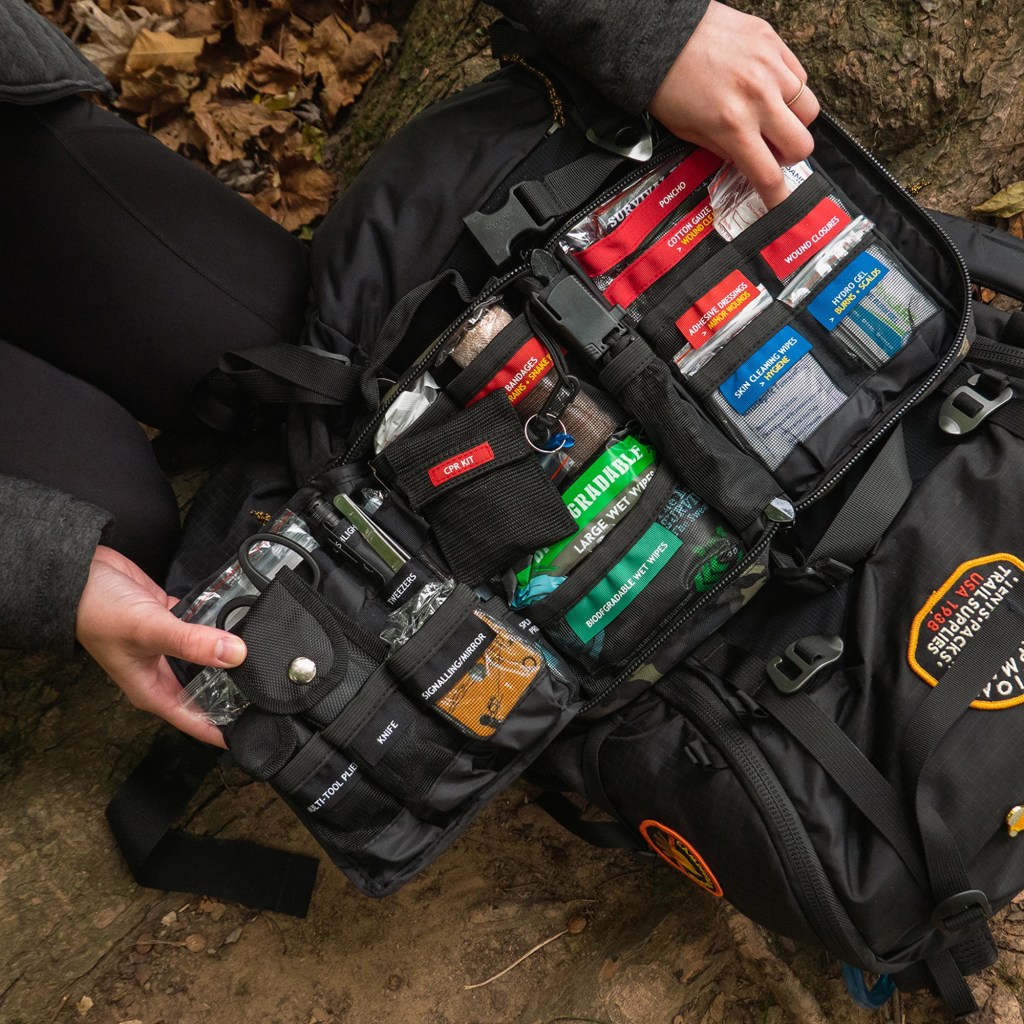
Medical Supplies
I recommend investing in a quality medical pouch or kit itself. It’s important your kit contains bandages, gauze, wraps, creams, and ointments are supplied. You’re going to use them once and then eventually you’re going to need more.
Also, you can trade medical supplies in a pinch, so it’s a great supply for bartering. Because if somebody doesn’t have any medical supplies and you have extra, you could trade for more food or water.
Tying knots is one of the most essential skills everyone should know, prepper or not. This skill comes in handy in your day-to-day life and emergency situations, even saving a life.
Since one of the best ways we can prepare for future survival scenarios is to learn how to tie a few different knots. I’ll also cover the essential tools for knot tying, the different parts of knots, and everything in between.
Let’s get knotty.
Do you know how to tie a knot if it meant your survival? How about a specific knot that you would need in a sudden survival scenario?
Knowing how to tie a climbing knot sounds more pleasant than learning how to fall safely, doesn’t it? You don’t need to learn and try to perfect all the hitches, but developing your skills with the knots, will be useful and practical for everyday use.
If you haven’t learned the essential knots to be able to tie yet, not a problem. Tying a specific survival or fishing Knot can mean the difference between surviving and knot surviving. There are thousands of different Knots for each kind of scenario. From doomsday situations to fishing for dinner.
Some knots are essential to learning more than others. Most of the time you’ll only have to be able to tie a few knots. Other knots are only needed in rare or special circumstances. So depending on your activities, some knot categories would be more essential for you than others. There are knots just for fisherman use and knots that are more common when camping. Learn the ones that you are going to use the most first.
Know The Knot
The importance of knowing how to tie knots, when, and where to use them are more than useful—they could be life-saving.
Of course, depending on your situation, every knot has its special place and is used for specific purposes. It’s best to learn ahead of time before you find yourself in an emergency learning how to tie a knot.
Rope Construction
The construction of the rope tells you important details about what can and should be done with the rope. Certain materials should be used for certain purposes and knots, while other types of construction are for other uses and types of knots.
Materials
There are two kinds of cordage materials. Natural and Synthetic. You can even make your cordage on your own.
Natural Materials
cotton
sisal
manila
Synthetic Materials
polypropylene
polyester
nylon
Useful Tools
Choosing to use tools when handling ropes and knots; will easily make you 50% more efficient than not using them.
Here is a list of some essential tools.
Sailmakers Palm and Needle
Adhesive Tape
Sharp Knife
Netting Needle
Marlinspike
Swedish Fid
Terms & Tips
When first starting, most of us watch tutorial videos and try to follow them. However, the terms and phrases used by these experts can sometimes be confusing. It’s best to try and learn a few basic terms to follow along while working with cordage and viewing the videos.
Types of Knots
Focus on mastering just one survival knot at a time. Once you can pull off tying and untying the knot with your eyes closed and can teach someone else how to do it, move on to another knot.
Knots can be broken down into different fields they’re primarily used in, such as survival knots or sailing knots. Another way to break them into is by specific types, such as hitches and bend knots.
Types:
Coils
Hitches
Bends
Loops
Binding
Stopper
Splices & Whippings
Decorative
Three-Strand- the simplest braid
The three-strand knot is also known as a plait or braid. If you are familiar with braiding hair, then this should be very easy for you. The first step is usually easy; it usually involves making the three ropes become one. You can do this by holding the three ropes together and making a knot on one end of the rope.
Double Sheet Bend
The double sheet bend, or weaver’s knot, is used to connect two pieces of cordage together. If you must join two ropes together during a survival situation, time will likely be of the essence. The double sheet bend knot will help you accomplish the task quickly without sacrificing sturdiness.
Weaver’s knots are not prone to jamming or locking up while being used and can be untied rapidly. This type of knot is often used when creating a guideline across a waterway, hanging food high up in a tree, increasing the length of cordage when constructing a shelter, using non-traditional and short types of material as cordage, and tying down large loads.
THREADED FIGURE-EIGHT
The threaded figure-eight knot is an essential climbing knot. The way it’s tied allows it to jam under strain. The best part about this knot is it’s easy to recognize, so you can easily check a buddy to make sure they’re safely knotted before the climb.
Where to use it:
Tying a rope onto an anchor
Attaching a rope to a climber’s harness
Creating a “stopper”
Square Knot
The reef knot, or square knot, is an ancient and simple binding knot used to secure a rope or line around an object. In addition to being used by sailors for reefing and furling sails, it is also one of the key knots of decorative macrame textiles. The knot lies flat when made with cloth and has been historically used for tying bandages.
To tie this knot, take one end of the rope in your left hand and a length of rope in your right hand. Cross the left over the right, forming an X so that your rope ends are in the opposite hand. Then, put the right over left, forming an X, and pull tight.
Butterfly knot
Need a secure loop in a rope? There are many ways of doing this, but the butterfly knot is one of the best. Often used by climbers, it’s handy if you can get some slack in the rope and need a loop that won’t slip under a heavy load.
Gather in some slack and form an 8-shaped loop in the rope. Fold the upper loop down, pass it around the rope then thread it through the lower loop and pull it tight. That’s all it takes.
Are these all the knots you can use to help you survive? Nowhere near! There are hundreds of knots, some of them very specialized. The more you can learn, the better equipped you’ll be to survive. These four will cover most things, though. Get some bits of rope and practice until you can tie them confidently, and you’ll have a big advantage when modern fasteners aren’t available anymore.
Conclusion
Knot tying in survival and in everyday use can be very important. If you struggle with the important and essential knots, I would encourage you to get a nice thick piece of rope and start learning knots with a much larger rope. This can make a world of difference. Thicker rope holds its shape better while you tie and it is also much easier to handle.
We used thick rope to teach shoelace tying in our house. If it can help 4-year-old fingers get more dexterous and effective then it will work for you.
If you feel pretty proficient with knots then spend some time bashing up natural materials and making cordage from nature.
Knowledge and correct information are the first steps to survival. There are generic preparations that are appropriate for every emergency situation. However, concrete and careful planning is needed for you and your family to survive during emergency situations.
It’s better to prepare for the worst in case things go upside down and you aren’t equipped with the essentials to survive. So, here’s a guide for those of you who are just beginning to prep for the worst possible scenario, such as a natural disaster or a terrorist attack.
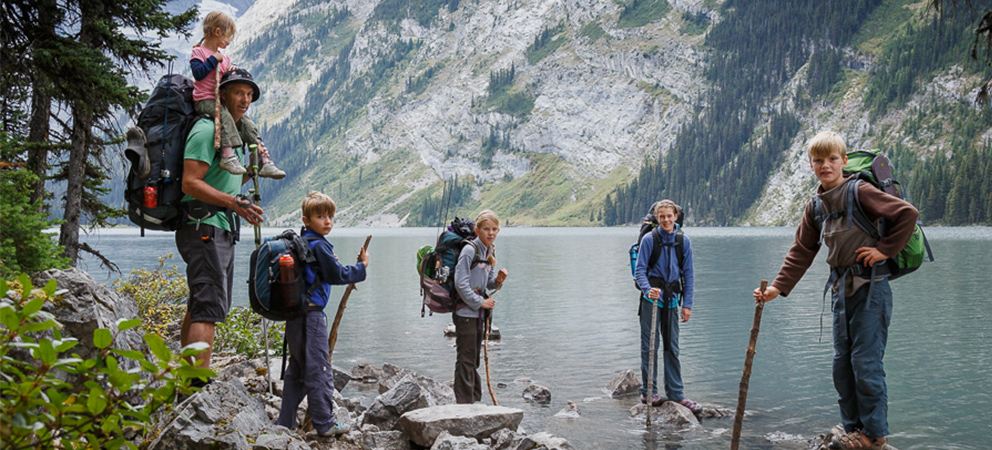
Prepare To Leave Your House With Short Notice
Plan and practice with the family the exact steps you’ll go through in the event of a disaster.
Get your home, animals, and property ready so you can be self-reliant for at least two weeks.
Have a self-defense weapon on hand to keep you and your family safe if you happen to find yourself in an aggressive situation with another person or animal.
Spread the word to your neighbors, families, and friends, and recruit other families to help prepare multiple locations. That way, there is always a place to go, no matter where the emergency occurs.
Bugging In & Really Mean It
we discussed the bare essentials for survival—food and water. Bugging in is choosing a familiar and safe in the event of an emergency. It’s very important you map out and practice an escape plan. Not everyone has the ways and means to leave when the S really HTF. Some have unreliable transportation or no personal transportation at all. Others may not have the luxury of having a bug-out location, family, or friends to run to. That doesn’t mean you can’t survive. In some cases, bugging in is the best and safest option—especially if you live in the middle of a cramped and crowded city where leaving would be next to impossible.
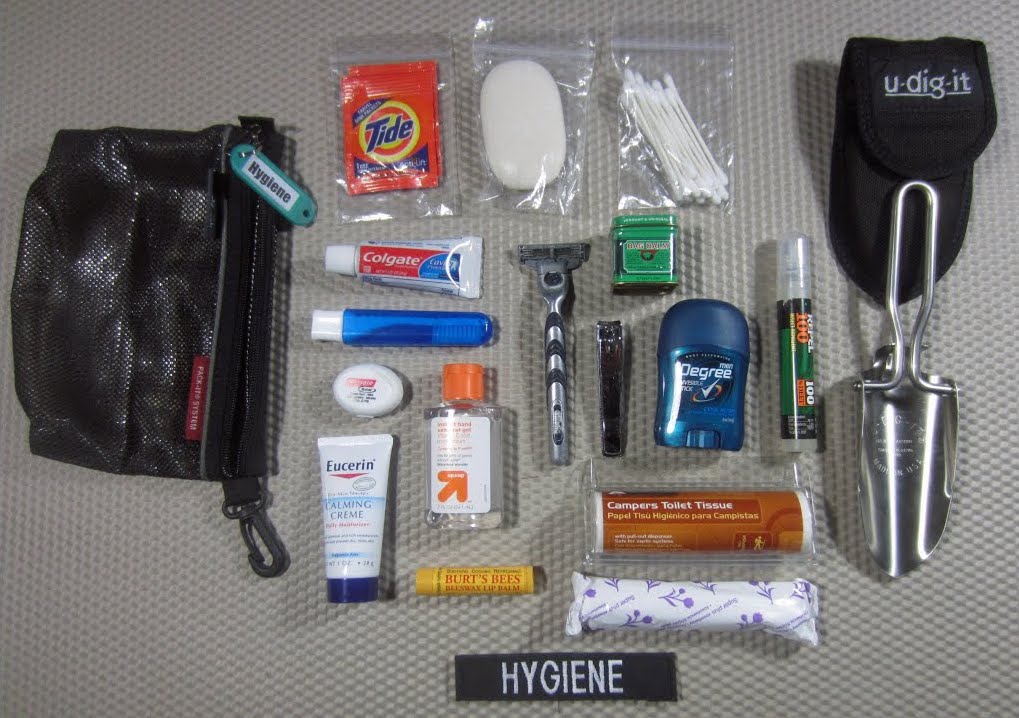
Don’t Forget About Hygiene and Sanitation
Stocking up on toilet paper, baby wipes and soap is just as important as stocking up on food and water. You have to stay clean in order to avoid becoming sick. Proper sanitation during a disaster is a critical component of preparedness. Frequently, there are more deaths following a disaster due to poor sanitation, than lives lost in the initial event. The earthquake in Haiti is a classic example as it was followed by a horrific cholera outbreak that killed thousands of people and hospitalized hundreds of thousands.
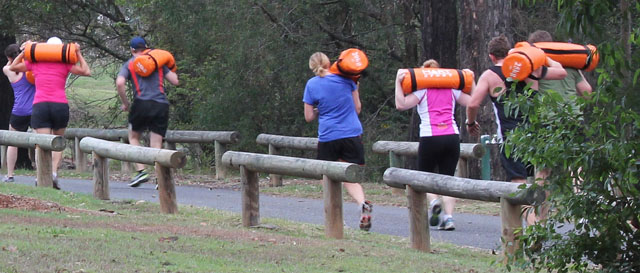
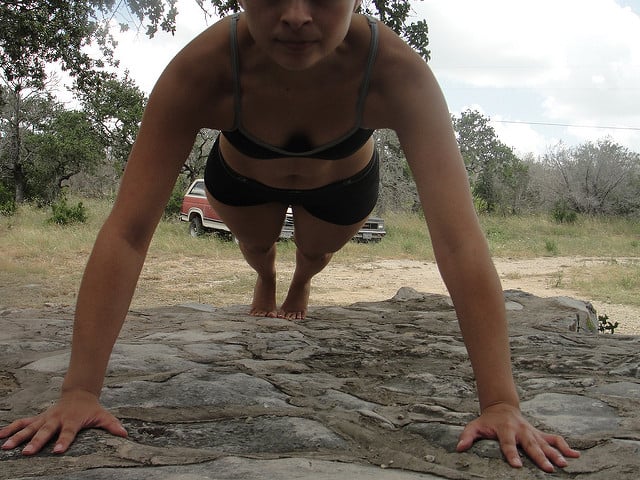
Are You Fit for Survival?
If your entire prepping plan comes down to, canned foods and toilet paper then you are probably not physically fit for survival. Many preppers will find themselves completely exhausted after just one day of disaster. Hiking from place to place, carrying supplies back and forth, repairing damaged roofs or windows, etc. All of it will wear you out fast if you’re not in shape. It is important to establish what your goals are and start a prepper fitness routine.
Here are some prepper baselines to consider.
Can You…
Walk 12 hours while carrying a heavy pack?
Lug 2 ½ gallons of water in each hand back to camp from a stream 3 miles away?