
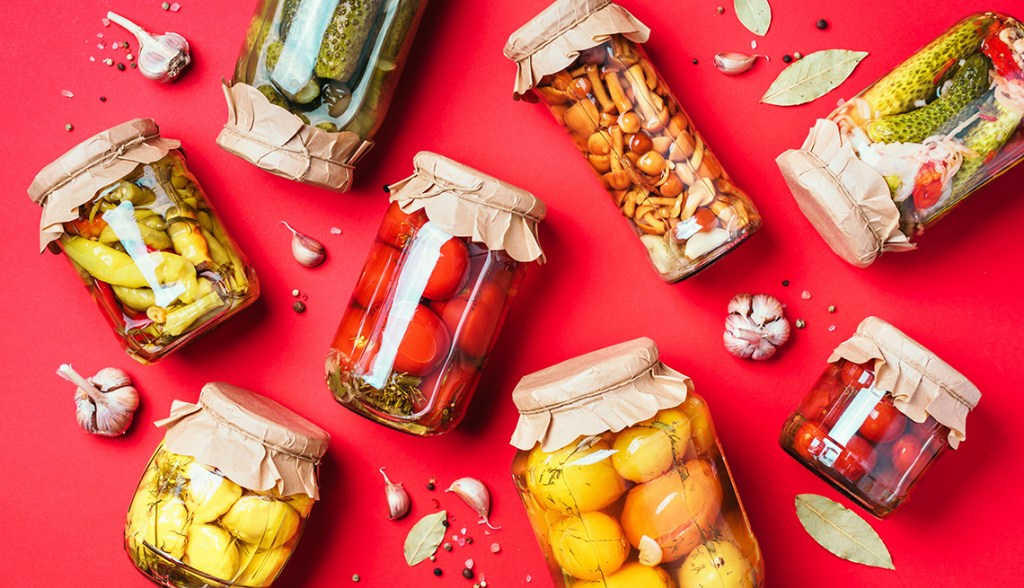
Being prepared for a disaster of some sorts is one thing, being prepped with your favorite foods is another!
Canning food has been a long standing method to storing food in your food storage. Instead of only stocking up on canned soup and whatever is left at a grocery store during a crisis, why not take it a step up by creating and preserving your favoirite foods that will be able to store on your shelf for years to come.
When you preserve food, you are either trying to freeze time or to encourage specific bacteria to proliferate and crowd out harmful bacteria. Canning is all about freezing time.
Canning is one of those things that seems intimidating at first, especially with all the warnings about spoiled food and the unfamiliar terminology used with many canning recipes. But I promise, it gets easier the more you do it!
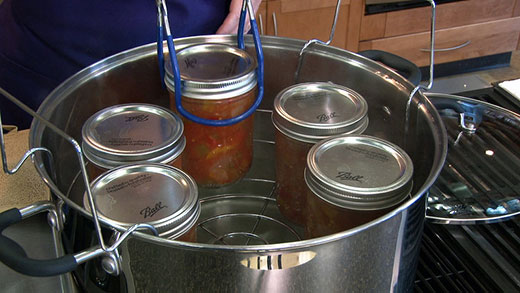
Water-bath canning
Water-bath canning—also called “boiling water bath”— is basically a big pot with a lid and a rack in the bottom. This easier method of canning that is used for high-acid foods (like many fruits), which naturally resist bacteria growth. By processing jars in boiling water at the end of the recipe, you lock in the fresh flavor for a full year.
- Sanitize your jars. After washing them with water and soap, place the canning rack in your stock pot and put the jars on the rack. Fill about two inches, and bring it to a boil. Leave boiling for 15 minutes. Wipe everything with a clean towel.
- Wash your desired fruit.
- Prepare bowls of water. Bring several cups of water to boil in your kettle. Pour the boiling water into one of your large bowls. Fill the other with cold water.
- Dip each fruit into the hot bowl. Let them sit for 30-60 seconds. Use a slotted spoon to avoid burning yourself.
- Dunk each fruit in cold water. Let it sit for around 30 seconds and then remove its skin.
- Cut your fruit. Using a cutting board and take your knife to slice them in any desired size.
- Carefully remove each jar from the boiling water bath. Use the jar lifter to grasp firmly around the narrowest part.Place each jar open-side down on a clean towel to avoid contamination while you work.
- Boil another kettle full of water.
- Boil the water in the pot. Remove your lids and bands from the large stock pot if you haven’t already done so, and bring the water within back up to a rolling boil.
- Boil the water in the pot. Remove your lids and bands from the large stock pot if you haven’t already done so, and bring the water within back up to a rolling boil.
- Flip the jars right-side up. Add ¼ teaspoon of citric acid or one tablespoon of bottled lemon juice to each jar. Then, using your funnel, fill each jar with sliced fruit. Leave at least half an inch of space at the top of each jar.
- Pour boiling water from the kettle into each jar. You may need to poke around with a narrow spatula to get rid of air pockets. Wipe the rim of each jar.
- Seal the jars. Carefully place a flat lid on top of each jar, making sure to line up their edges. Screw a band onto each, but not too tight.

Pressure canning
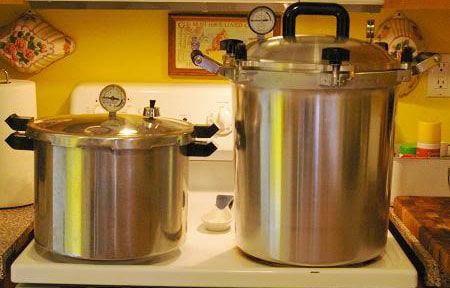
Pressure canning involves the use of a pressure canner, which is a device that consists of a large pot, a rack insert, and a fitted lid with a dial or pressure valve. Pressure canning is the only safe method of preserving low-acid foods. Low-acid foods include vegetables, meats, fish, and poultry. Pressurized steam creates the needed temperature of 240 degrees Fahrenheit or higher that kills off any harmful bacteria, toxins, molds and yeasts. As the jars cool, a vacuum is formed, sealing the food in the jars and preventing any new microorganisms from entering and spoiling the food.
- Put three inches of hot water in the pressure canner. Place filled jars on the rack in canner and secure lid as directed by canner manufacturer.
- Leave vent port off, turn heat to highest setting and heat canner until steam flows from the vent port.
- Once steam pours steadily from the vent, let it escape for 10 minutes to drive air out of canner.
- Place weight on vent port and allow canner to raise to the proper pressure.
- Start counting processing times once the dial gauge or weighted gauge has reached the recommended pressure (see manufacturer’s directions).
- Regulate heat to maintain steady pressure. If reading decreases from the recommended pressure, bring pressure back up and start timing process again.
- When timed processing is complete, turn off heat and wait until canner returns to zero on a dial gauge and 30 to 45 minutes for weighted gauge (see manufacturer’s directions).
- Remove jars with a jar lifter and place on a towel or cooling rack.
- Leave jars on the counter, undisturbed for 12 to 24 hours.
- After cooling, check that all lids have properly sealed.
- If a jar has not sealed, the contents can be reprocessed according to recipe directions or the jar must be refrigerated and eaten immediately.
