How To Stay Safe and Survive During a Riot in Montana

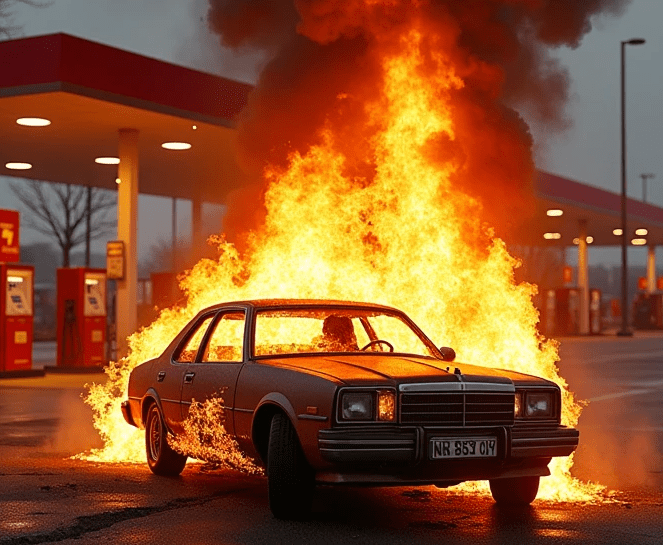
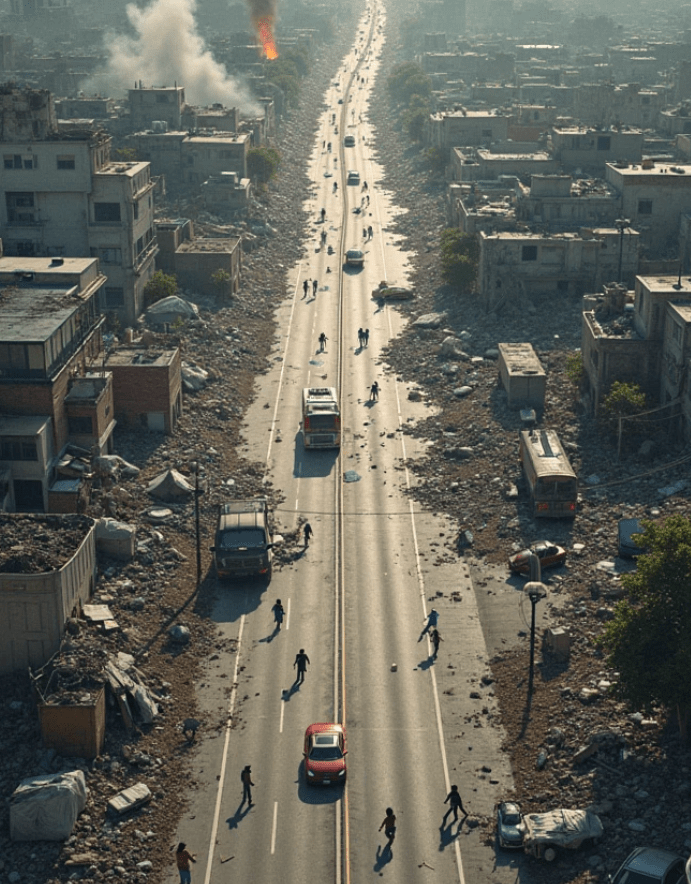
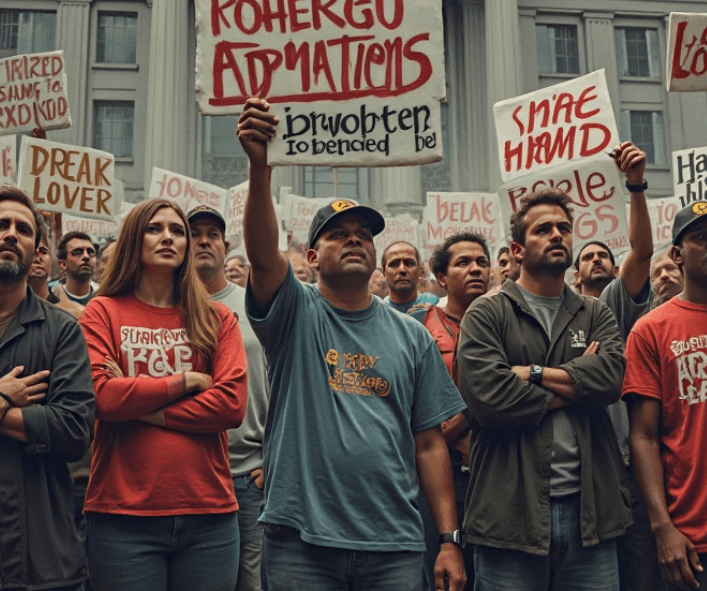
Riots can spark anywhere—yes, even in the wide-open expanses of Montana. From Bozeman to Billings, no place is immune when tensions rise and order collapses. I’ve spent decades preparing for the unexpected: training in self-defense, bushcraft, and survival tactics in all environments, urban and wild. And today, I’m going to share essential techniques to stay alive, stay sharp, and stay free during civil unrest.

A riot is not a political movement; it’s chaos in motion. You don’t want to be caught in the middle of it unprepared. Whether you’re protecting your homestead, bugging out, or just trying to get your family to safety, here’s a hard-hitting, no-BS guide for staying safe in a Montana riot.


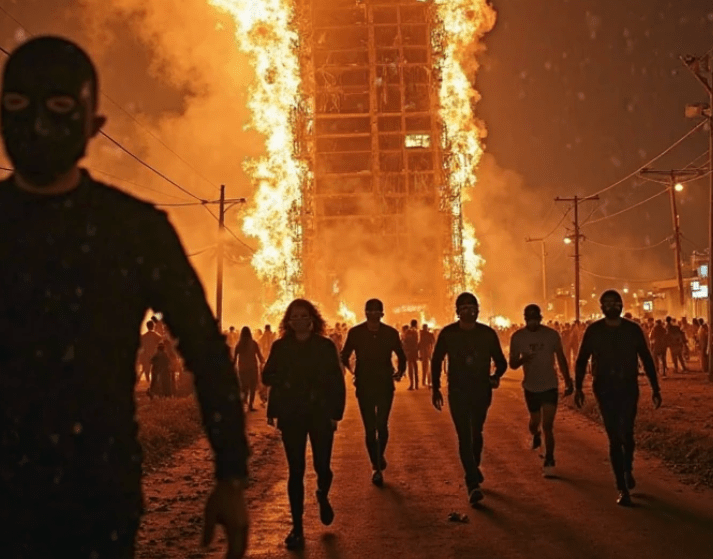
8 Essential Self-Defense Skills You Need to Master

1. Situational Awareness
Before you even throw a punch or grab a weapon, you need to see the danger coming. Situational awareness means being alert to shifts in crowd energy, sudden movement, or bottlenecks in a street. Keep your head on a swivel. Use reflections in windows, avoid distractions like phones, and always have an exit route mapped out in your head. Know the difference between a protest and a riot—there’s a fine line, and you’ll know when it’s crossed.

2. Verbal De-escalation
This skill can save your life more often than a right hook. Speak calm, clear, and firm if someone gets in your face. Don’t posture or insult. Disengage and redirect attention if possible. The real win in self-defense is not having to fight at all.

3. Improvised Weapon Training
If you didn’t bring a weapon, make one. A metal flashlight, car keys in your fist, or even a rolled-up magazine can become effective tools in the right hands. Train with random objects, learn their weight, balance, and striking capabilities.

4. Palm Heel Strikes and Elbow Hits
Punching is for boxers. In a real street fight, your fist can break easier than you think. Instead, use your palm heel to strike the nose or chin. Elbows are devastating in close quarters. Fast, brutal, and less likely to injure your own hand.

5. Escaping Holds and Grabs
You get grabbed, you get dead—unless you know how to break free. Practice escaping wrist locks, bear hugs, and chokes. Remember, leverage beats strength. Use momentum and body positioning. Bite, gouge, and stomp if needed—this is survival, not a dojo tournament.

6. Shielding Techniques
Learn how to protect your vital organs and head during a physical confrontation. Using your arms to form a shield in front of your head and torso can minimize damage from blunt-force attacks. Practice this while moving; it should be second nature.

7. Ground Defense
If you fall, the fight isn’t over—it just changed levels. Learn to fight off your back, using kicks, sweeps, and fast recoveries. Getting to your feet quickly is essential. On the ground in a riot means you’re a target. Don’t stay there.

8. Escape and Evasion Tactics
You need to know how to disappear. Blend in with the crowd, avoid attention, and use alleyways and side streets. In Montana’s urban zones like Missoula or Helena, scout areas ahead of time and plan low-traffic exit routes. Carry a bandana or mask for dust, smoke, and ID concealment.


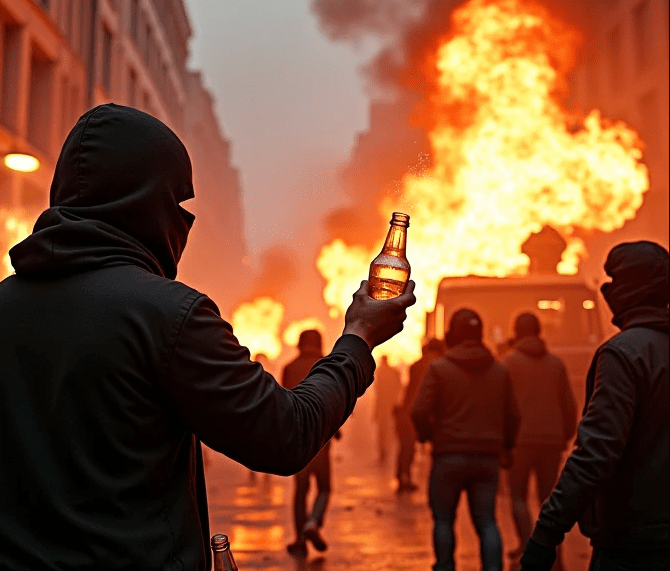
3 DIY Survival Weapons You Can Build in a Pinch

When lawlessness takes over, you might have to defend your family. These DIY weapons are quick, legal to build, and effective.

1. The Sock Mace
Take a heavy padlock, drop it into a thick athletic sock, and tie a knot at the open end. Swing it fast and hard—it’s like a medieval flail. Easy to conceal, quick to make, and hits like a hammer.

2. PVC Pipe Spear
Cut a length of PVC pipe around 4 to 5 feet. Sharpen a steel tent spike or long nail and attach it to one end with paracord and epoxy. Wrap the handle with duct tape or cloth for grip. It’s lightweight and effective for self-defense or even hunting if the grid stays down.

3. Duct Tape & Razor Blade Knuckle Guard
Wrap several razor blades in layers of duct tape with a handle-sized gap in the center. Strap it around your knuckles like brass knuckles. Not for long fights, but if someone closes in and you need to make space now, this gets the job done.


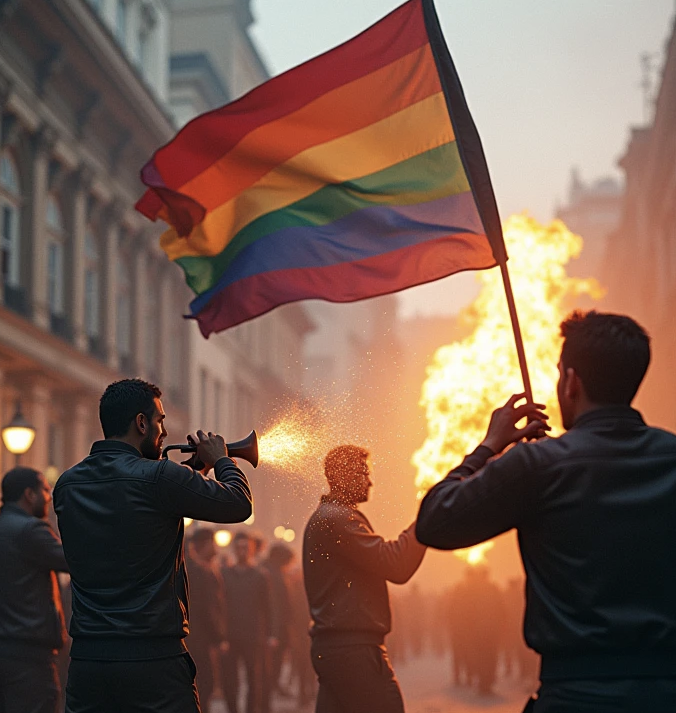
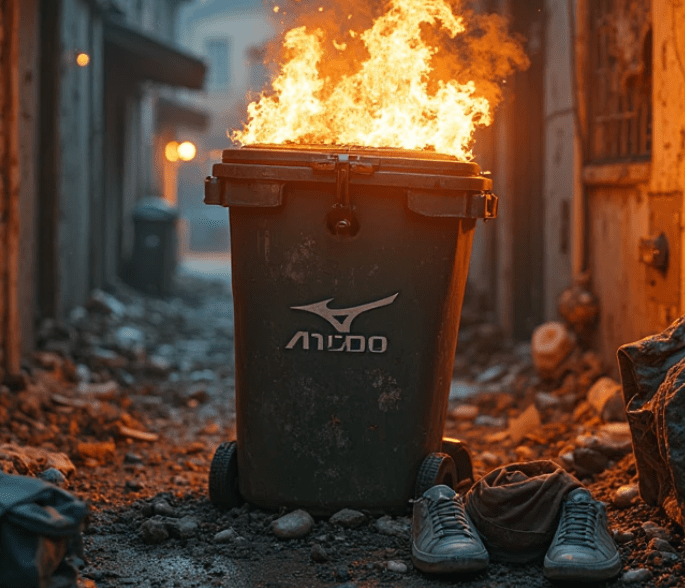
Riot-Specific Safety Tips for Montana

Montana’s geography and sparse population may feel like a safety net—but don’t let it fool you. When unrest hits a major town, help could be hours away.

  • Don’t rely on 911 – First responders will be overwhelmed. Prepare to be your own backup.
  • Dress down – Wear neutral, non-descript clothing. No camo, no slogans, no red or blue. Blending in buys time.
  • Avoid major routes – Highways and main roads will be jammed or blocked. Know alternate routes through backroads, fire trails, or even hiking paths if needed.
  • Stay indoors unless escaping – A fortified home is better than a panicked crowd. Use furniture to block entry points and keep your lights low.
  • Have a rally point – If separated from family or your group, have a pre-determined location to regroup. Practice getting there without phones.

Gear You Need (And Why)

  • Multi-tool – Your lifeline for prying, cutting, fixing.
  • Flashlight with strobe – Disorient attackers or signal in the dark.
  • Water filter straw – If stores are ransacked and water lines shut off, this can save you.
  • Rugged gloves – Protect your hands from glass, debris, and cold.
  • Kevlar hoodie or jacket – Looks normal, but resists knives and some blunt trauma.
  • Tactical pen – Writes like a pen, strikes like a spike.

The Prepper’s Mindset: Cold, Calm, Calculated

In a riot, emotions run hot. But you? You stay cold and clear. You don’t get swept into arguments or moral debates—you get home safe. Always think defense first, offense last. You’re not out there to prove anything. Your mission is survival.

Understand that most people don’t prep. They panic. They look for someone to follow—or someone to fight. Stay away from crowds. Keep communication short, decisions fast, and movement constant.

If you’re with others, assign roles: lookout, navigator, enforcer, medic. Train your family. Kids can learn basic defense. Spouses can carry gear and give first aid. A team that trains together survives together.

How Not to Die During a Riot in Minnesota

Let’s get this straight: when chaos hits your backyard—whether it’s a protest gone rogue or full-scale urban collapse—you don’t get second chances. Riots are loud, chaotic, fast, and unforgiving. I’ve walked through enough civil unrest zones, from Minneapolis to Atlanta, to know that what saves you isn’t luck or brute strength. It’s preparation, awareness, and controlled aggression.

In this guide, I’ll break down the real skills that’ll keep you alive during a riot in Minnesota—or anywhere else it kicks off. And we’re not talking theoretical fluff here. I’m giving you 8 street-proven self-defense skills and 3 DIY methods to rig up survival weapons if you’re caught empty-handed. You’ll walk away with the mindset of a hardened prepper, not a scared civilian.


🛡️ 8 Self-Defense Skills to Survive a Riot

  1. Situational Awareness (The Most Important Skill)
    Before you even throw a punch or grab a weapon, train your eyes and brain. In a riot, you need 360-degree awareness—who’s moving, who’s armed, where the exits are, where the bottlenecks are. Practice “war-gaming” situations in your head when walking down a street. Anticipate trouble before it explodes.
  2. Verbal De-Escalation
    Not every threat needs to be neutralized with force. Sometimes, the best win is walking away. Learn how to use your tone, body language, and words to defuse aggression. A low voice, non-threatening posture, and firm tone can buy you the seconds you need to slip away.
  3. Palm Heel Strike
    Forget Hollywood punches. The palm heel strike is fast, powerful, and won’t break your knuckles. Aim for the nose, chin, or solar plexus. It’ll stun your attacker and give you the opening to escape.
  4. Elbow Strikes in Close Quarters
    If you’re shoulder-to-shoulder in a dense crowd, fists won’t work. Use elbows—downward, across, or upward strikes. These are short-range power tools for busting jaws and breaking free.
  5. Knee Strikes to Thigh or Groin
    When there’s no space, your knees become battering rams. Slam them into the thigh to deaden the attacker’s leg or go for the groin to drop them instantly.
  6. Escaping Holds
    Whether it’s a bear hug from behind or someone grabbing your arm, learn how to break out. Drop your weight, twist your body, and use leverage. If you train in anything, make it Krav Maga or Brazilian Jiu-Jitsu, which both excel in real-world escapes.
  7. Improvised Weapon Use
    Bottles, pens, belts, keys—learn to use what’s around you. A pen jammed into a neck artery or a belt swung like a flail can buy you time or space. Train with random objects at home. Make it muscle memory.
  8. Team Movement and Buddy Cover
    If you’re with friends or family, never separate. Move like a team. One person watches the rear, another scans forward, the rest guard the flanks. Practice this in your house or yard. During a riot, unity is survival.

🧰 3 DIY Survival Weapon Skills (Urban Guerrilla Edition)

You might find yourself unarmed. You still need to defend. Here’s how to rig up protection on the fly:

1. PVC Pipe Baton

  • Materials: 1.5″ thick PVC pipe, duct tape, sand or nails.
  • Fill the pipe with sand or metal bits, then seal both ends with duct tape. This adds weight and turns it into a club that hits hard.
  • Grip the handle area with paracord or tape for extra traction.
  • Use: Cripples limbs, breaks glass, and fends off attackers in close combat.

2. Tactical Slingshot

  • Materials: Y-shaped branch, rubber tubing (bike inner tube), leather pouch.
  • Carve the branch into a slingshot frame. Tie rubber tubing to the forks, attach leather in the middle. Use stones, ball bearings, or hex nuts as ammo.
  • Use: Long-range defense, distractions, disabling threats from a distance.

3. Canister Mace (Chemical Defense)

  • Materials: Small spray bottle, vinegar, black pepper, hot sauce.
  • Mix ingredients, shake well, and fill a spray bottle.
  • Aim for the eyes and face. It’s non-lethal but incredibly disorienting.
  • Use: Crowd deterrent, escape tool, surprise countermeasure.

🧠 Mental Game: The Unseen Weapon

Weapons and fighting mean nothing without the mindset. You’ve got to decide—before the riot breaks out—that you’re not going to freeze. Train your instincts, rehearse your escape plan, and practice drills in your garage or backyard. The goal isn’t to fight for fun; it’s to neutralize and escape.


📍Minnesota Specific Riot Survival Tips

  1. Know Your City Grid
    Minneapolis and St. Paul have river divides, skyway systems, and alley loops. Use them to vanish fast. Train yourself to know at least three escape routes from any location you frequent.
  2. Avoid Major Intersections
    Riots love to choke traffic and trap civilians in intersections. Use side streets, parks, and bike trails to move unseen.
  3. Cache Supplies
    In riot zones, access to gas, food, and clean water gets cut quick. Store mini survival kits in your car, garage, and backpack. Include: multitool, flashlight, pepper spray, emergency phone charger, protein bars.

🏕️ Final Thoughts from a Seasoned Survivalist

Look—I’m not writing this to scare you. I’m writing this because I’ve seen good people get chewed up in bad situations because they thought it would never happen in their town. Riots move fast and break things, and if you’re not thinking three steps ahead, you’ll be the one on the pavement while others walk away.

Train your body. Train your mind. Learn to use what’s around you. Build your team. Run drills. Think like a predator but act with discipline.

Minnesota isn’t exempt from unrest. If 2020 taught us anything, it’s that even the most peaceful cities can become war zones overnight.

So here’s the mission: Get ready now. Because when the streets go hot, you won’t have time to read a guide.

How To Stay Alive During a New York Riot

Let’s be real — when chaos strikes in a place like New York City, it happens fast, and it hits hard. I’ve lived through enough urban unrest and trained others on how to navigate it without freezing up or making deadly mistakes. Riots are unpredictable, and the average person doesn’t have a plan. But you’re not average — not if you’re reading this. So let me give it to you straight, skill for skill, tool for tool, mindset for mindset. Here’s how to stay safe and survive during a riot in New York.

First Rule of Survival: Know the Terrain

New York is dense. That’s both your greatest challenge and greatest advantage. High population means riots escalate quickly, but it also means there are more exits, more cover, and more places to hide. If you live here, walk your neighborhood weekly. Know alternate exits in every subway station. Know where alleyways connect, which buildings have open lobbies, and where construction zones give access to makeshift cover.

A prepper doesn’t wait for things to go sideways to start learning the streets.

8 Self-Defense Skills You Need to Master

1. Situational Awareness (SA)
This isn’t just “looking around.” SA means understanding what people are doing and why. If you see crowds forming, tension rising, and aggressive energy building — that’s your signal to exit. Notice patterns. Stay off your phone. Constant scanning of exits, people’s hands, and body language can give you a 30-second advantage. That’s life or death.

2. Verbal De-Escalation
It’s not cowardly to avoid a fight — it’s smart. Learn how to lower your voice, use non-threatening body posture, and speak in a way that calms aggressors. You want to give off the vibe: “I’m not your enemy, and I don’t want trouble.” That buys you time.

3. Close Quarters Elbow Strikes
In a crowd, you don’t have space for wide punches. Your elbows are devastating and fast. Strike to the jaw, neck, or ribs. Your goal isn’t to fight — it’s to escape. Learn how to use your elbows like daggers.

4. Knife Defense
If someone pulls a blade on you in a riot, distance is king. But if you’re trapped, you need to know how to redirect, trap, and disable. Look into techniques like the “Pak Sao” (slap-and-trap) used in Filipino martial arts and Krav Maga. Practice with a training knife at home.

5. Escape from Holds and Grabs
Get someone trained to help you drill escapes from wrist grabs, shirt grabs, and rear chokes. You’re more likely to be grabbed in a riot than punched. Your escape moves need to be muscle memory. There’s no time to think.

6. Improvised Weapons
Turn what you have into a tool. A pen in your hand is a stabber. A heavy keychain is a flail. Your belt buckle? A swing weapon. Everything around you can become a defense mechanism when you’re trained to see it.

7. Mobility Training
Learn how to jump fences, scale small walls, and squeeze through tight spaces. If you’re boxed in, mobility is your freedom. Practice parkour basics — vaulting, rolling, and wall climbs — in safe environments.

8. Striking for Distraction, Not Domination
You don’t need to knock someone out. A quick jab to the throat, kick to the knee, or rake across the eyes gives you a chance to run. That’s your win condition.

3 DIY Survival Weapons You Can Make at Home

1. Tactical Baton from a Flashlight
Get a heavy-duty flashlight like a Maglite. Wrap the handle in paracord for grip and stability. It’s legal, useful, and when used right, it’s a powerful blunt-force tool. Bonus: you’ve still got a working light source.

2. PVC Pipe Blow Dart Launcher
You’d be surprised how easy this is. Use a 1/2” PVC pipe, 2 feet long. Carve darts from wooden skewers or nails. Fletch with duct tape. Add a mouthpiece from rubber tubing. Can be used for distraction, pest control, or quiet defense if you train with it.

3. Slingshot with Steel Ball Bearings
Use surgical tubing and a forked branch or 3D-printed frame. Aim for temple, throat, or knee shots if you’re forced to defend. It’s silent, powerful, and easy to hide. Practice precision at 15–25 feet.

Remember: weapon legality in New York is strict. Keep these tools for survival, not aggression. And always know the law.

Shelter In or Bug Out?

If a riot breaks out while you’re home — shelter in. Secure your doors with a bar lock or wedge. Turn off lights, stay silent, and stay away from windows. Keep water and canned food in a blackout kit. Have a backup escape route — like a fire escape or rear hallway — if the building gets compromised.

If you’re caught outside, get out of the crowd. Head perpendicular to the mob’s direction. Avoid getting funneled into alleys or dead ends. Blend in — don’t make yourself stand out. Drop flashy gear and logos. A gray hoodie and jeans go unnoticed.

Survival Gear Checklist for Riot Conditions

  • N95 mask (for smoke, dust, pepper spray)
  • Impact-resistant goggles
  • Compact first aid kit (with clotting agent and bandages)
  • Sturdy gloves (for climbing, protection)
  • Water bottle with filter
  • Tactical flashlight (doubles as weapon)
  • Multi-tool
  • Bandana or shemagh (disguise or filter air)
  • Cash (small bills)
  • Burner phone or power bank

Everything fits in a small, inconspicuous backpack. This is your Riot Go-Bag. Always ready, never flashy.

Mental Fortitude

A lot of survival is mindset. Fear makes people freeze or panic. You’ve got to stay calm, assess, act. Practice stress inoculation: train under pressure, simulate chaos, learn how your body reacts. Breathe slow. Focus your senses. Move with purpose.

You aren’t a hero in a riot. Your goal is survival. You save yourself, your family, your gear. Anyone looking to play vigilante ends up in jail — or worse.

Team Up and Have a Plan

If you’ve got family or close friends in the city, establish a rendezvous point. Make a signal — a phrase or emoji — that means “Meet now.” Text is better than voice. Don’t rely on GPS or phone service. Have an offline map.

Train together. If someone panics, it drags the whole group down. Practice drills. Role-play. Even one hour a month of coordinated prep makes a difference.

Final Word

Riots are like wildfires — unpredictable and destructive. But they’re survivable if you’re trained, aware, and prepared. Whether you’re in Queens, the Bronx, or downtown Manhattan, the same rules apply: stay calm, be smart, and use what you’ve got.

You don’t need to be a Navy SEAL to survive. You need street sense, grit, and the will to keep moving when others freeze. I’ve trained a lot of people, and the ones who make it through the chaos are the ones who prepared when it was calm.

This city tests you. But you’ve got the tools now. So prep smart — and walk safe.

How To Stay Safe and Survive During a Riot in Florida (Especially Miami)

Riot situations can spark off in a flash—especially in high-tension environments like Florida, where political tensions, natural disasters, and cultural divides can stir the pot quickly. If you’re not prepared when the chaos ignites, you could find yourself trapped, vulnerable, or worse. This guide is written not by a theorist or keyboard warrior, but by someone who’s trained, tested, and lived the prepper life. I’m going to walk you through real, tactical knowledge—not fluff—on how to survive a riot, defend yourself and your family, and even build your own survival tools if the grid fails or law enforcement is overwhelmed.

Let’s break it down into essential areas: self-defense skills, DIY survival weapon builds, and practical tips for riot survival in Florida’s urban and suburban settings.


Understanding the Threat

Florida is a hot zone in more ways than one. You’ve got densely populated metro areas like Miami, Tampa, and Orlando, combined with racial, political, and economic friction. A major protest can turn violent in hours. When it does, roads clog, police are spread thin, and looters target homes and businesses. Knowing how to react—and when—is your edge.


8 Crucial Self-Defense Skills for Riot Survival

1. Situational Awareness

The number one self-defense skill isn’t a punch or a weapon—it’s awareness. Keep your head on a swivel. Don’t get tunnel vision. Always scan exits, observe crowd behavior, and listen for shifts in tone—chants getting louder, police forming lines, people suddenly running. These are your cues to move.

2. Verbal De-escalation

Most threats can be avoided by staying calm and using the right words. Avoid eye contact with aggressive individuals. Speak clearly, with a low tone. Avoid insults. Say things like, “I don’t want trouble,” or “Let’s just keep moving.” Being able to defuse tension can keep you off someone’s radar.

3. Open-Hand Combat Techniques

You don’t need to be a black belt to defend yourself. Master three basics: palm strikes to the chin/nose, elbows to the jaw or ribs, and knee strikes to the midsection. These are powerful, quick, and can drop an attacker long enough for you to escape.

4. Escape and Evasion Tactics

Learn how to blend in with the crowd, take alternate routes, and stay out of choke points (like alleyways and dead-end streets). Avoid police frontlines and looter groups alike. Carry a map, not just a phone, in case GPS fails.

5. Improvised Weapon Use

If you’re not carrying a legal self-defense weapon, look around. A tactical flashlight, metal water bottle, belt buckle, or even a rolled-up magazine can be used for defense. Train your mind to see ordinary items as tools or weapons.

6. Ground Defense

If someone takes you down, don’t panic. Keep your chin tucked, bring your knees in, and cover your head. From your back, use your legs to create distance. Kick at the knees, shins, or groin to buy space to get back up.

7. Group Movement Tactics

If you’re with family or a small group, assign roles. One leads, one watches the rear, one keeps visual on surroundings. Stay close but not huddled—move like a team. Have a rally point if separated.

8. Adrenaline Control

Train your breathing. When adrenaline spikes, your motor control drops. Use box breathing: inhale for 4 seconds, hold for 4, exhale for 4, hold for 4. It keeps your mind sharp and reactions clear during chaos.


3 DIY Survival Weapons You Can Build Fast

If things escalate and you’re cut off from help, you may need to craft weapons from materials around you. These are not for intimidation—they are for last-resort defense. Be smart, know the laws, and only use if legally and morally justified.

1. PVC Pipe Baton

Grab a 2-foot section of PVC pipe (1-inch diameter), fill it with sand or concrete mix, and seal both ends with duct tape or rubber caps. Wrap it in paracord or grip tape. You now have a powerful blunt weapon that doubles as a walking stick.

2. Slingshot from Surgical Tubing

Using a Y-shaped tree branch or sturdy plastic forked handle, attach surgical tubing (or bike inner tube strips) and a leather patch. Use it to launch ball bearings, small rocks, or even marbles. Quiet, compact, and effective.

3. Spear with a Kitchen Knife

Lash a sturdy kitchen knife to a broomstick or closet dowel rod using paracord, duct tape, or zip ties. Sharpen the end of the pole if no knife is available. This extends your reach and gives you a stand-off advantage in close encounters.


Florida-Specific Riot Survival Tips

Florida’s landscape, laws, and climate play a big role in how you prepare:

  • Heat and Humidity: Always carry water purification tablets and electrolyte packs. Dehydration and heatstroke will ruin your mobility.
  • Hurricane-Prone Seasons: Riots often spike during or after disasters. Stock a bug-out bag year-round and rotate supplies every 90 days.
  • Castle Doctrine State: Know your rights. Florida law supports self-defense in your home and even your vehicle. But outside your home, use restraint—courtrooms aren’t forgiving just because you’re armed.
  • Transportation Routes: Avoid highways and interstates during riots. Use secondary roads and have backup routes planned. Always keep a half tank of gas minimum.
  • Curfews and Checkpoints: These often pop up during civil unrest. Have printed ID, a calm story, and keep any weapons legally carried and out of reach.

What to Pack: Quick Riot Survival Kit

  • Compact trauma first-aid kit
  • Tactical flashlight (1000+ lumens)
  • N95 or gas mask (if tear gas is deployed)
  • Portable radio (battery or hand-crank)
  • Knife (fixed blade or folding, legal length)
  • Cash (ATMs often go down)
  • Water filter straw
  • Compact food (MREs or protein bars)
  • Local paper maps
  • Emergency whistle

Keep it in your car, your backpack, or by the door—wherever it’s ready to grab fast.


Final Word: Mental Fortitude

Riots are not games. People die. People get traumatized. If you’ve trained your body but not your mind, you’ll freeze when it counts. Mental resilience comes from preparation, scenario planning, and building confidence through training. Don’t wait for it to happen to “start thinking like a survivor.” The time is now.

I’m not here to tell you to go full commando in the suburbs. I’m telling you to be prepared enough that when things hit the fan in Florida—whether from a protest gone violent, a collapsed supply chain, or a disaster aftermath—you’re the calm one. The protector. The survivor.

How To Stay Safe and Survive During a Riot in Georgia (Especially in Atlanta)

If you’re reading this, you’re already ahead of the pack. You understand that survival isn’t about panic—it’s about preparation. In times of social unrest, especially during a riot, staying safe demands a blend of street smarts, calm decision-making, self-defense training, and practical survival know-how. Living in Georgia, where protests and civil unrest have occasionally escalated into full-blown riots, makes understanding how to navigate this type of chaos not just useful—but necessary.

First Rule: Avoidance Is Victory

The first step in any survival situation is avoidance. Don’t play the hero. You’re not there to take sides. You’re there to get yourself and your loved ones home safe. Situational awareness is your most powerful ally.

Keep up with local news, police scanners, and community alerts. If you hear about demonstrations turning volatile in Atlanta, Macon, Augusta, or any major city, change your route or stay put. Avoid bottlenecked roads, city centers, and anywhere there’s a chance of getting trapped.

But if you’re already caught in a riot, here’s how to survive—and how to protect yourself.


8 Self-Defense Skills Every Urban Survivor Must Know

1. The Fence (Verbal and Physical Boundary Setting)

Before things turn physical, you need to manage the space between you and an aggressor. The Fence is a stance that places your hands non-threateningly in front of your torso, giving you a barrier to block, strike, or push off if needed. It also sends a clear message: Back off.

2. Close-Quarter Striking (Palm Strikes & Elbows)

Forget fancy martial arts kicks. In a riot, space is tight. Learn to deliver powerful palm strikes to the nose or chin, and sharp elbow strikes to vulnerable areas like the temple or throat. These techniques are quick, devastating, and don’t damage your hands like punching might.

3. Escape and Evasion Footwork

Riots are mobile. If you’re stationary, you’re a target. Train your footwork to move through crowds, avoid stampedes, and navigate obstacles. Zigzag, stay low when needed, and don’t run in straight lines when being chased. Learn the terrain like a ghost.

4. Clinch Defense

If someone grabs you, you need to control the clinch. A basic overhook or underhook can help you break the hold or control their body. Head control is key—push their head down and away to break their balance and escape.

5. Improvised Weapons Training

Learn how to use what’s around you. A belt with a heavy buckle becomes a flail. A tactical flashlight blinds and bludgeons. A pen? That’s a spike. Look at your environment as an arsenal, not an obstacle.

6. Knife Defense and Offense

You don’t need to be a Navy SEAL, but you must understand the basics of blade work. Know how to defend against slashes and thrusts, and more importantly—how to use a knife as a deterrent or tool. Keep a fixed-blade or quality folding knife accessible.

7. Ground Survival (Getting Back Up)

You may get knocked down. Your ability to get back up could save your life. Practice “technical stand-ups” and rolling maneuvers to regain your footing. Never stay on the ground in a riot. You’re vulnerable there.

8. Mental Conditioning

Your mind is your ultimate weapon. Practice controlled breathing, visualization, and scenario planning. Staying calm under pressure allows you to think clearly while everyone else is panicking. Panic kills—mental prep saves.


DIY Survival Weapon Skills: When You Need More Than Your Hands

When chaos reigns and law enforcement is overwhelmed, it’s your responsibility to protect yourself. These simple DIY weapons can give you the upper hand if things go south.

1. The Pipe Baton

Grab a 12-18 inch section of galvanized steel pipe, wrap the grip with paracord or duct tape, and you’ve got a riot-ready baton. Keep it in a go-bag or vehicle. Compact, brutal, and easy to carry.

Pro Tip: Use a hollow pipe and stuff the inside with lead fishing weights to give it more density. Secure with end caps.

2. The Survival Spear

Lash a knife or sharpened steel rod onto a broomstick or sturdy wooden pole. Use paracord, zip ties, or duct tape to secure it. A spear extends your reach and gives you a major advantage in keeping aggressors at a distance.

Bonus: In rural Georgia or wooded areas, this also serves for hunting small game.

3. Pepper Slingshot with Glass Beads

Take a heavy-duty slingshot and load it with marbles or steel/glass beads. Easy to aim, silent, and painful. If you want non-lethal deterrence, fill balloons with powdered cayenne or crushed peppercorns—when they burst on impact, they irritate eyes and lungs.

Warning: Practice accuracy before relying on it.


Strategic Tips: Before, During, and After the Riot

Before the Riot

  • Stock up: Water, food, first-aid, batteries, and comms gear.
  • Harden your home: Reinforce doors, install security cameras, and set up motion lights.
  • Plan multiple escape routes out of your neighborhood.
  • Build a Go-Bag: First aid, fire-starting tools, knife, flashlight, spare clothes, cash, radio, mask, gloves, ID copies.

During the Riot

  • Stay off main roads. Take backstreets or service alleys.
  • Avoid police lines and aggressive crowds alike.
  • Carry a mask and goggles to protect against tear gas and smoke.
  • If you’re in your vehicle, avoid confrontation—turn around or abandon it if you’re surrounded.
  • Stay silent, stay gray. Don’t film. Don’t yell. Don’t attract attention.

After the Riot

  • Document any damage to property for insurance.
  • Restock supplies.
  • Debrief your family or group. What worked, what didn’t?
  • Train harder. Get better. Adapt your gear and skills.

Know Georgia’s Unique Risks

In Georgia, weather can change fast—riots during high heat can cause mass dehydration and faster escalation. Also, gun ownership here is common. That means you must assume others are armed.

Stay legal. Know Georgia’s stand-your-ground and concealed carry laws. If you use force in self-defense, it must be justified. Learn when to fight and when to walk.

Also, the urban/rural divide in Georgia is real. What works in downtown Atlanta won’t help you in the Georgia backwoods. Adapt accordingly.


Final Words from a Survivalist

Riot survival is 30% gear and 70% mindset. Gear breaks. Batteries die. But your awareness, training, and willpower? That sticks. Teach your kids. Train your spouse. Don’t hope for the best—prepare for the worst.

Always remember: When the system breaks down, your preparation is your only safety net. Be smart, stay light on your feet, and never stop learning.