Illinois’s Worst Roads to Drive on During a Disaster: A Survivalist’s Guide to Getting Out Alive
When you’ve spent as much time on the road as I have—navigating everything from hurricane-stricken coasts to snow-choked mountain passes—you learn a few things. Chief among them: not all roads are created equal, especially when the world decides to go sideways. I’ve driven across war zones, dodged wildfires in California, and rolled my tires through the thickest mud Mississippi could throw at me. But if you ask me which roads I’d avoid like the plague during a disaster, Illinois ranks higher than most folks would imagine.

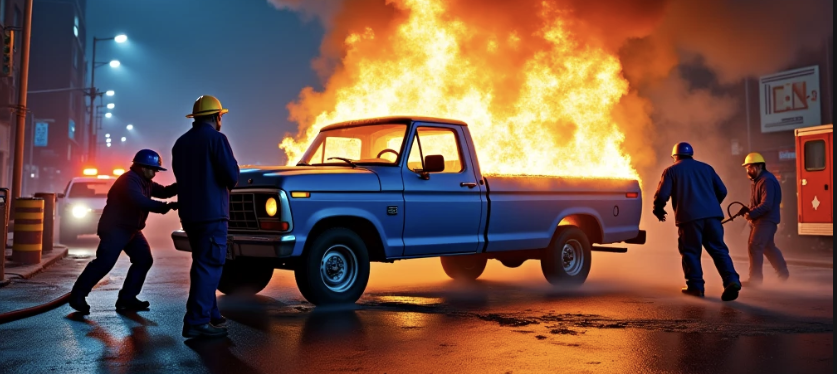
You see, Illinois has some real problem roads—death traps, bottlenecks, and pavement that’ll eat your suspension alive. Add a crisis—tornado, blizzard, civil unrest, or grid failure—and these roads turn from frustrating to fatal. But with the right skills and some old-school ingenuity, you can drive your way out of almost any hellscape.
Let’s talk roads first, then survival skills, and finally, how to cheat the gas gauge when it hits empty.
The Worst Roads in Illinois During a Disaster
- I-290 (Eisenhower Expressway, Chicago Area)
Also known as “The Ike,” this road is a living nightmare on a normal day. During a crisis, it clogs up fast and turns into a parking lot. Limited shoulders and aggressive drivers don’t help. - I-90/94 (Dan Ryan Expressway)
You’ll find this gem slicing through downtown Chicago. Tight turns, confusing on-ramps, and high accident rates make it a disaster magnifier. - Lake Shore Drive (US 41)
Scenic? Yes. Smart during a disaster? No. Sandwiched between Lake Michigan and high-rise buildings, you’ve got limited escape options. One way in, one way out. - I-55 South (from Chicago to Joliet)
A vital corridor during evacuations. Problem is, so does everyone else. Traffic jams and construction zones make it a no-go without preparation. - IL Route 53 (Through Bolingbrook and Romeoville)
Known for sudden stops, constant traffic lights, and heavy congestion. If the grid goes down, this becomes a logjam. - US Route 20 (Between Elgin and Freeport)
Rural, yes—but isolated doesn’t always mean better. If you break down here, good luck flagging help. - I-57 (South of Kankakee)
It may seem like a clear path out, but it floods easily and has poor cell reception in places. Add downed trees or debris, and you’re stranded. - I-80 (Joliet Stretch)
Home to heavy truck traffic. When the big rigs panic, they jackknife and trap smaller vehicles. Avoid it during winter storms or fuel shortages. - I-64 (Eastbound near Mount Vernon)
Notorious for accidents and poor road conditions. If you’re driving at night or in bad weather, you’re rolling the dice. - US Route 34 (Western IL near Galesburg)
A rural road with few services, spotty coverage, and minimal signage. Navigating this during a blackout or disaster is a high-stress gamble.
15 Survival Driving Skills That Could Save Your Life
- Situational Awareness
Know what’s happening ahead, behind, and around you. That gut feeling? Listen to it. - Off-Road Driving Proficiency
Grass medians, service roads, and ditches aren’t obstacles—they’re alternate routes. - Vehicle Hardening
Reinforce tires, install steel bumpers, and carry extra coolant, oil, and fuses. - Panic Stop and Go Techniques
Practice rapid braking and evasive acceleration in a safe environment. Timing is everything. - Improvised Navigation
Learn how to read the sun, use paper maps, and follow power lines or water sources. - Fuel Conservation
Coast in neutral, limit A/C, and avoid sudden acceleration. Fuel is gold. - Convoy Tactics
Travel with others when possible. Two or more vehicles can secure paths, tow each other, and carry more gear. - Window Shielding and Blackout Protocol
Use window tint, foil, or blankets to stay unnoticed during night travel. - Silent Stops
Know how to park without alerting others—kill lights early, coast into position, and stay low. - Drive-by Assessment
Evaluate roadblocks, ambush zones, or impassable terrain without committing. - Tire Patching in the Field
Carry a patch kit, portable compressor, and slime sealant. A flat tire can cost you everything. - Handling Aggression
Know when to yield, when to evade, and when to be the bigger truck. - High-Water Driving
Drive slow, steady, and in low gear. If water reaches the bottom of your doors, back out. - Mechanical First Aid
Zip ties, hose clamps, and duct tape go a long way. Learn to fix a radiator leak or bypass a fan relay. - Escape and Evasion Driving
Reverse at speed, perform a J-turn, and evade road traps. Practice in abandoned lots—don’t wait for the real deal.
3 DIY Hacks When You Run Out of Gas
- Siphon with Common Items
Use a garden hose or even a piece of clean tubing to siphon gas from abandoned vehicles. Always check for pressure-locked tanks—crack the cap first. - Alcohol or Ethanol Conversion (Short-Term Only)
Some engines can tolerate a mix of denatured alcohol (like HEET) in a pinch. Mix small amounts (no more than 10-15%) with what gas you’ve got left. - Solar Still for Fuel Vapors
This is a bushcraft trick. Place a clear plastic bag over a vented fuel tank in direct sun. The heat creates vapor condensation which can collect small, usable drips of gasoline. It’s slow but better than walking.
Final Thoughts
You can’t always pick your battleground, but you can prepare for it. Illinois, with its mix of urban density, weather extremes, and aging infrastructure, presents a unique challenge when disaster strikes. But those who know the lay of the land—and who’ve trained themselves behind the wheel—stand a damn sight better chance of making it out alive.
Keep your gear in your trunk. Keep your tank above half. And keep your mind sharp. The road doesn’t care who you are, but it does reward those who respect it.