Hawaii looks like paradise. Turquoise water. Warm trade winds. Lush mountains. Smiling faces.
But paradise has teeth.
I’ve spent years living, training, diving, and hunting in Hawaiian waters and wilderness. I’m a survivalist by trade and mindset, a prepper by necessity, and a shark hunter because understanding apex predators keeps you alive—both in the ocean and on land.
Most people who die in Hawaii don’t die peacefully in their sleep at 90. They die suddenly, violently, or because they underestimated this place.
Hawaii is not Disneyland. It is raw, wild, and indifferent to human error.
This article breaks down the top 10 non–old-age-related ways people die in Hawaii, why they die, and what you must do to avoid becoming another statistic.
This isn’t fear-mongering. This is survival intelligence.
1. Drowning (Ocean, Rivers, and Flash Floods)
The #1 silent killer in Hawaii
Why People Die This Way
Drowning is the leading non-age-related cause of death in Hawaii. Locals know this. Tourists ignore it.
Common reasons:
- Underestimating rip currents
- Swimming at unprotected beaches
- Entering the ocean during high surf advisories
- Alcohol use before swimming
- River swimming during rain (flash floods)
- Overconfidence in personal swimming ability
Hawaii’s ocean is not a pool. It’s a moving battlefield.
Rip currents here are fast, powerful, and invisible. Rivers can turn lethal in minutes due to upstream rain—even when skies are blue where you’re standing.
How to Survive It
Ocean Survival Rules:
- Swim only at lifeguarded beaches
- Learn to spot rip currents (dark channels, fewer breaking waves)
- If caught in a rip: DO NOT FIGHT IT
- Float
- Signal
- Swim parallel when released
- Never turn your back on the ocean
- Don’t swim alone
River Survival Rules:
- If it rained anywhere inland, stay out
- Avoid narrow valleys and waterfalls after storms
- Heed warning signs—they exist because people died
Survival mindset: The ocean doesn’t care how confident you feel.
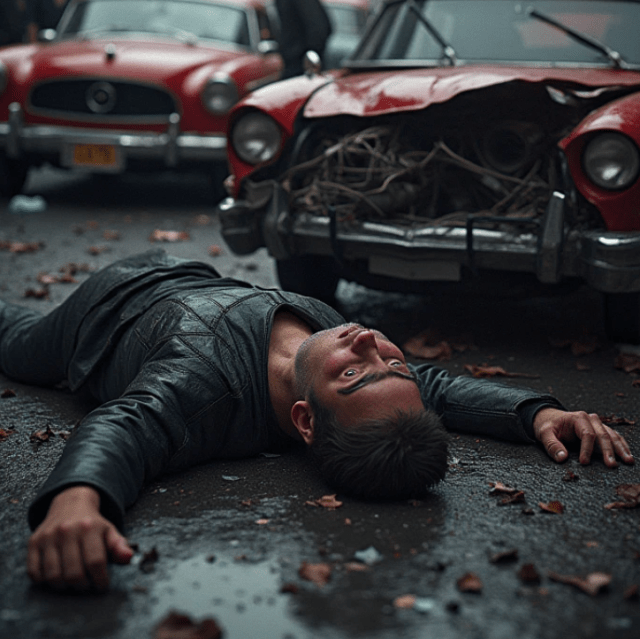
2. Motor Vehicle Accidents (Cars, Motorcycles, Scooters)
Why People Die This Way
Hawaii has narrow roads, blind curves, steep cliffs, and distracted drivers.
Top killers:
- Speeding on unfamiliar roads
- Driving tired or intoxicated
- Tourists unfamiliar with terrain
- Motorcycle crashes
- Scooter accidents without helmets
Rain turns roads slick. Locals drive aggressively. Tourists hesitate at the worst moments.
That mix kills people.
How to Survive It
- Drive defensively, not politely
- Assume others will do something stupid
- Avoid night driving in rural areas
- Never speed on coastal or mountain roads
- Wear helmets—always
- If riding a motorcycle: assume invisibility
Prepper rule: Metal, speed, and terrain are unforgiving.
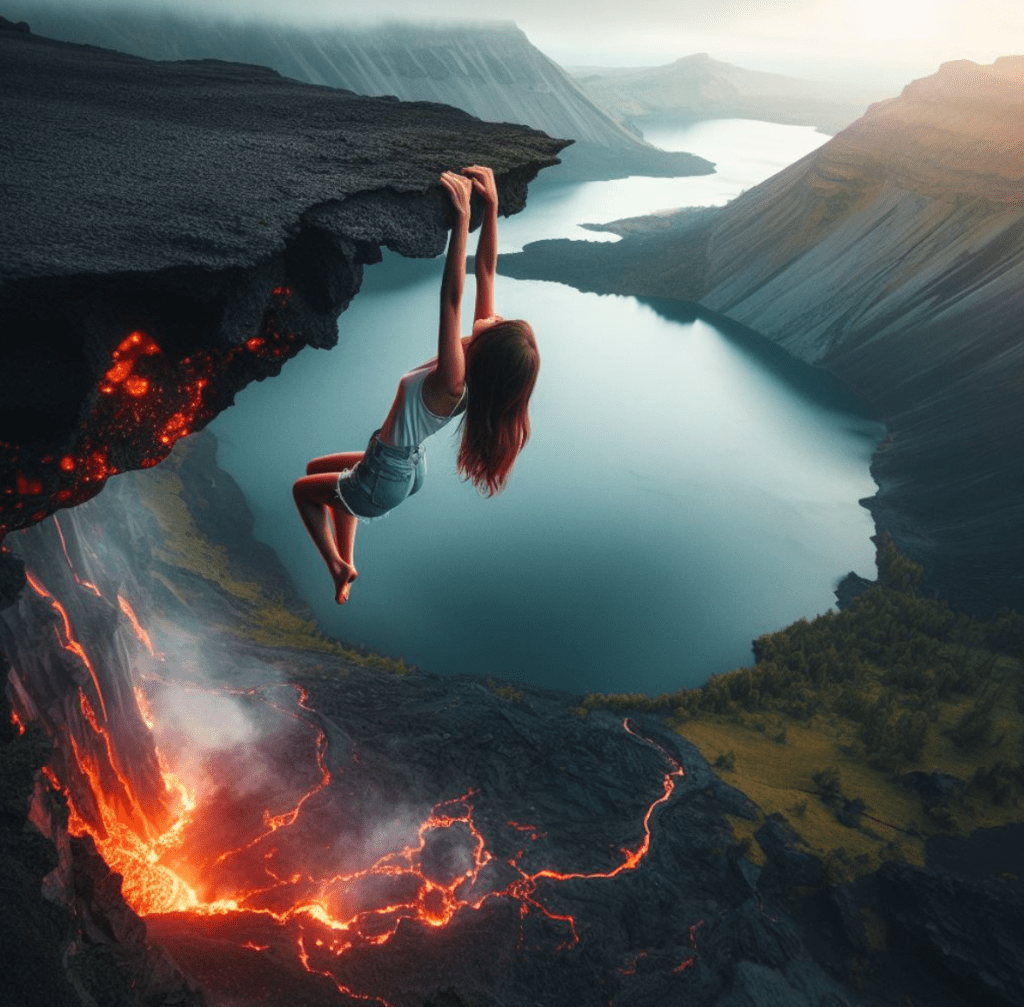
3. Hiking Accidents and Falls
Why People Die This Way
Instagram kills hikers.
People die from:
- Hiking unmaintained trails
- Slipping on wet volcanic rock
- Heat exhaustion
- Getting lost
- Falling from ridges or waterfalls
Hawaii’s terrain is vertical and unstable. Mud becomes grease. Rocks crumble. One misstep can mean a 200-foot drop.
How to Survive It
- Research trails before hiking
- Avoid “illegal” or “closed” trails
- Wear real hiking shoes, not sandals
- Bring more water than you think you need
- Start early; finish early
- Tell someone where you’re going
If you don’t see locals hiking it—don’t hike it.
4. Drug Overdose (Including Prescription Drugs)
Why People Die This Way
Hawaii has a serious substance abuse problem beneath the surface beauty.
Common causes:
- Opioids
- Methamphetamine
- Mixing drugs with alcohol
- Unregulated street drugs
- Tourists partying harder than their bodies can handle
Isolation increases risk. Help arrives slower in rural areas.
How to Survive It
- Avoid unknown substances
- Never mix drugs and alcohol
- Use the buddy system
- Carry naloxone if you or friends are at risk
- Know your limits—and respect them
Survival isn’t macho. It’s disciplined.
5. Suicide
Why People Die This Way
Island life can feel isolating. Cost of living is brutal. Mental health resources are stretched thin.
People struggle silently.
How to Survive It
- Stay connected
- Seek help early
- Watch for signs in others
- Remove access to lethal means during crisis
- Understand that asking for help is survival, not weakness
Even the strongest warriors need backup.
6. Shark Attacks (Yes, They Happen)
Why People Die This Way
Shark fatalities are rare—but when they happen, they’re violent and fast.
Contributing factors:
- Murky water
- Dawn and dusk swimming
- Fishing activity nearby
- Wearing shiny objects
- Bleeding wounds
Sharks are not monsters. They are apex predators doing their job.
How to Survive It (From a Shark Hunter)
- Avoid swimming at dawn/dusk
- Stay out of murky water
- Never swim near fishermen
- Remove shiny jewelry
- If attacked: fight back—eyes, gills, snout
- Get out fast and control bleeding
Respect sharks. Understand them. Fear ignorance, not teeth.
7. Homicide and Violent Crime
Why People Die This Way
Most violence happens between people who know each other, often involving drugs, alcohol, or domestic disputes.
Tourists are rarely targeted—but complacency kills.
How to Survive It
- Avoid high-risk neighborhoods at night
- Don’t escalate conflicts
- Trust your instincts
- Secure your home
- Situational awareness beats weapons
Survival starts with avoidance.
8. Fire and Carbon Monoxide Poisoning
Why People Die This Way
Common causes:
- Faulty wiring
- Improper generators
- Grilling indoors
- No smoke detectors
- Poor ventilation
Hawaii homes often lack basements and firebreaks. Fires spread fast.
How to Survive It
- Install smoke and CO detectors
- Never use grills indoors
- Use generators outside only
- Have fire extinguishers
- Practice evacuation plans
Fire doesn’t warn you. Prepare anyway.
9. Heat Illness and Dehydration
Why People Die This Way
People underestimate tropical heat.
Causes:
- Hiking without water
- Alcohol dehydration
- Working outdoors without breaks
- Ignoring early symptoms
Heat kills quietly.
How to Survive It
- Hydrate constantly
- Wear light clothing
- Take shade breaks
- Know heat exhaustion signs
- Respect your limits
Water is life. Treat it that way.
10. Natural Disasters (Volcanoes, Flash Floods, Tsunamis)
Why People Die This Way
Hawaii is geologically alive.
Threats include:
- Lava flows
- Volcanic gas
- Earthquakes
- Tsunamis
- Flash floods
People die when they ignore warnings.
How to Survive It
- Know evacuation routes
- Monitor alerts
- Have go-bags ready
- Don’t sightsee disasters
- Obey authorities
Nature always wins. Adapt or perish.
Final Survival Thoughts from the Field
Hawaii doesn’t kill people randomly.
People die here because they assume paradise means safety.
Survival is about:
- Awareness
- Preparation
- Respect for environment
- Discipline
Whether you’re swimming, driving, hiking, partying, or just living—Hawaii demands humility.
Survive long enough, and you’ll see its beauty isn’t fragile—it’s lethal.
And it’s worth respecting.